Ubuntu Remote Desktop with X2Go
This tutorial explains the installation and usage of X2Go on Ubuntu. X2Go is a remote desktop application to access X-Desktop enviroments over a network connection, it is well suited for low bandwidth connections, has support for sound with PulseAudio and allows desktop sharing. The application has two parts, the x2goclient for the client side and x2goserver (which has to be installed on the desktop system that shall be accessed). The X2Go client software is available for Windows, Mac OS X and Linux.
Install X2Go Server
To install the server side application just type one of the following commands to install the prerequisites, depending on your Ubuntu version.
For an older version of Ubuntu, use the following command:
sudo apt-get install python-software-properties
For the recent version you may use:
sudo apt-get install software-properties-common
Then add the X2Go PPA software repository, update the packagelist and install the server:
sudo add-apt-repository ppa:x2go/stable

 sudo apt-get update

 sudo apt-get install x2goserver x2goserver-xsession
Install X2Go Client
Now, after installing the application on the server you will have to install the client side application on the system of your choice by typing:
sudo apt-get install x2goclient
This will install the client side application on your system. The X2Go client will get added automatically to your application menu.
How it works?
Every time a new session is started the script x2gostartagent is executed on your server. The x2gostartagent file creates a new session by finding the unique session ID and adds it to its own database.
Desktop Bindings
To improve the usability, X2Go provides Desktop Binding tools for various desktops. Here are the commands to install them:
Gnome Bindings
sudo apt-get install x2gognomebindings
(Not available for GNOMEv3 environment yet)
MATE Bindings
sudo apt-get install x2gomatebindings
KDE/Plasma Bindings
sudo apt-get install plasma-widget-x2go
LXDE Bindings
sudo apt-get all x2golxdebindings
XFCE4 Bindings
Bindings for XFCE4 have not been created yet, but you can install GNOME bindings for that purpose.
Using the client side application
The next steps describe the setup of the first connection to your X2Go server:
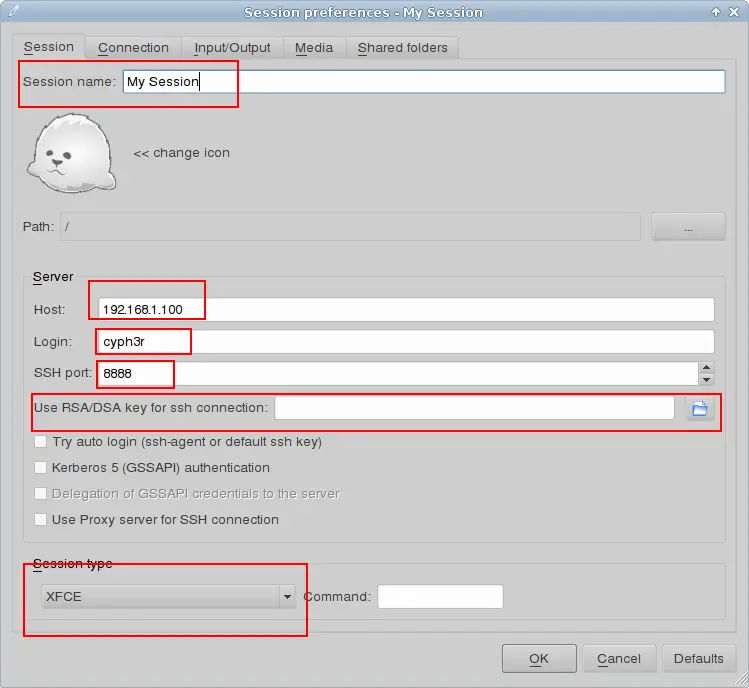
Session name: Fill out your session name.
Host: This can be your host name or IP address.
Login: This will be your user name with which you will be logging in on to the remote server.
SSH port: This will be your port number that you will be using to connect to your remote server, the default used is 22, you may change it as per your settings on SSH config file (/etc/ssh/sshd_config).
RSA/DSA key: You may specify the key, if created. The key decryption will prompt password for decryption.
Session type: Select your desktop manager that you are using currently on the remote server.
After the successful configuration of the session you are ready to go. You will have something like this on the top right corner of the window:
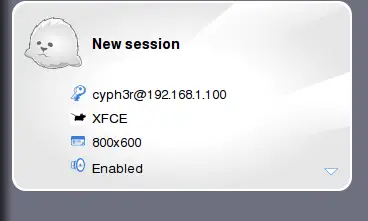
Click on that window you will get a login screen like:
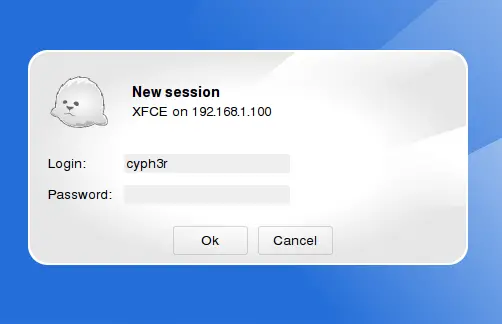
Make sure you type in your own user name and password for the system and click on login. It should take you to the desktop of your server:
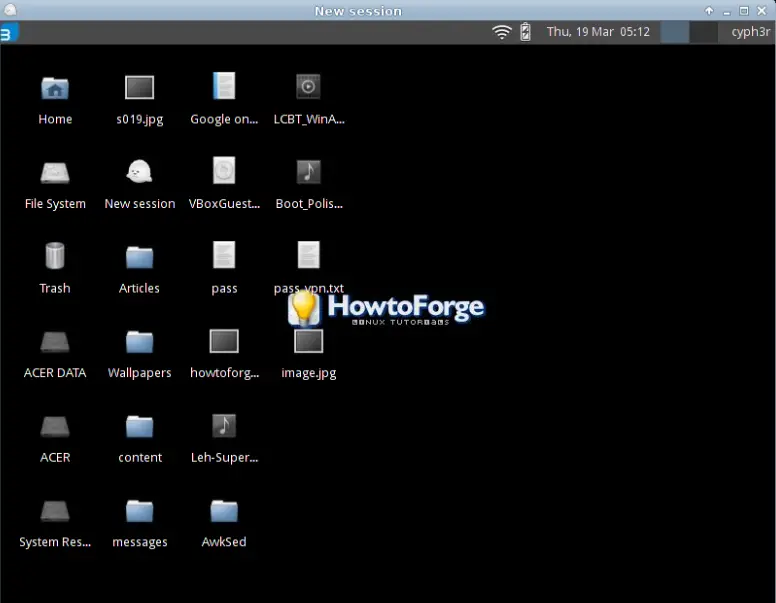
Here it is you have successfully logged in on to your system. You may also want to check Pyhoca-GUI as a client application.

