How to install Mumble VoIP Server on Ubuntu 15.04 (Vivid Vervet)
In this tutorial we will install Mumble VoIP server on Ubuntu 15.04. Mumble is an open source high quality voice chat application mostly used for gaming. The application is great for talking and gaming with low-latency. It offers an encrypted connection for your communication, it also has a builtin wizard to guide you through the setups, like mic. config. There are no licensing issues due to its OpenSource license.
Mumble installation
Mumble is not available in the default Ubuntu repositories, so you have to add a new ppa repository first by typing:
sudo add-apt-repository ppa:mumble/release
 sudo apt-get update
This will add mumble to your present repository and then update the repository.
sudo apt-get install mumble
If the above command does not work, then you may try the following:
sudo apt-get install mumble-server
sudo dpkg-reconfigure mumble-server
Now that you have completed the installation, it is time to go through the setup wizard. 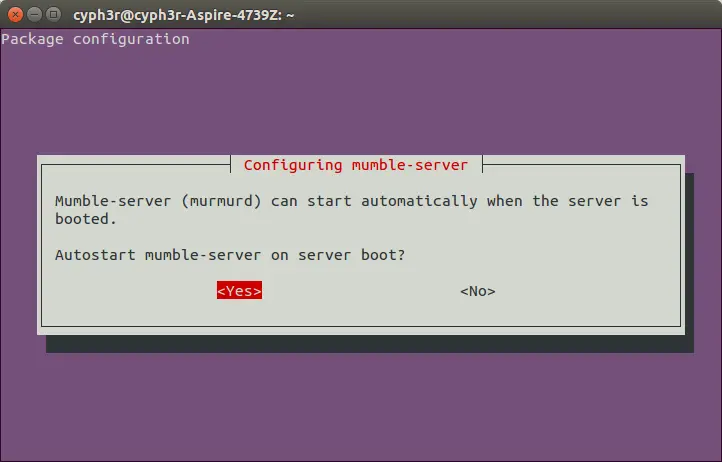
As the screenshot say's, would you like to start mumble on boot? Select your choice, most probably it will be yes. 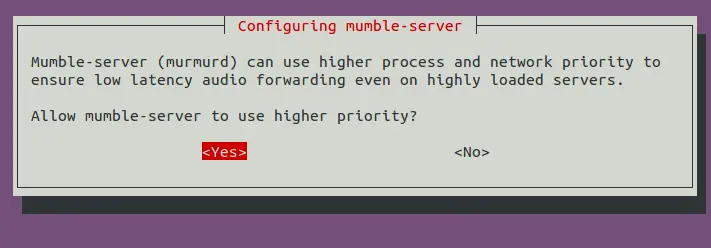
You should go with a "Yes" to avoid any latency with the process. 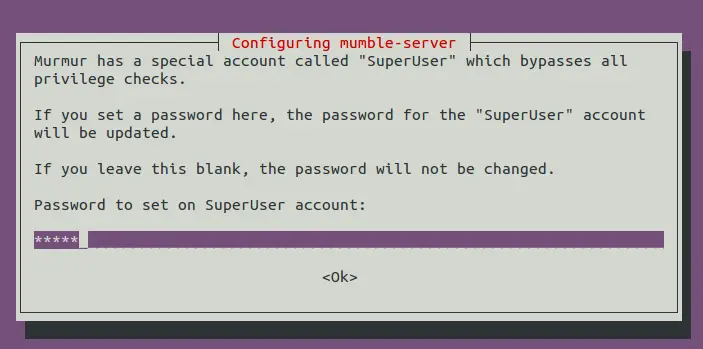
In the above slot update your password for login into the mumble-superuser accont.
Advanced Config
The Mumble config file is /etc/mumble-server.ini. Open it with the nano editor:
nano /etc/mumble-server.ini
You can open the above file in any text editor you wish to,
autobanAttempts, autobanTimeframe and autobanTime
In order to avoid clients from affecting the low-latency of other uers, mumble has a global-ban system,which can be configured using autobanAttempts, autobanTimeframe and autobanTime. If someone tries to connect to the server for X times in Y seconds they will be banned for Z seconds.
#autobanAttempts = 10
#autobanTimeframe = 120
#autobanTime = 300
You may adjust your setting and timespan as per your requirement and activate the setting by removing the # in front of the line.
serverpassword
This allows you to setup a password for unregistered users. The regitered users will have their own passwords or their authhentication certificates.
# Password to join server.
serverpassword=
logfile and logdays
By default mumble will store log to murmur.log in the working drectory, you can chnge that from this seting, you can specify a complete path if you feel.
logfile=murmur.log
Mumble will store these logs for 31 months by default, But you can change these to 0 for lifetime logs or -1 for no log at all.
logdays=31
welcometext
This setting displays a messsage to the users everytime they login to the server.
# Welcome message sent to clients when they connect.
welcometext="<br> Welcome to this server running <b> Murmur </b>.<br> Enjoy your stay! <br>"
port
The default port ued by mumble if port 64738. You may specify a specific port for multiple virtual servers, if you are using them.
port=64738
users
The setting allow you to configure a limit for maximum users per server.
users=100
allowhtml
Set this to true to allow HTML to be used in messages, user description and channel description.
allowhtml=true
timeout
Mumble is quite intense about disconnecting hung up clients. This setting will allow Mumble to perform a check of all the users who haven't contacted the server for the defined period of time.
Note that this has no impact on unmoving customers or individuals who AFK. It will only influence individuals who are officially separated, and simply haven't contacted the server.
So when you are done with your setup, you may presss "ctrl+x" and save your settings.
Connecting to the server
After downloading your mumble client, open it on your system: 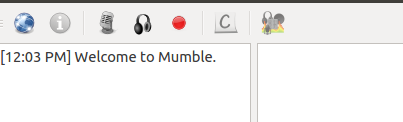
Click on the blue icon that says connect. 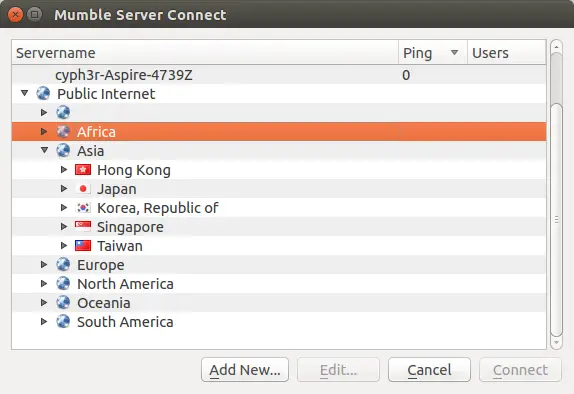
Select your required server and connect with it, you may get thee followinng popup for the first time: 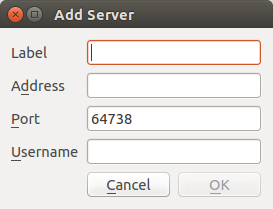
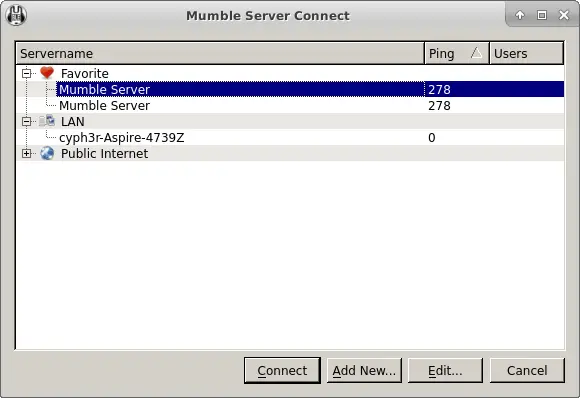
Enter the details and click ok. You will be connected to the server and you can g oahead with your work. After this whenever you start mumble you will be able to see you server under favourites:
There you go, you have now installed Mumble and can use it freely.

