On this page
How to use Stellarium's Oculars plugin to match your optics
Stellarium
The Stellarium virtual planetarium is one of the most widely used open source “specialized” tools in the world. It features a captivating dome that counts over 600000 starts, hundreds of constellations and asterisms, planets with their moons and realistic sky effects like atmospheric scattering, shooting stars and supernovae simulation. It can serve as an educational tool, telescope guidance software, position calculator, or even as a rendered for fish-eye projection on domes.
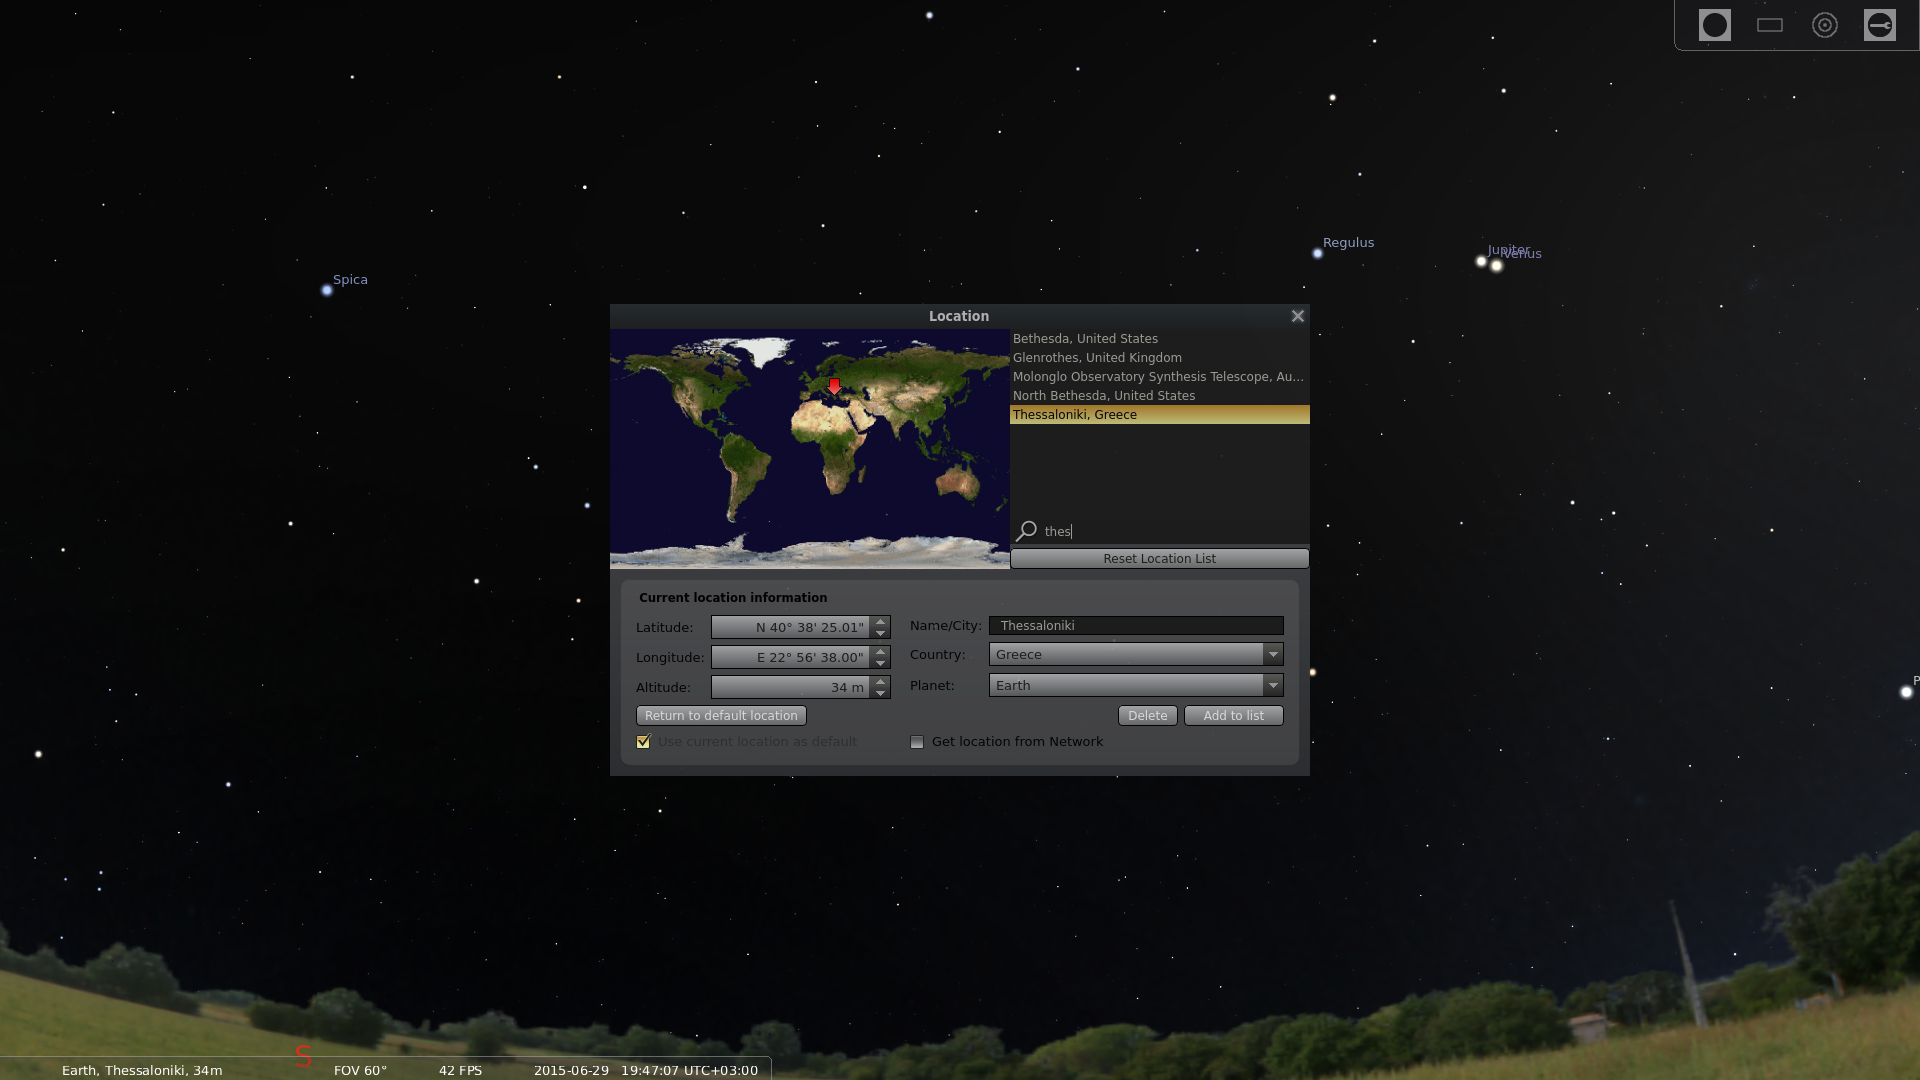
I use it to prepare myself for starry nights in my area, and I suppose that there are many people out there that use it for the same purpose. By setting your location through the “Location Window” (F6), the software will automatically set the coordinates of your position and then you may progress the time to see the “highlights” of the upcoming night and take your notes (or even screenshots). This saves time, looking at maps with red light in the dark, calculating sidereal times etc, and while many will argue that this is a big part of the joy that derives from being an amateur astronomer, many of us just skip it and go directly for the “meat” with automated go-to mounts anyway.
Oculars plugin
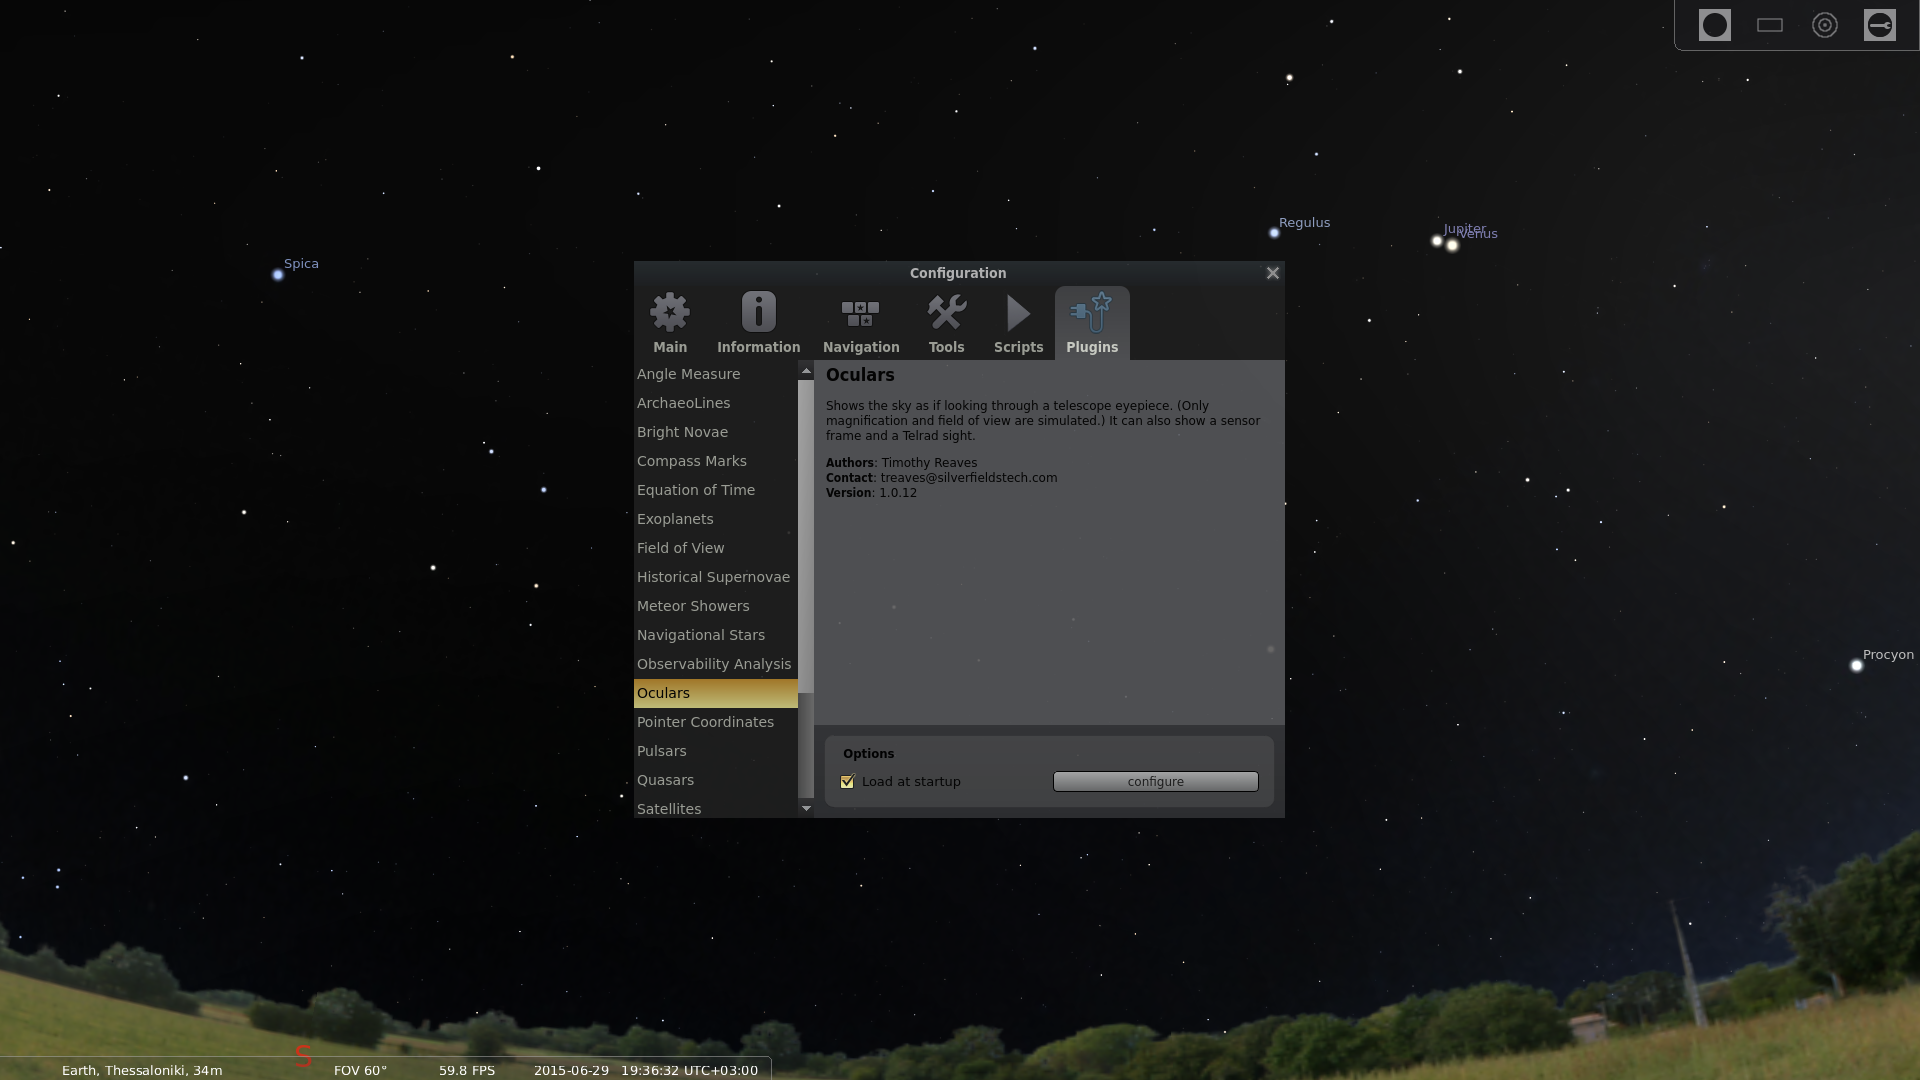
The oculars plugin is one of the many plugins that Stellarium comes equipped with by default, and can be used to allow users to see portions of the sky as if they were looking through a telescope. This makes it valuable in order to determine what eyepieces you'll need to take with you, what to use in order to “fill” that constellation in one whole view, and how big will this planet look at a particular magnification. To enable the plugin you can go to the “Configuration Window” (F2) menu, choose the “plugins” tab and tick the “Load at startup” box.
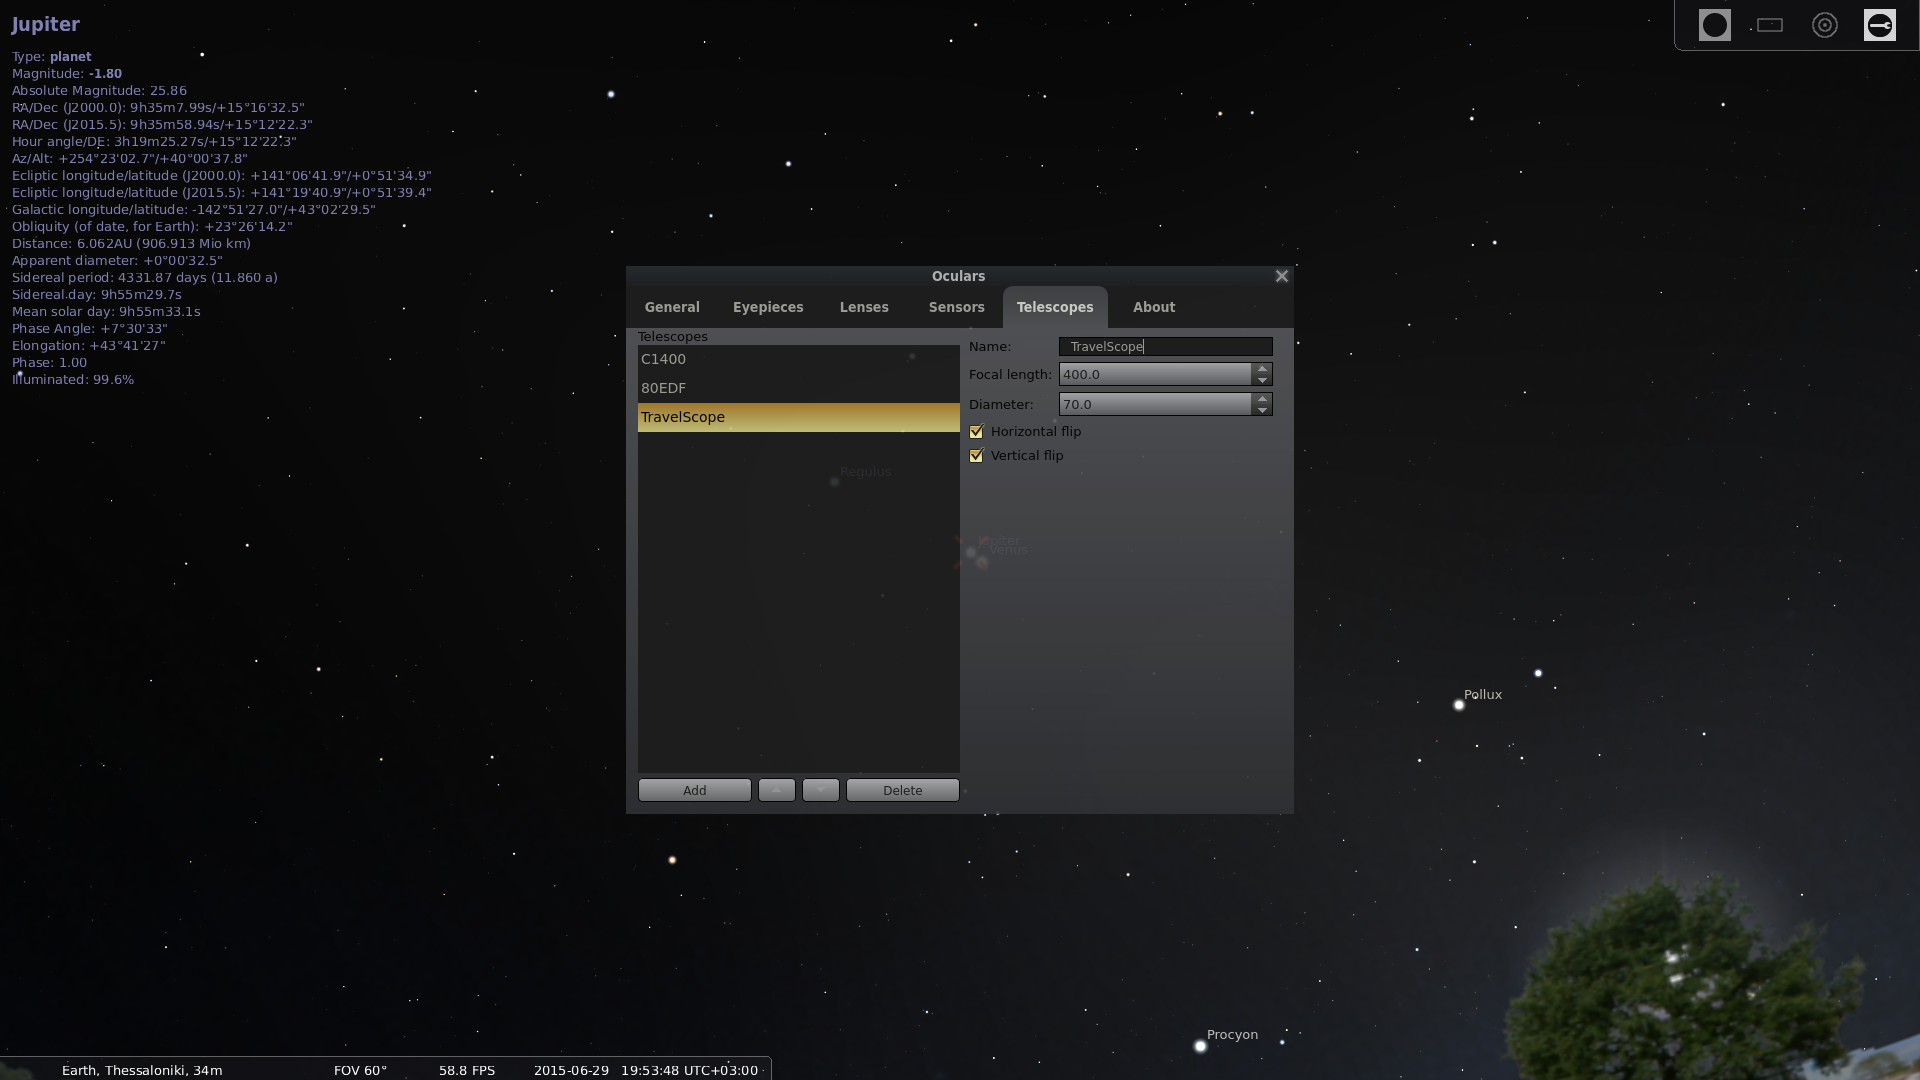
Now configuring the plugin correctly is the essential part of using it in a meaningful way. Press the “configure” button located on the bottom right and go first to the telescope tab to add your telescope. Press the “Add” button, name your telescope and enter its technical characteristics. It is very important to set the “focal length” right as the magnification will be calculated based on this value, but you shouldn't worry about the diameter much as it actually won't change the depiction quality (resolution, sharpness etc) at all.
You may then go to the “Eyepieces” tab and add your eyepieces. The field of view and focal length will determine how close you see the object and how much of the sky you can view through the eyepiece. The eye relief though couldn't be given in any way by the software, which should be taken into account in reality. This is where you can also add binoculars. If that is the case, note that your pair of binoculars have two numbers written on them, like let's say 20x50 for example. The first number is the magnification factor that you'll have to input to Stellarium. Feel free to disregard the second number as it is the objective lens diameter. To enter Barlow lens, you can go to the “Lenses” tab.
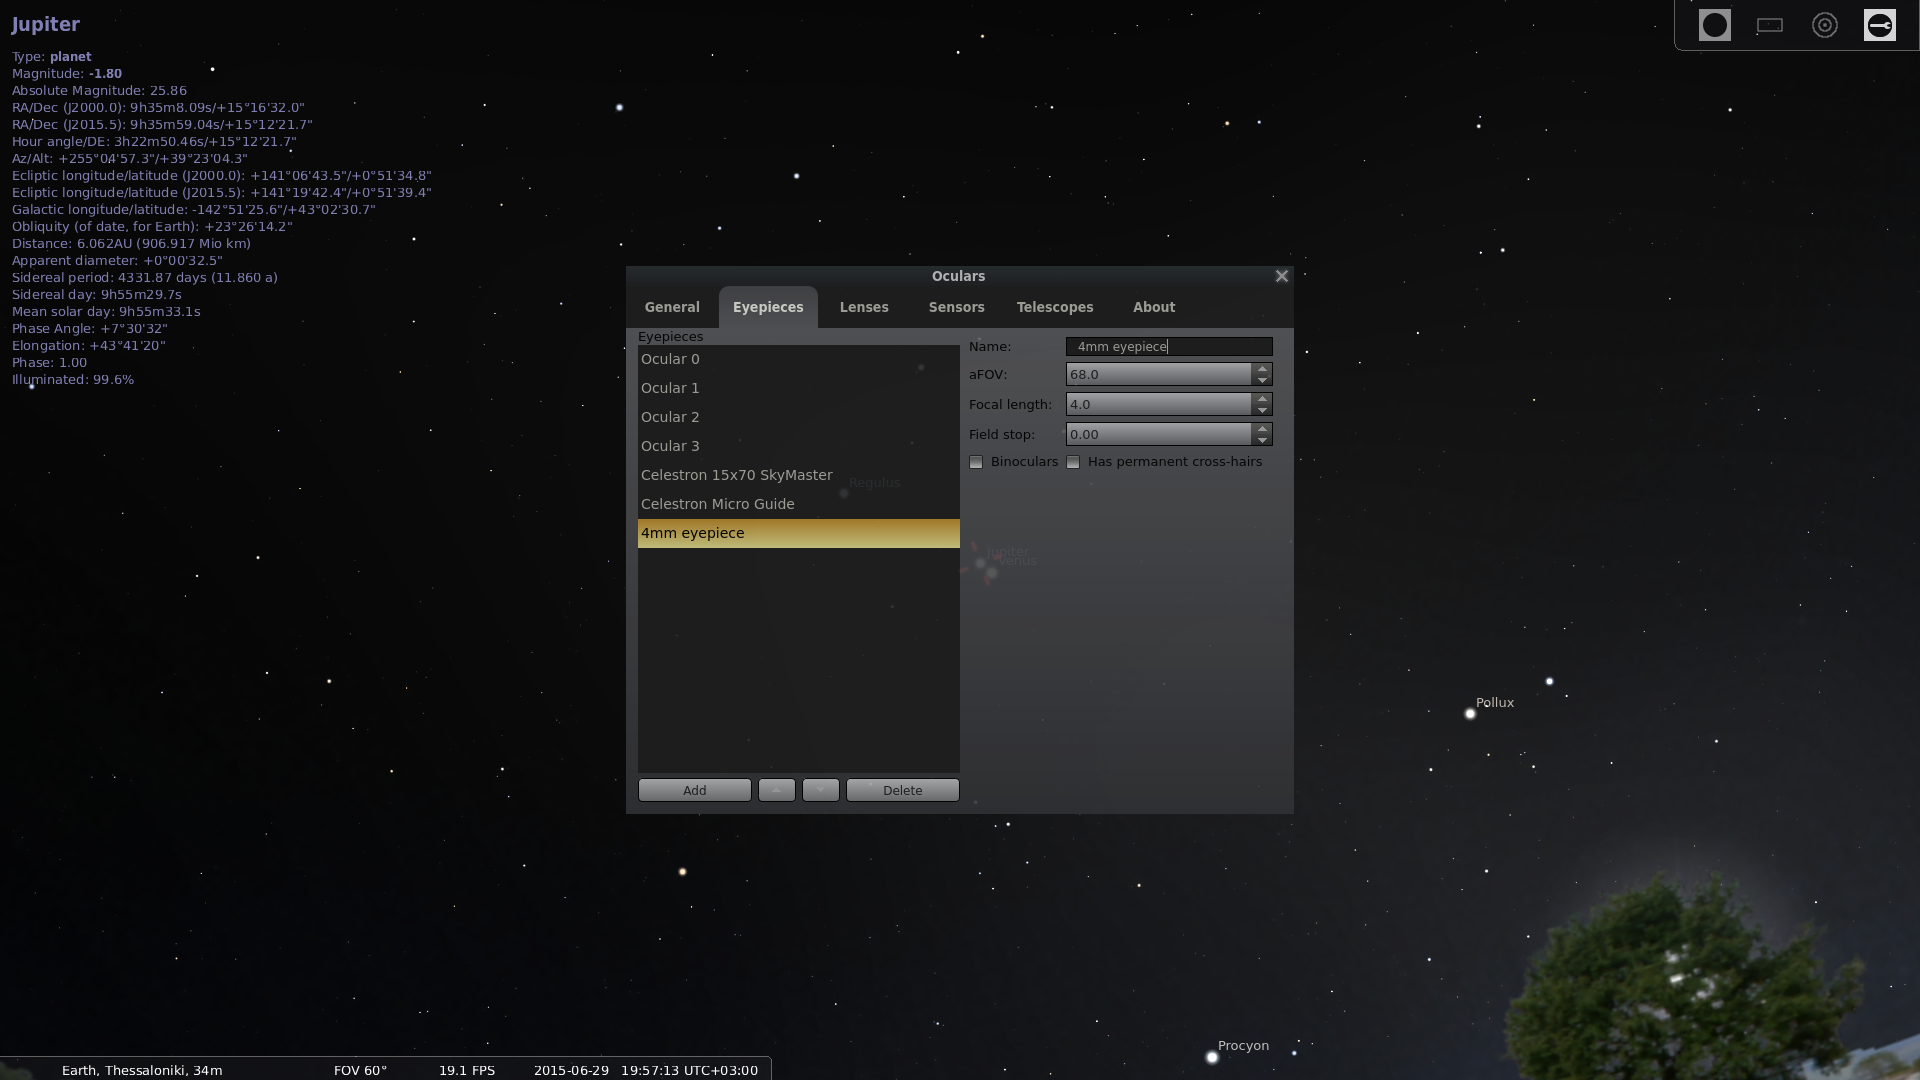
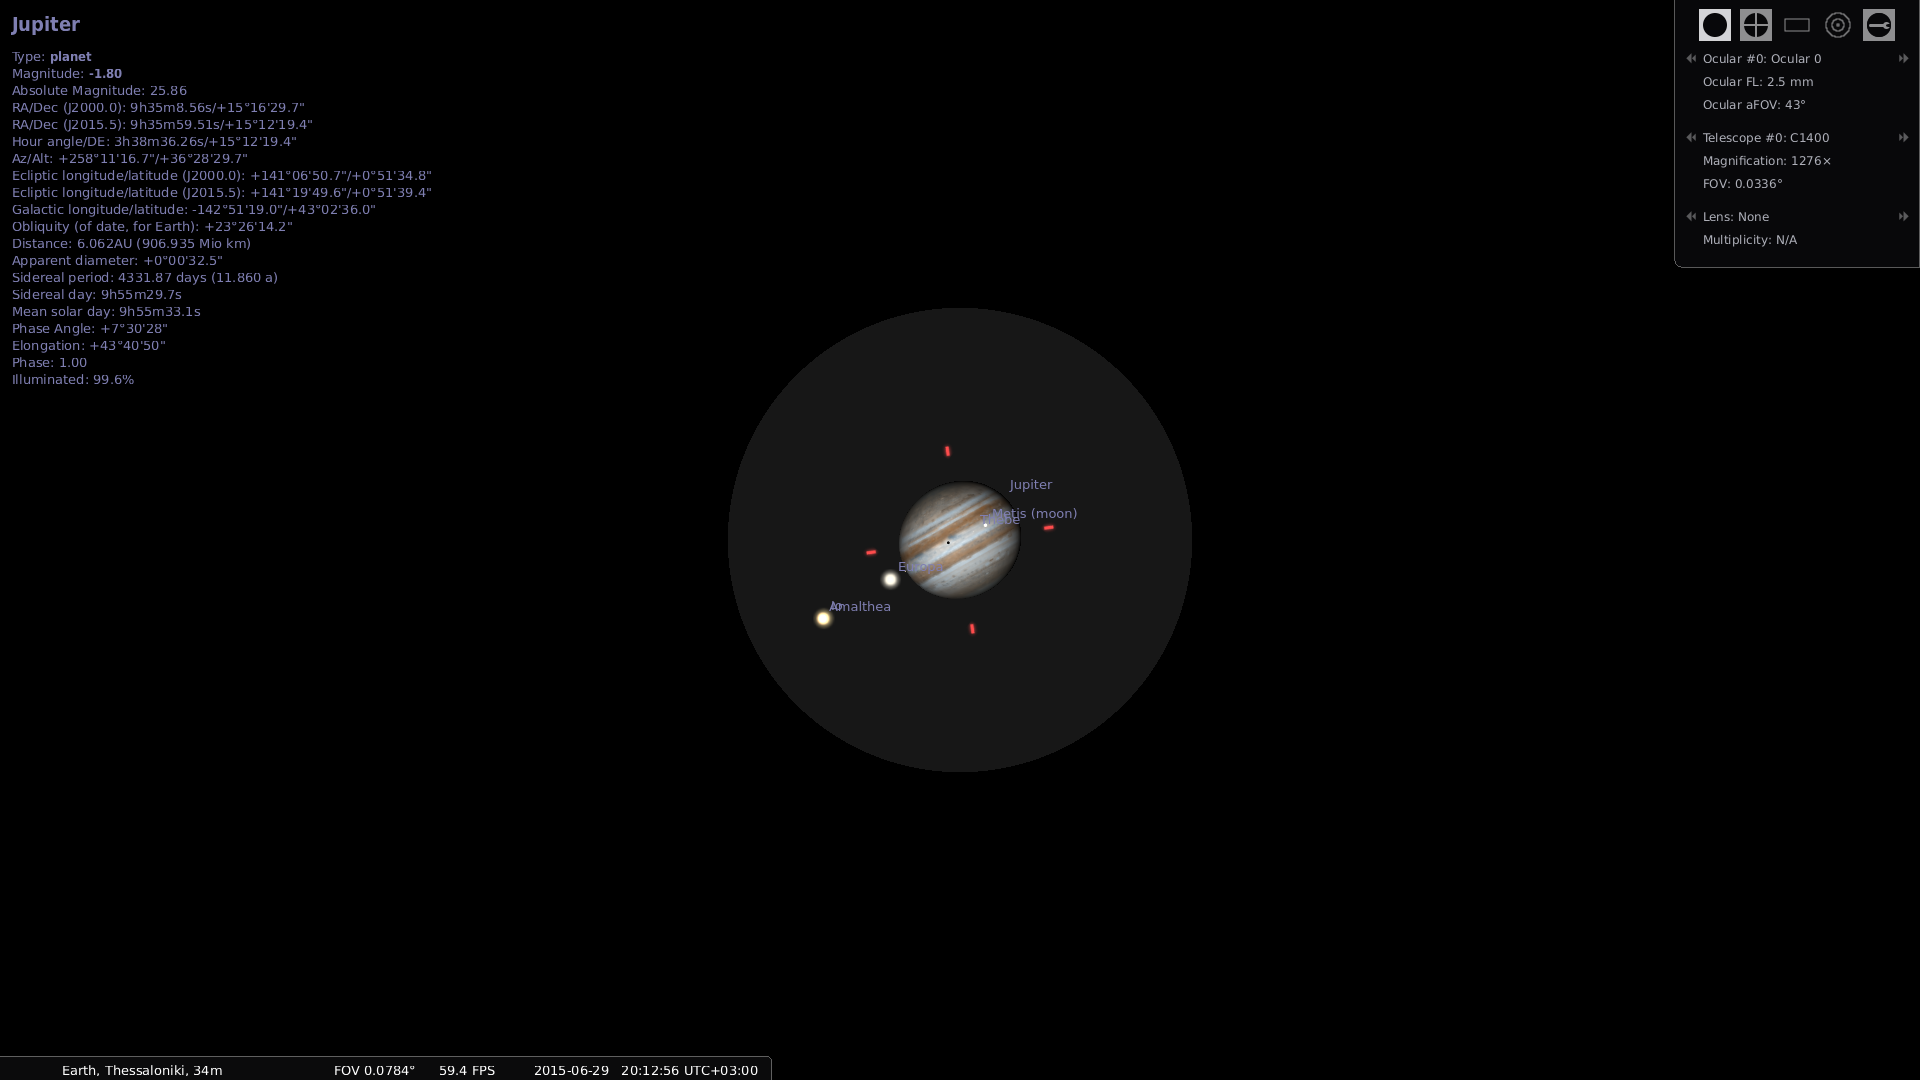
Now if you restart your Stellarium, you should get a faint menu on the top right that is the Oculars plugin menu. You may press the element on the left or “ctrl+o” to go into “ocular mode”. From there, you may change the scope and eyepieces and test the various available configurations to see what the results will be. For example, this is how Jupiter and some of its moons would look through a 14 inch catadioptric, combined with a 2.5mm eyepiece that theoretically gives a 1276x magnification. Clear skies!