How to build a custom Linux distribution using SUSE Studio
Although there are countless different GNU/Linux distributions out there for people to choose from, you may not find exactly what you're looking for and that is perfectly normal. If you're in this position, you have three choices: a.) Download a distribution that is the closest to what you want and spend some time and effort to bring it in the form that you want it if possible. b.) Use Linux from Scratch to build your own custom-made distribution. c.) Use SUSE Studio to generate a highly tailored Linux system based on the latest openSUSE. On this tutorial, we will explore the third scenario which is actually the easiest as well.
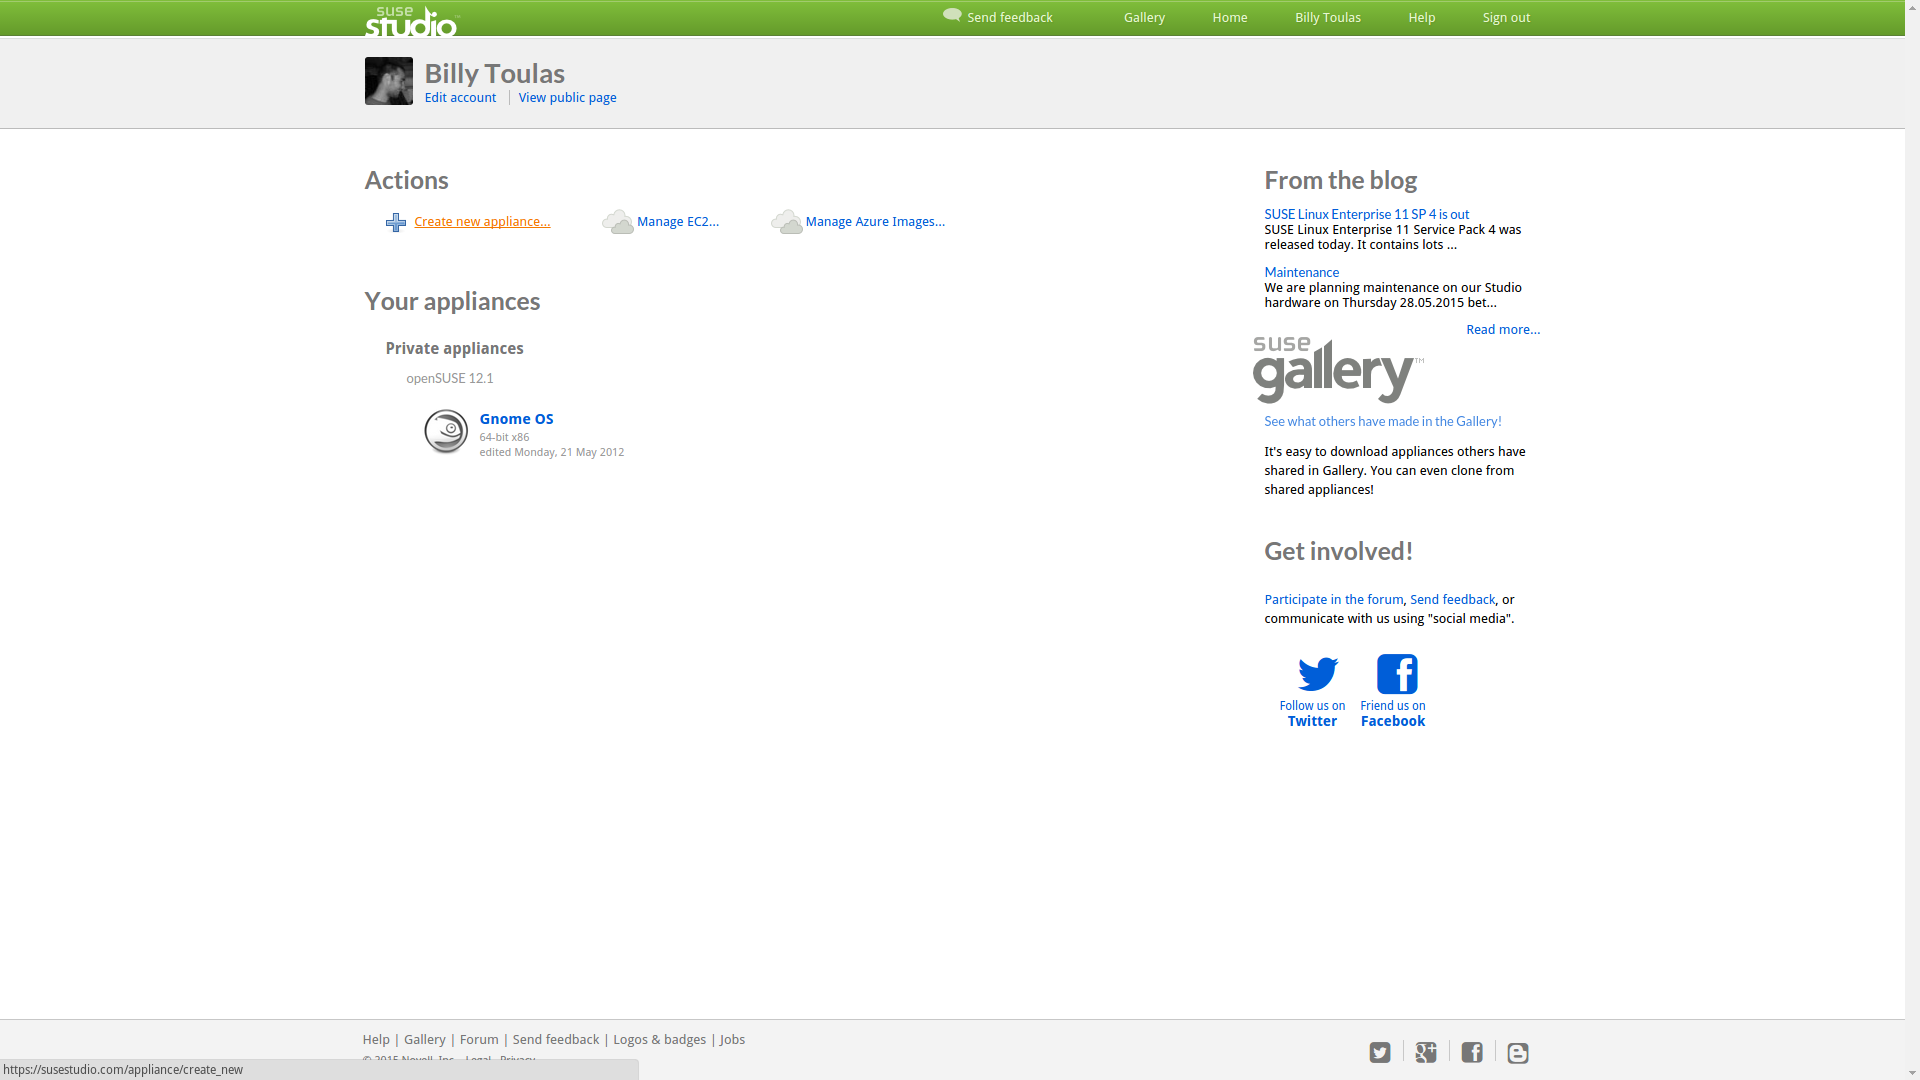
Building a new system on SUSE Studio presupposes the creation of an account on the platform. Do that and login to get started. Once you login, you can press the “create new appliance” to start the building of your own system.
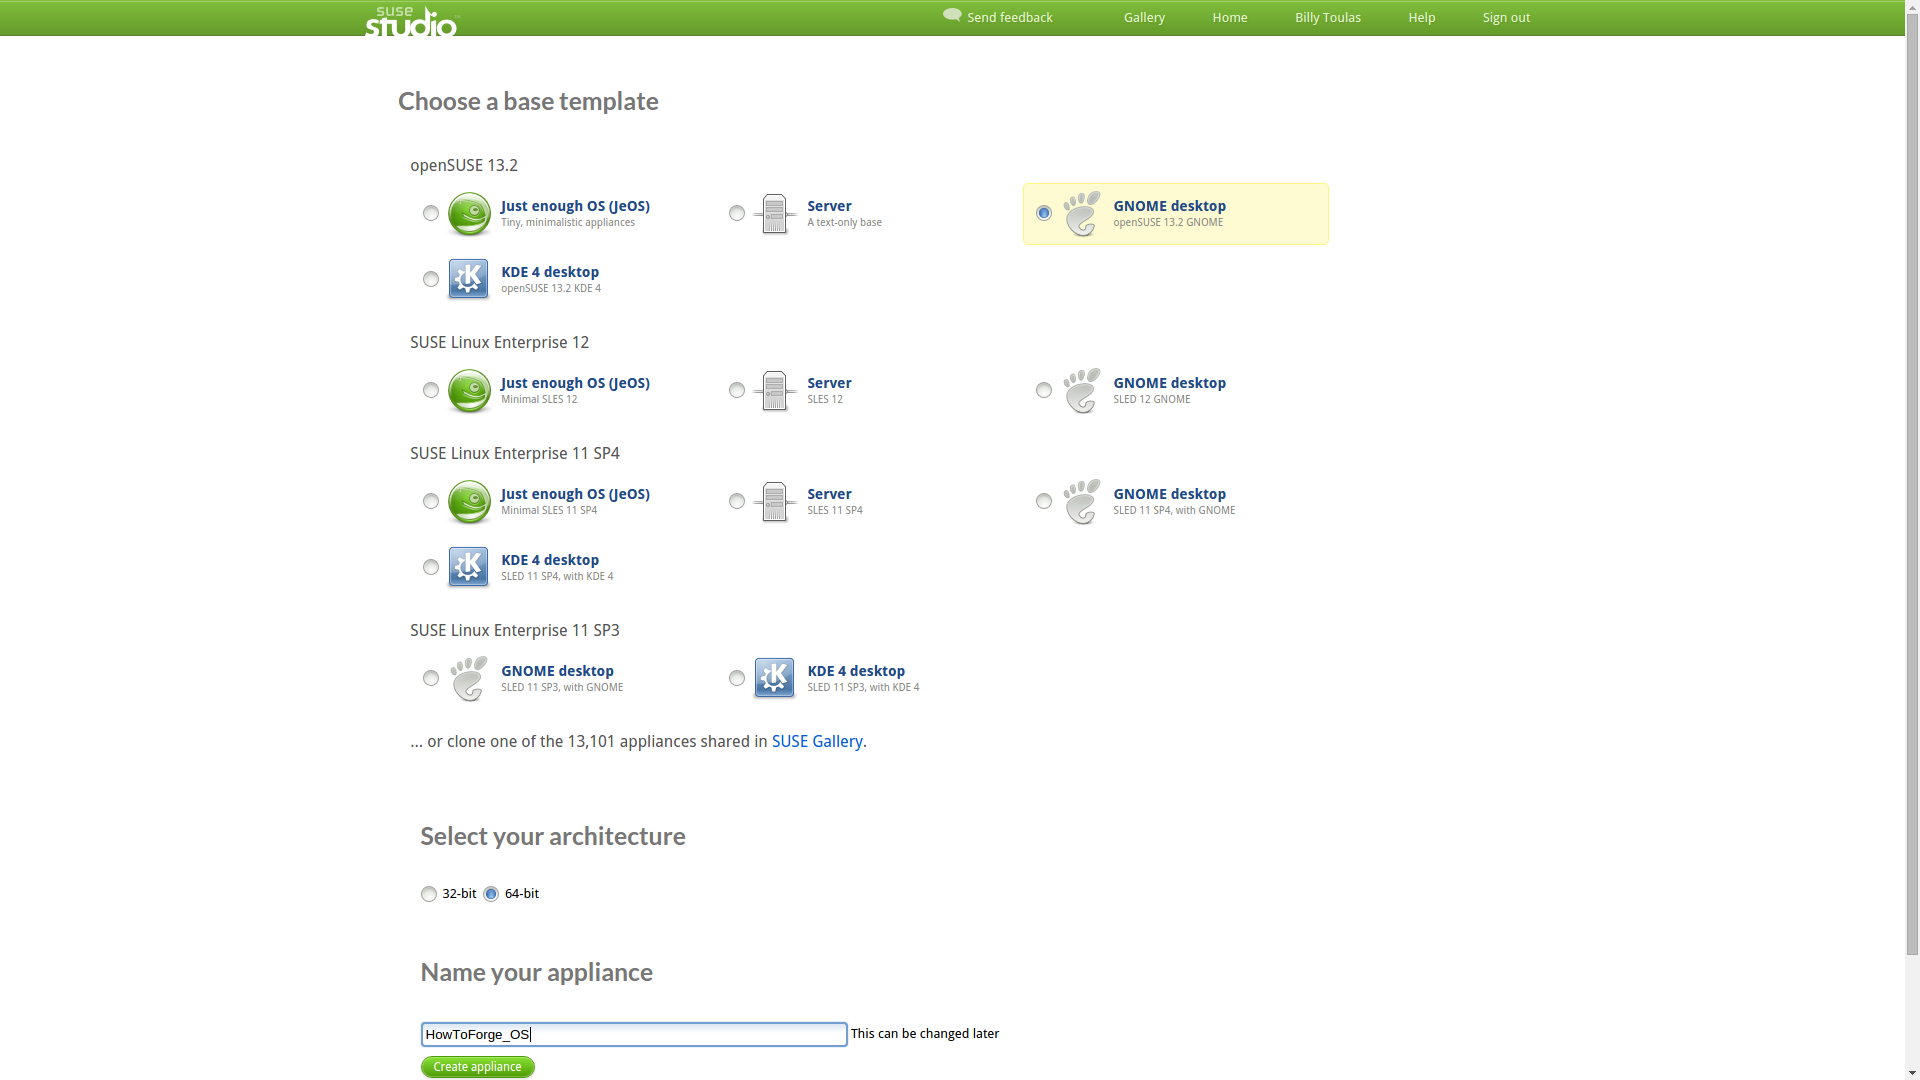
The next step is about choosing the basis for your system. The options range from the latest openSUSE installment to the last three SUSE Linux Enterprise versions. For my purpose, I chose openSUSE 13.2 with the GNOME desktop environment in 64-bit.
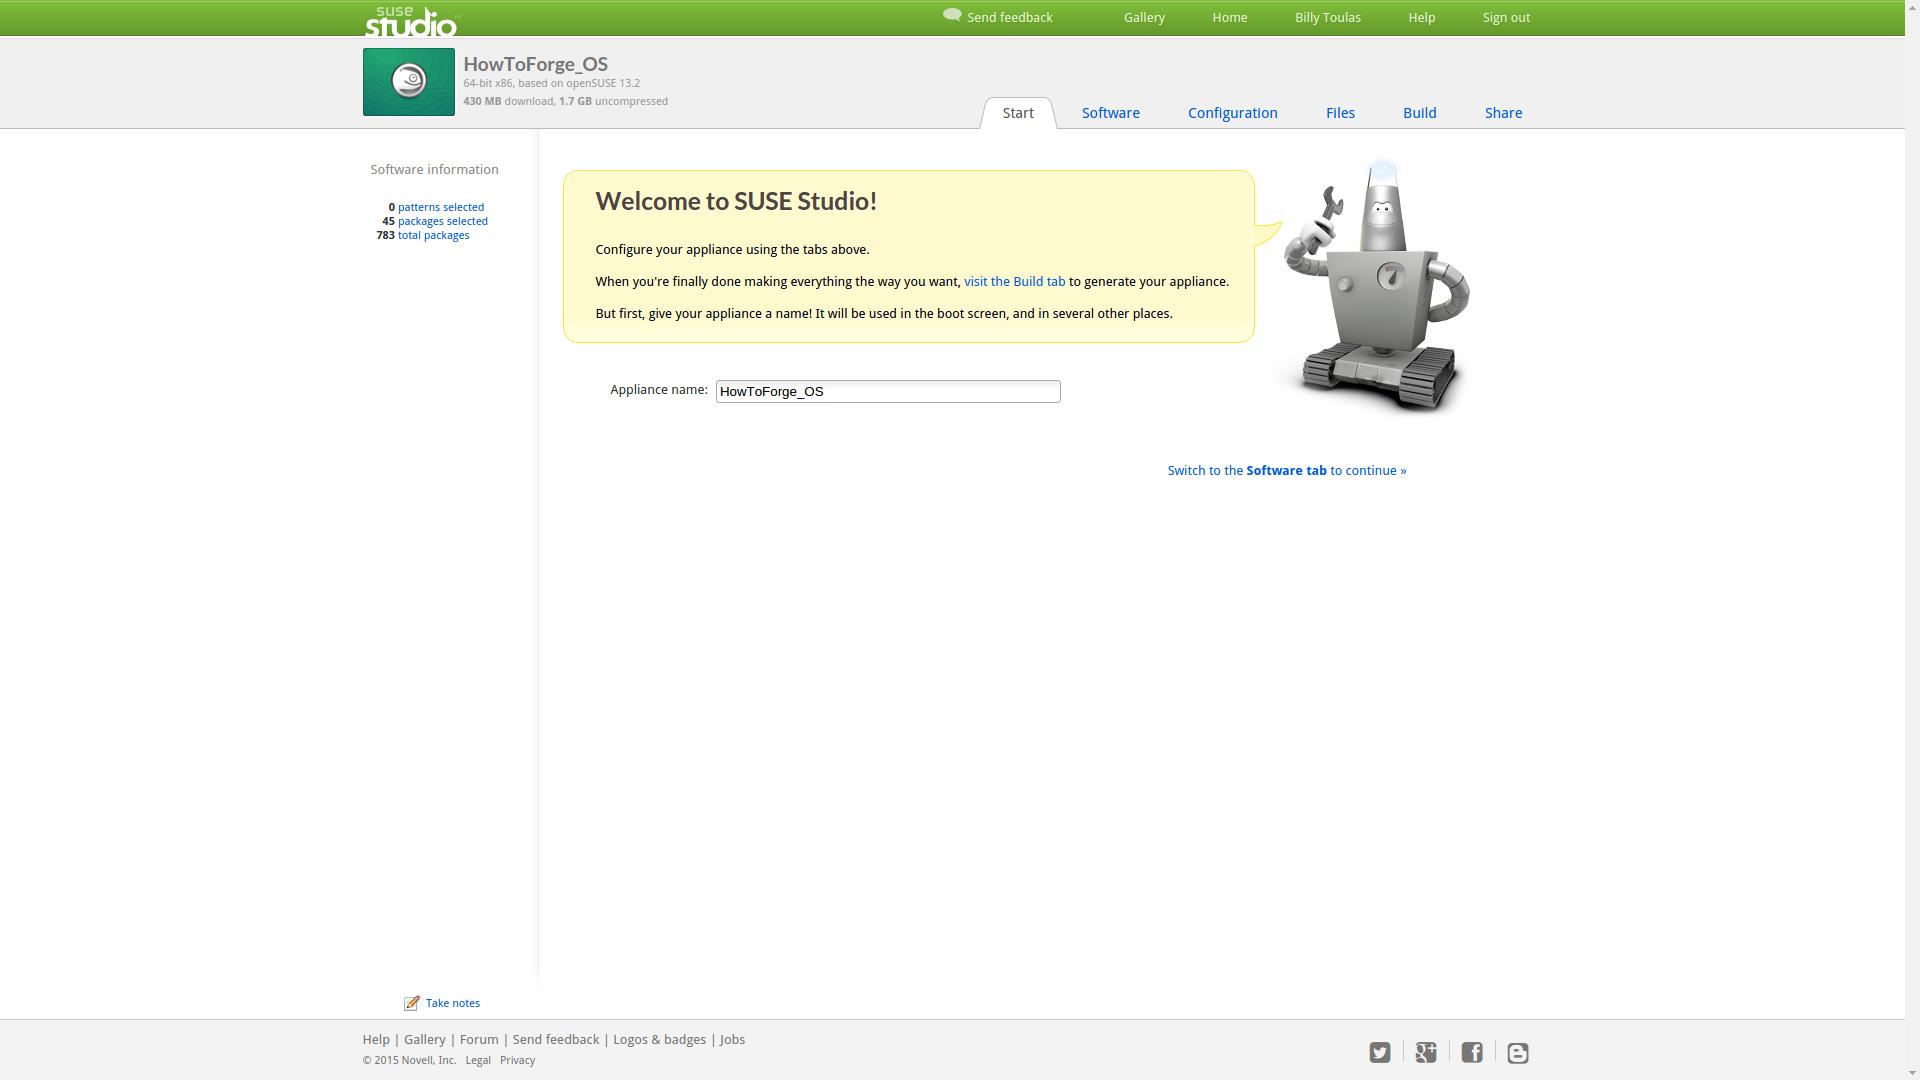
After a little bit of waiting, you will enter a new phase where all of the details of the system can be set. On this screen, there are six tabs that correspond to options of different aspects of the system.
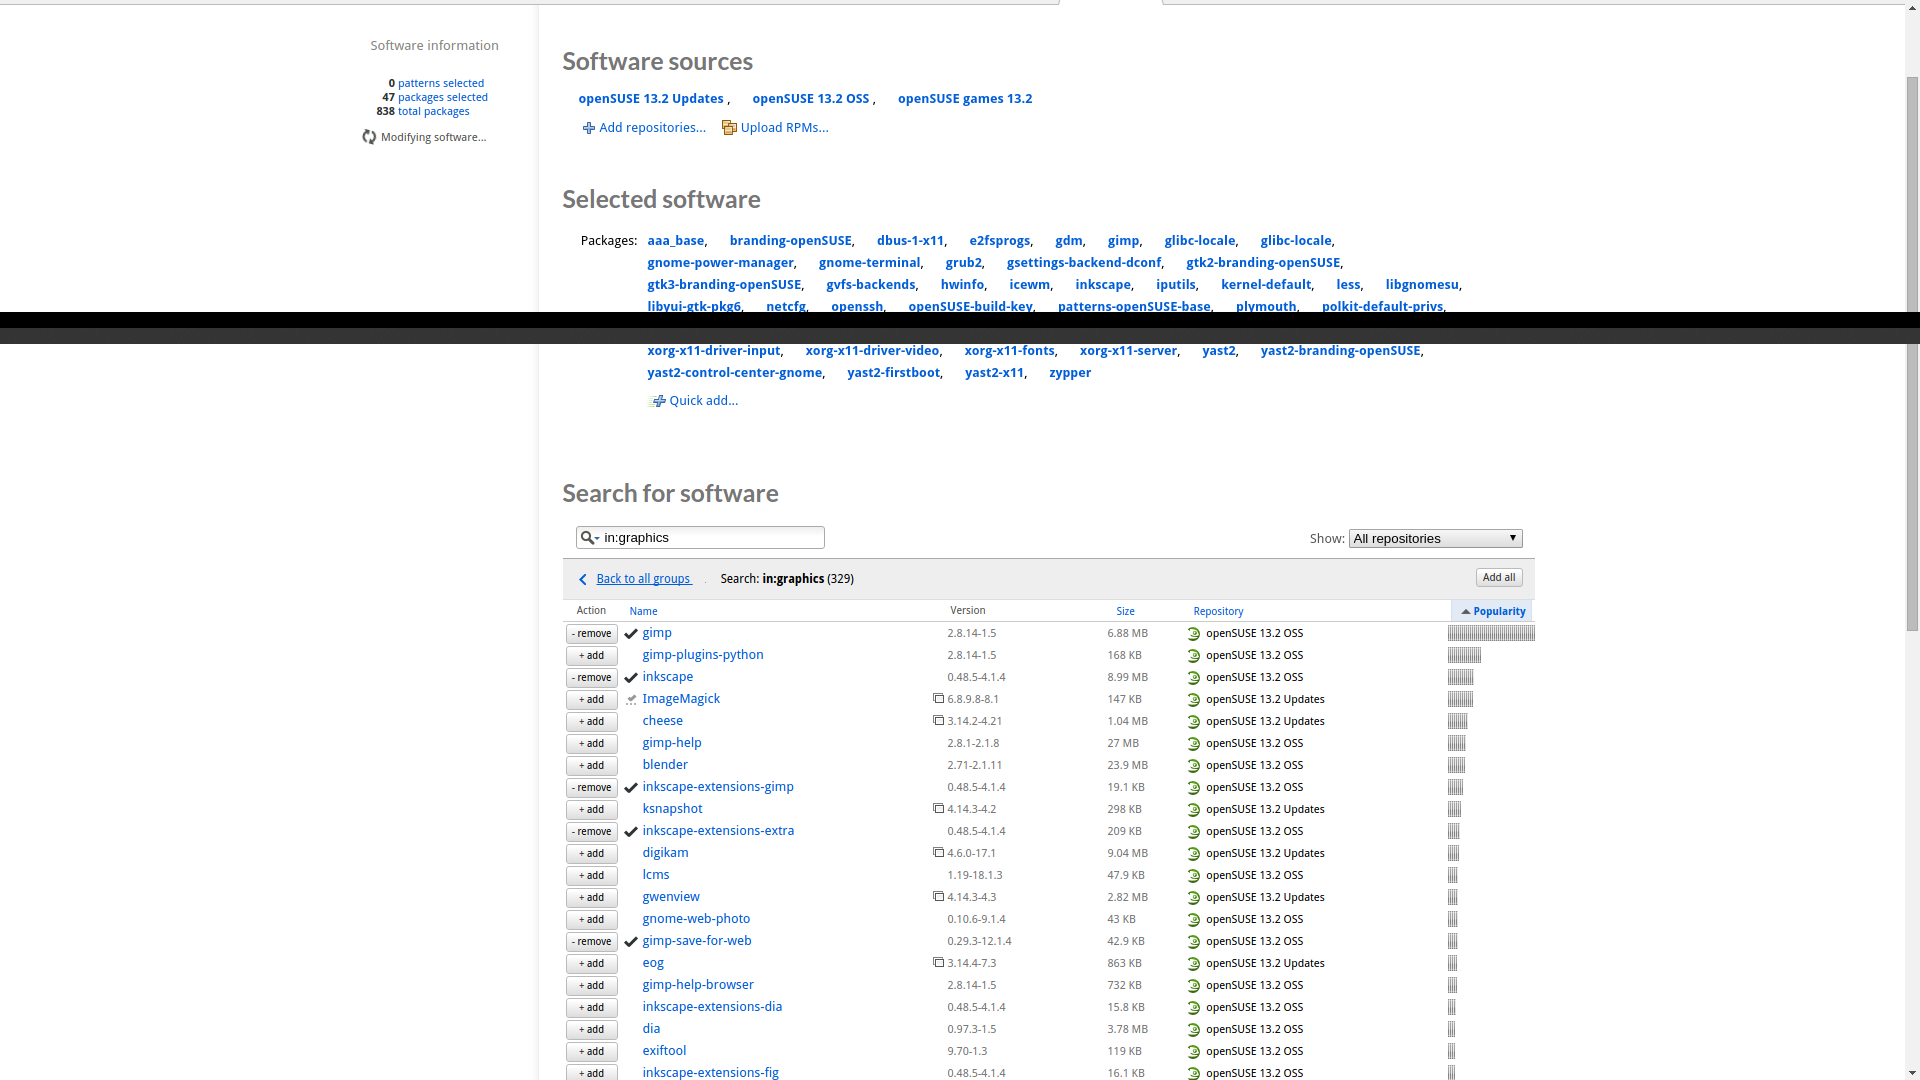
Making your distribution unique is all about the default software package choices and the default settings. Choose what software packages you want to include in your distro, but act wisely as to not increase its size too much.
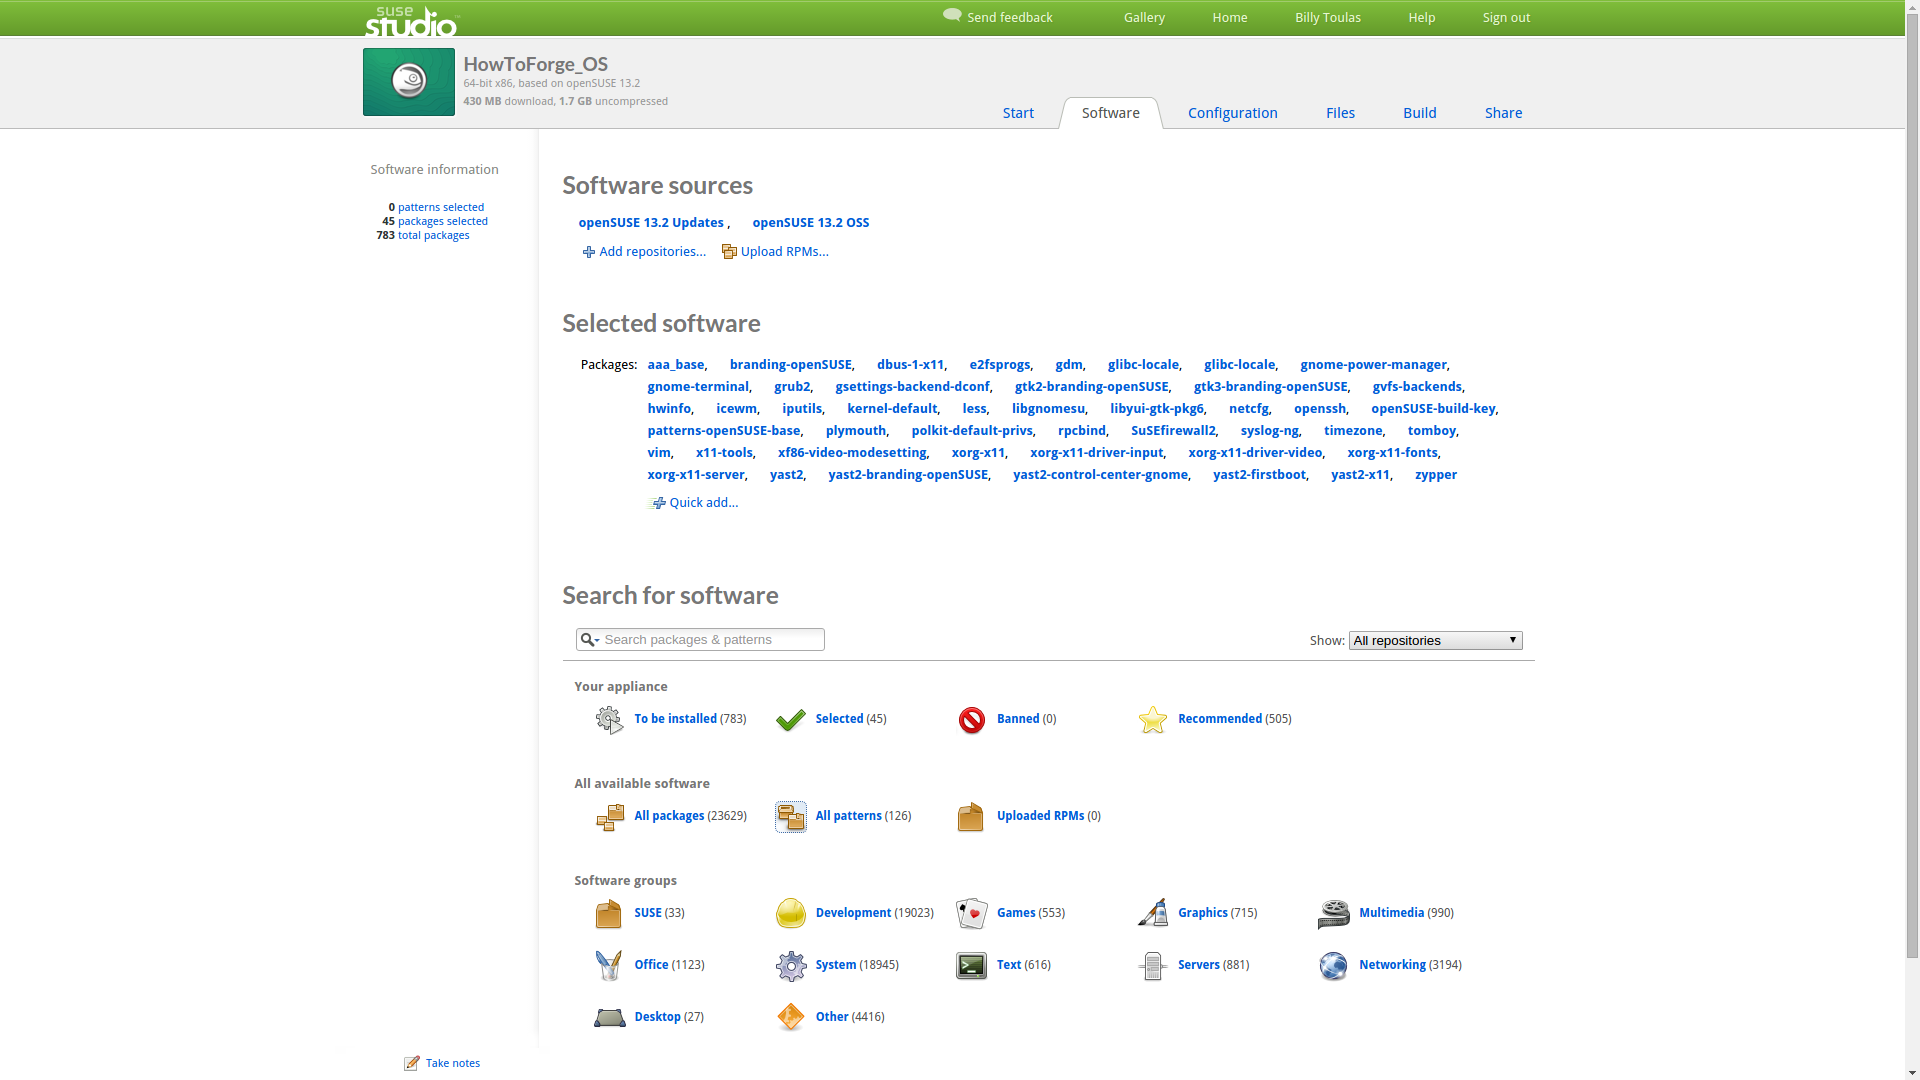
You can even add or remove repositories at this point if you want to include a package that isn't available in openSUSE default sources. I have added the openSUSE games repo in order to include the package flighgear in the package selection phase. This distribution is certainly about to take off soon.

Get back to the previous screen and choose a category. After that, you can choose one of the active repositories from the right, and then click “add” to select the software packages you want pre-installed with your system. Here I added gimp and inkscape along with some added extras.
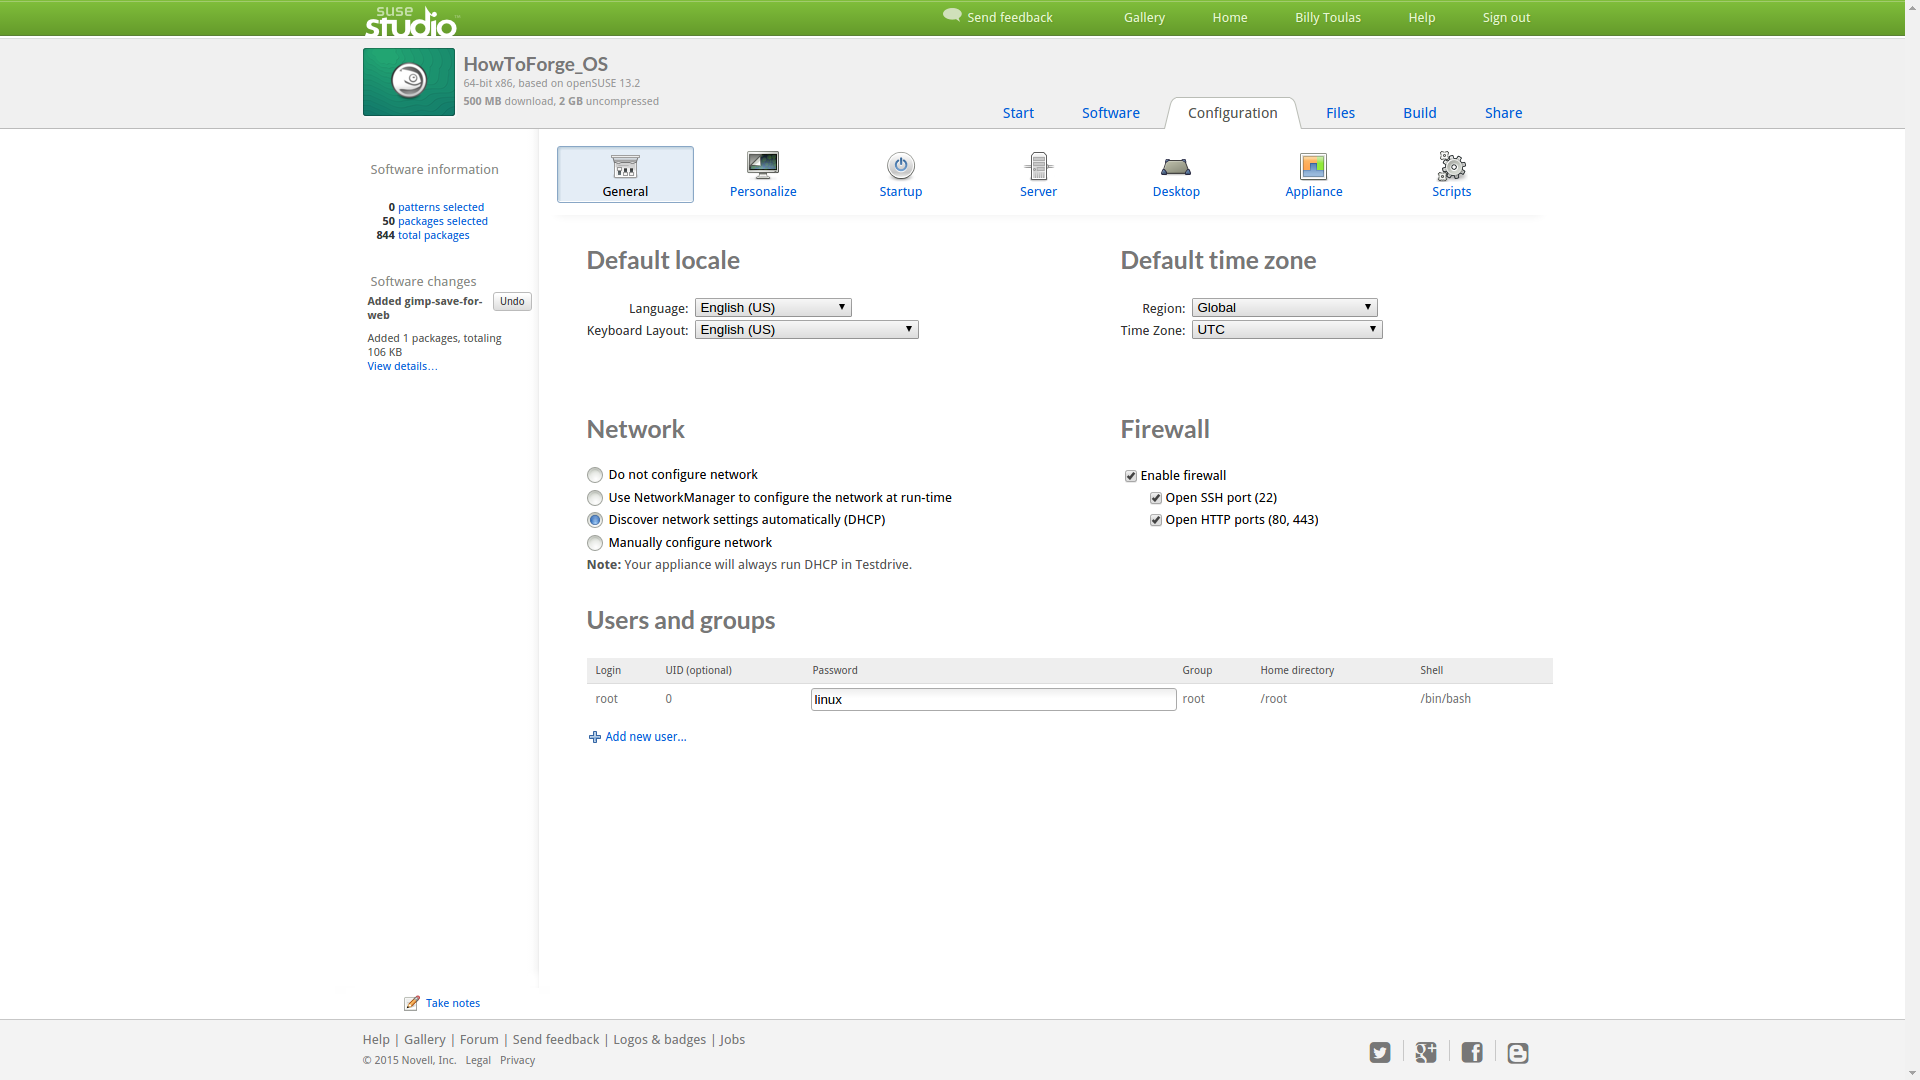
In the configuration tab you will be able to select all of those details that make your distro special. Choose a language, add a user/pass, and select your firewall settings.
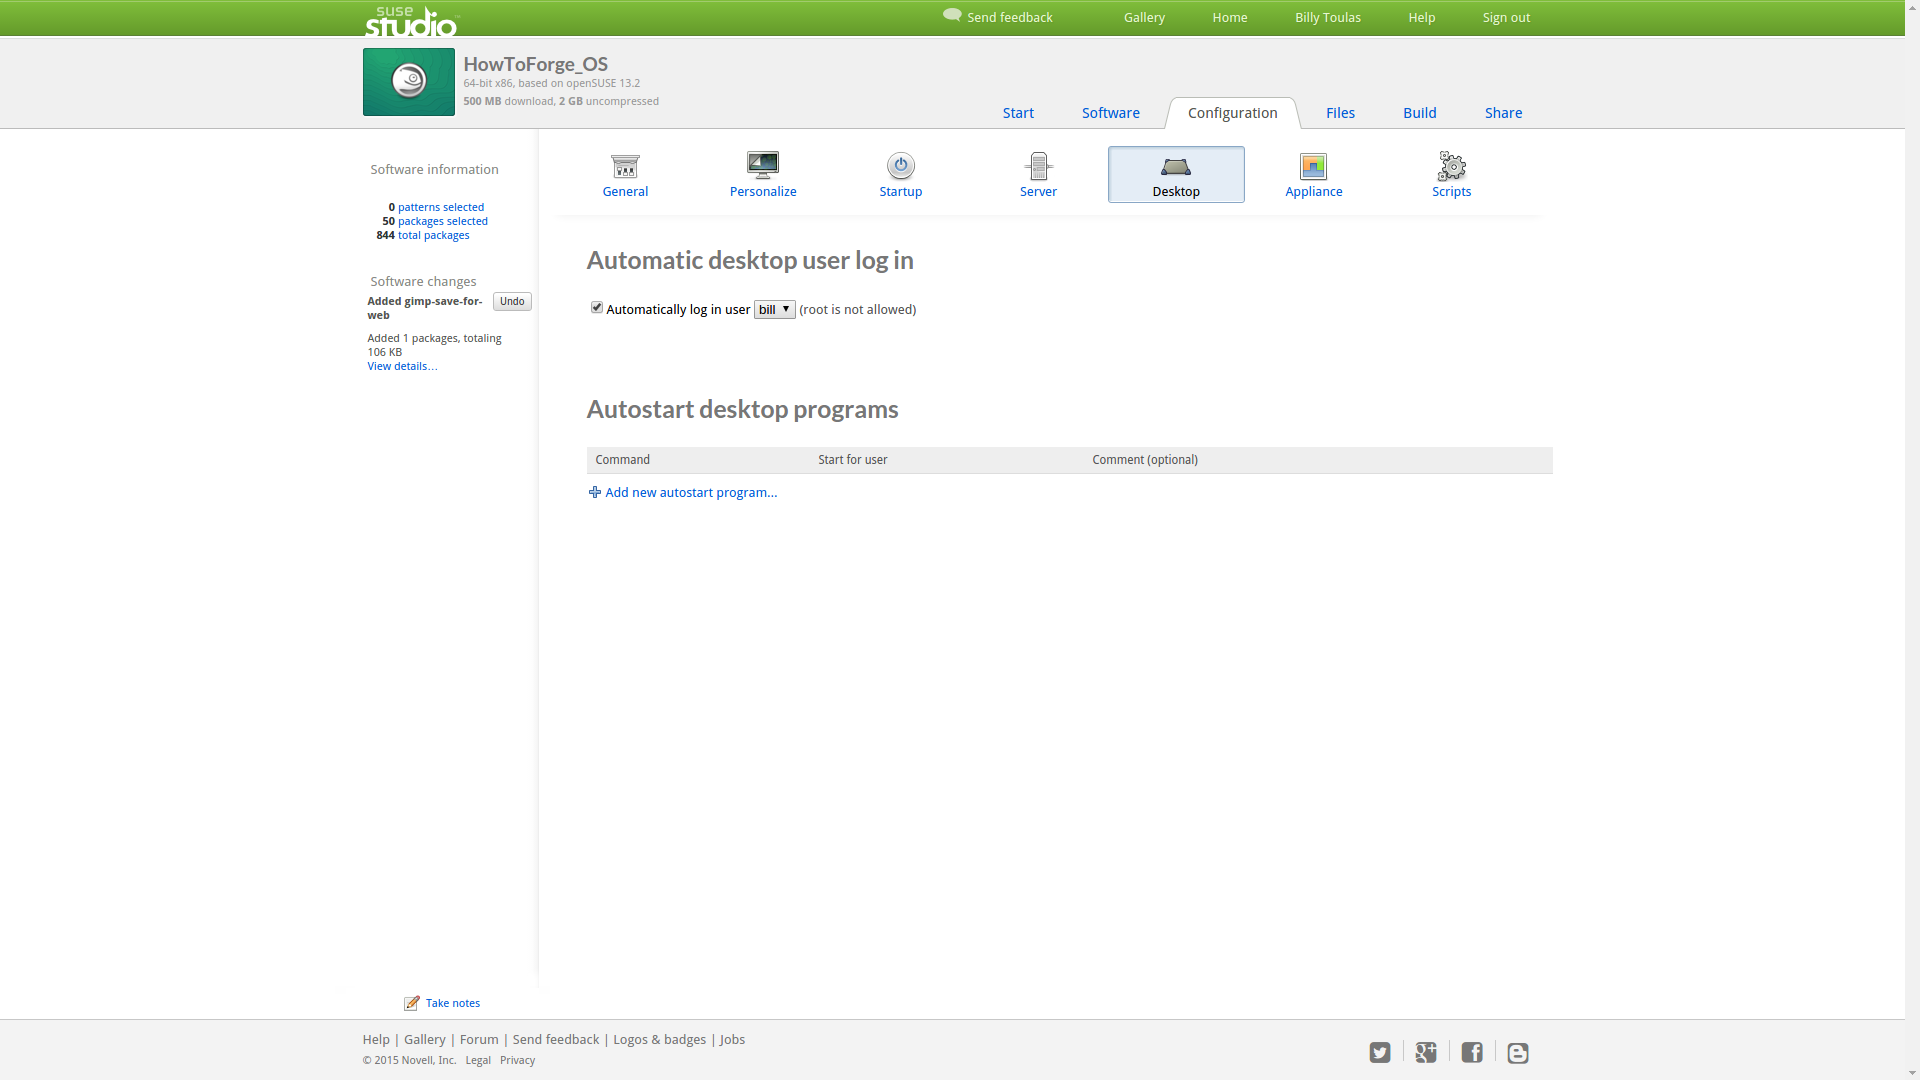
Automatic user login? Sure, I'll check that!
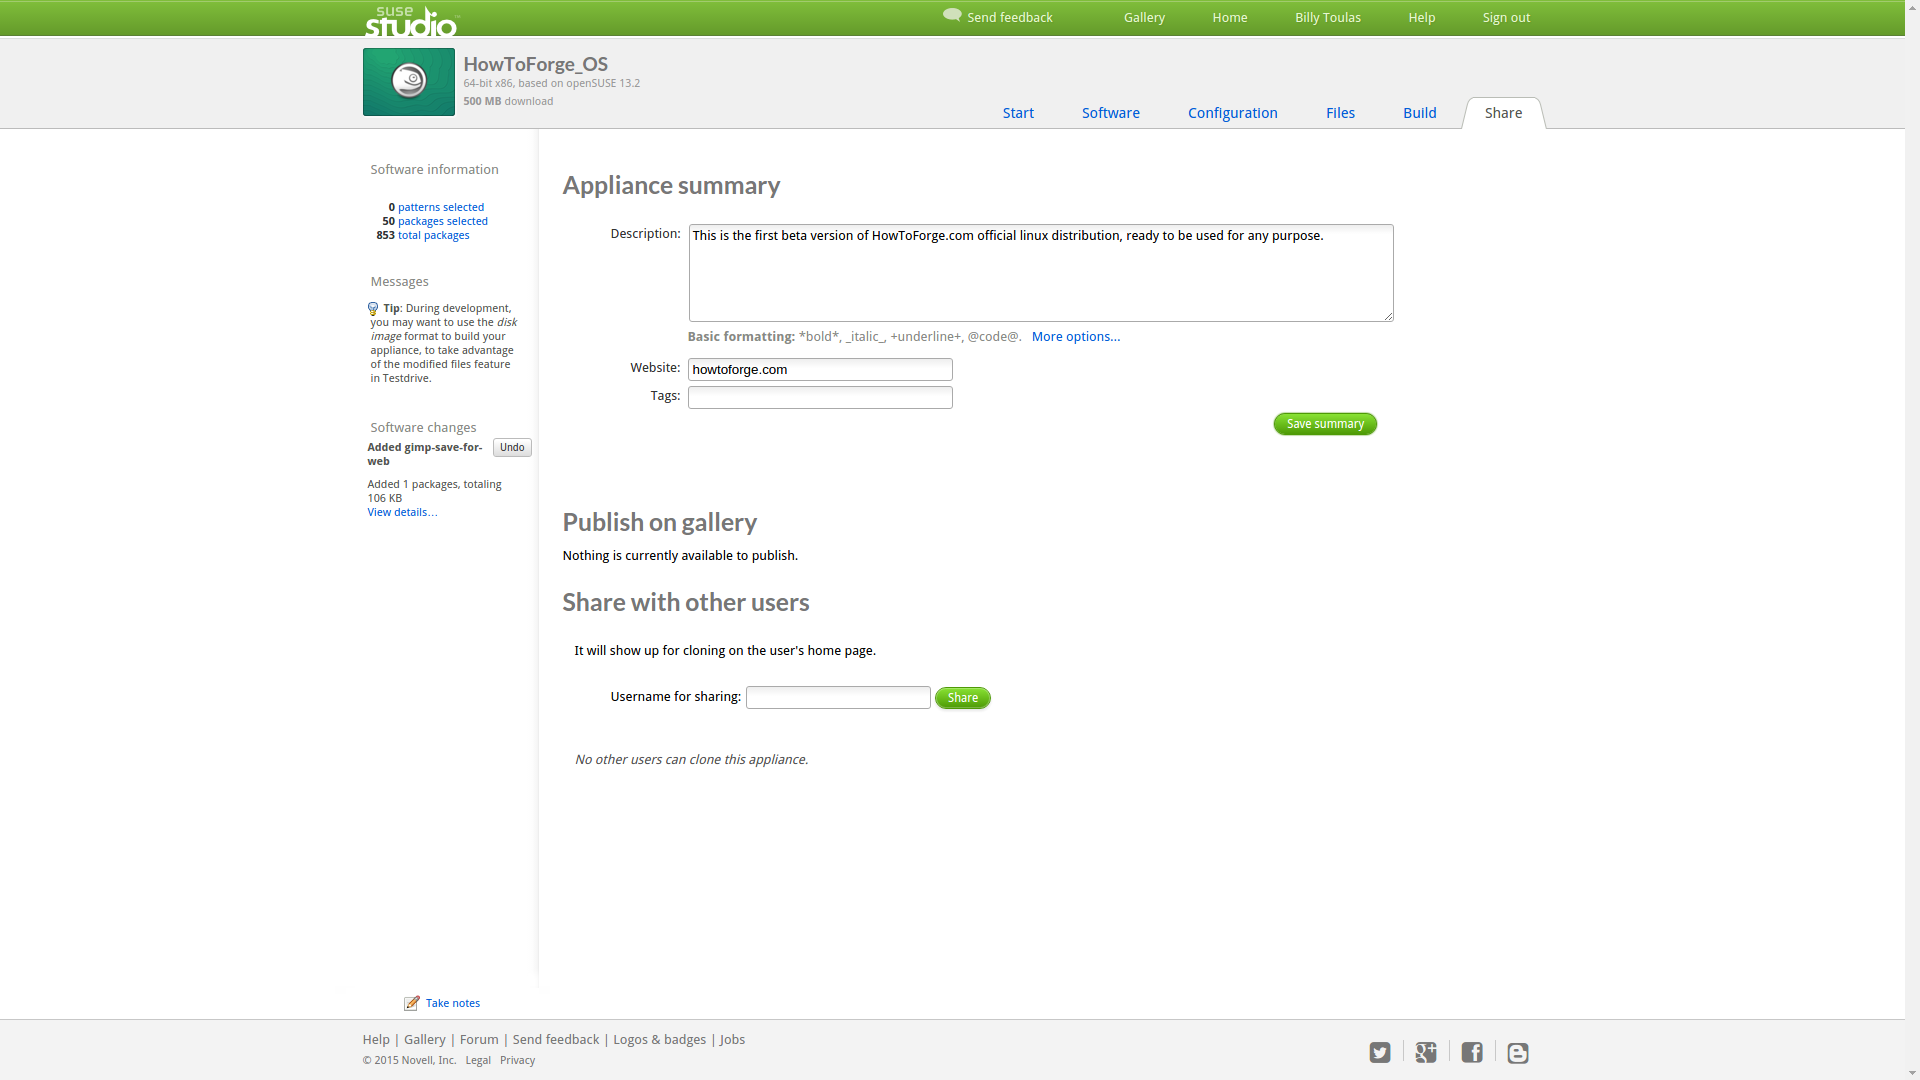
This is supposed to be a very early alpha of HowToForge OS, so I needed to add the proper logos to make it look like one.
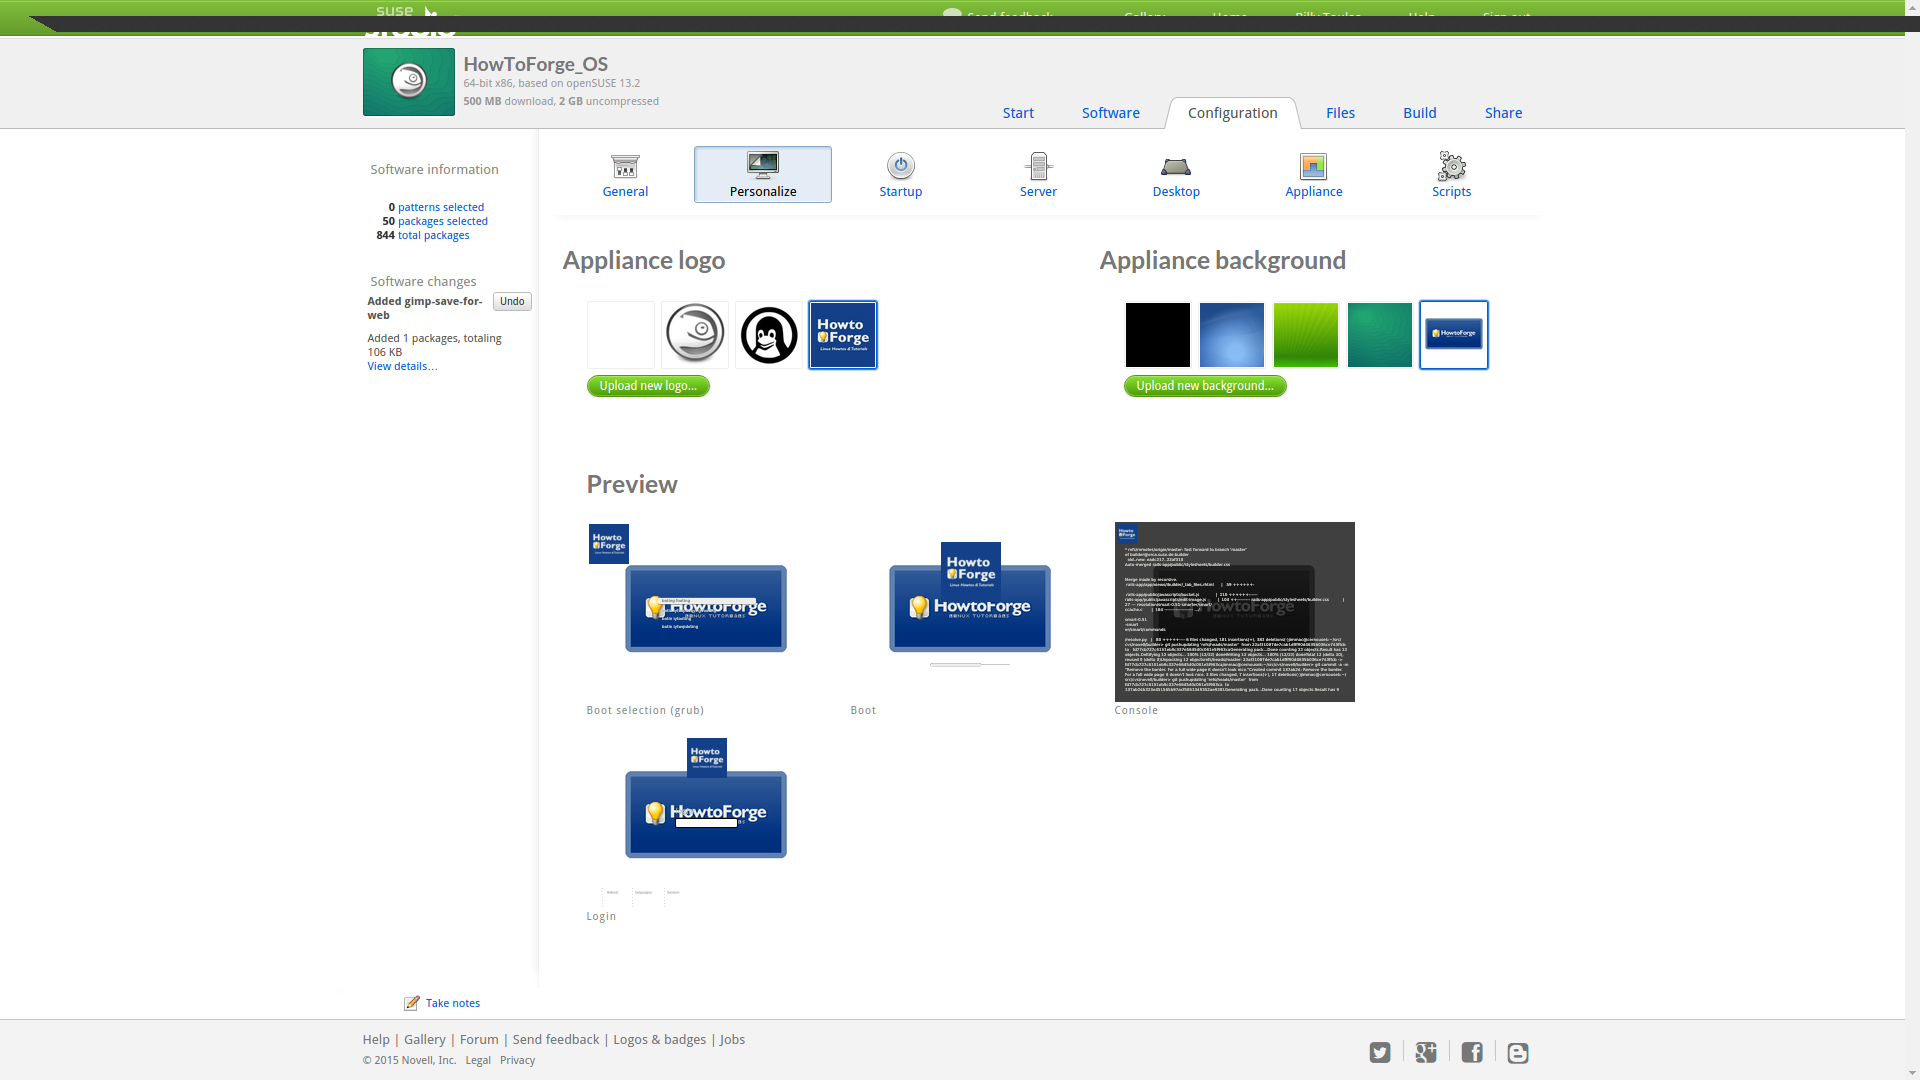
A short system description is also very important when sharing your work with others.
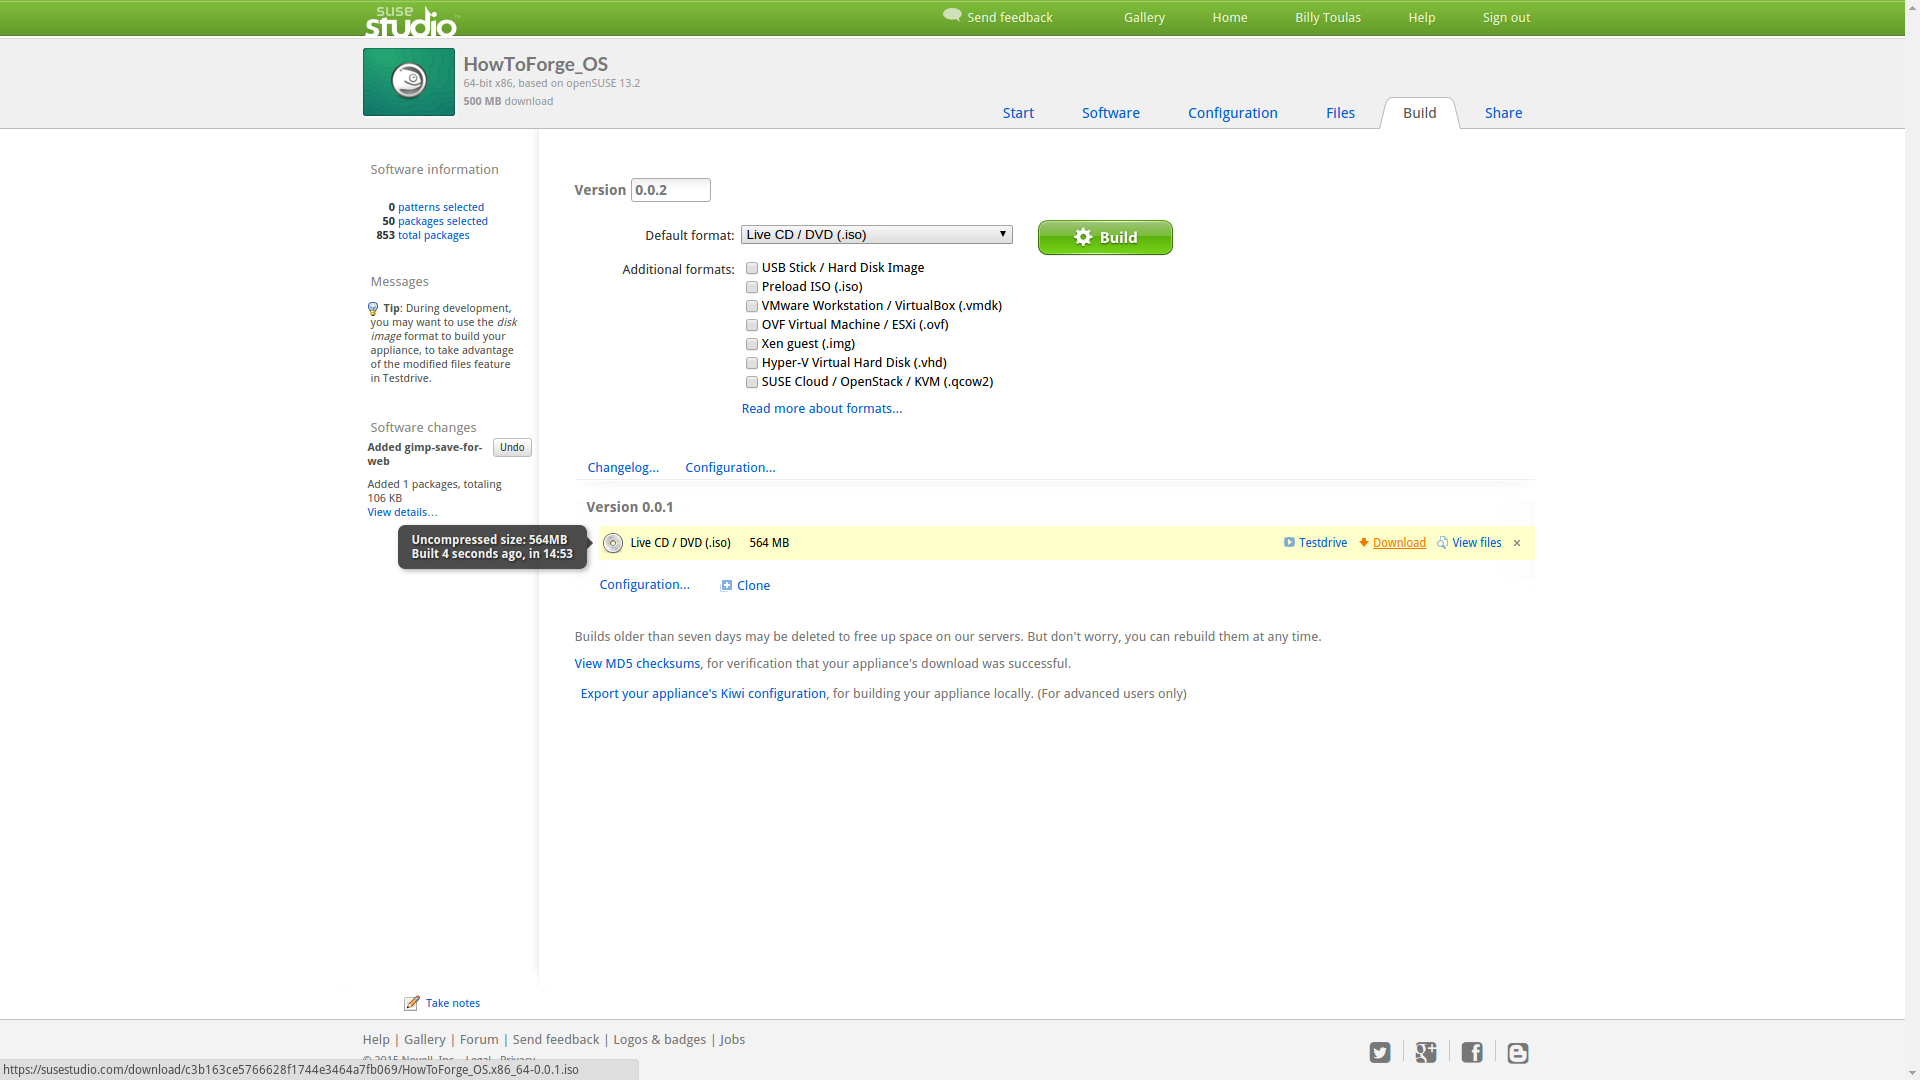
Finally, choose your preferred format and press the Build button. SUSE Studio offers all of the possible formats that you may need and can even build multiple versions of different formats.

The building process may take a while depending on the total size of the created distribution, but the result is worth the waiting. Press “Download” and enjoy your new system.
There are limitless possible uses for SUSE Studio really. You can create a barebone system rescue CD loaded with ClamAV and hard disk partitioning tools etc, or you can build a fully featured system of many gigabytes that contain everything out of the box. The only limitation is that it will be based on openSUSE but that's not a very bad thing if you ask me. OpenSUSE is a fully-featured and well-supported distribution with a large community of users and developers around it. Have fun!

