How to generate a animated GIF or movie out of images on Linux
On this page
It is very unlikely for anyone nowadays not to own a device that is capable of shooting many consecutive pictures (burst mode). While this is useful for helping you take the perfect shot in sport events etc, you may want to use some of those successive frames to create a movie. Thankfully, you can do this very easily on Linux. In this tutorial, I will use five (not so closely successive) shots of my Cockatiel parrot bird trying to drink some of my coffee.
Using GIMP
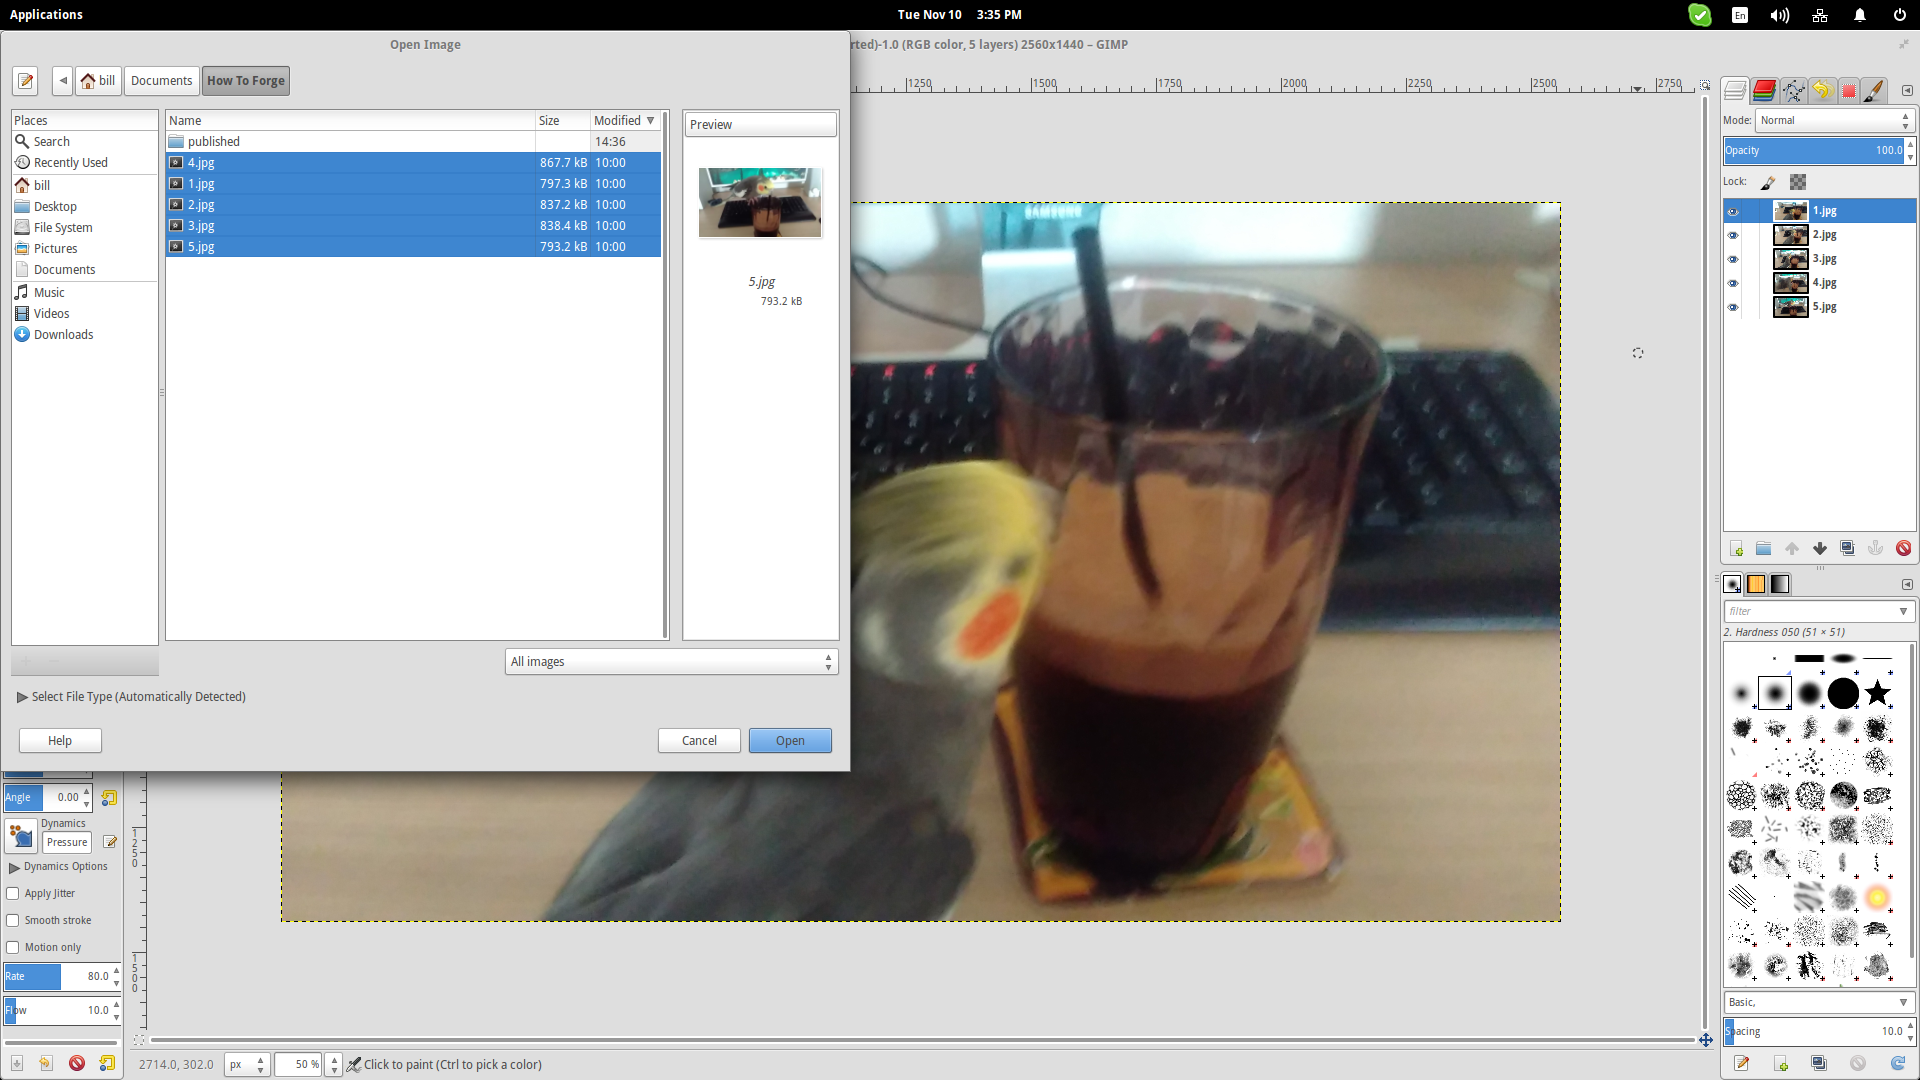
Open GIMP and choose the “File → Open as Layers” options. Then you may choose the images you want, and press the “Open” button. This will add the pictures as layers on the right.
Now arrange the layers in the right order by drag and dropping them into position as needed. Note that you have to arrange them in reverse order. After having done that, you simply go to “File → Export As”, and choose the GIF format. A new window where you can define the delay between the frames will open up so check the “As Animation” box and then enter an arithmetic value on the frame delay (in milliseconds).

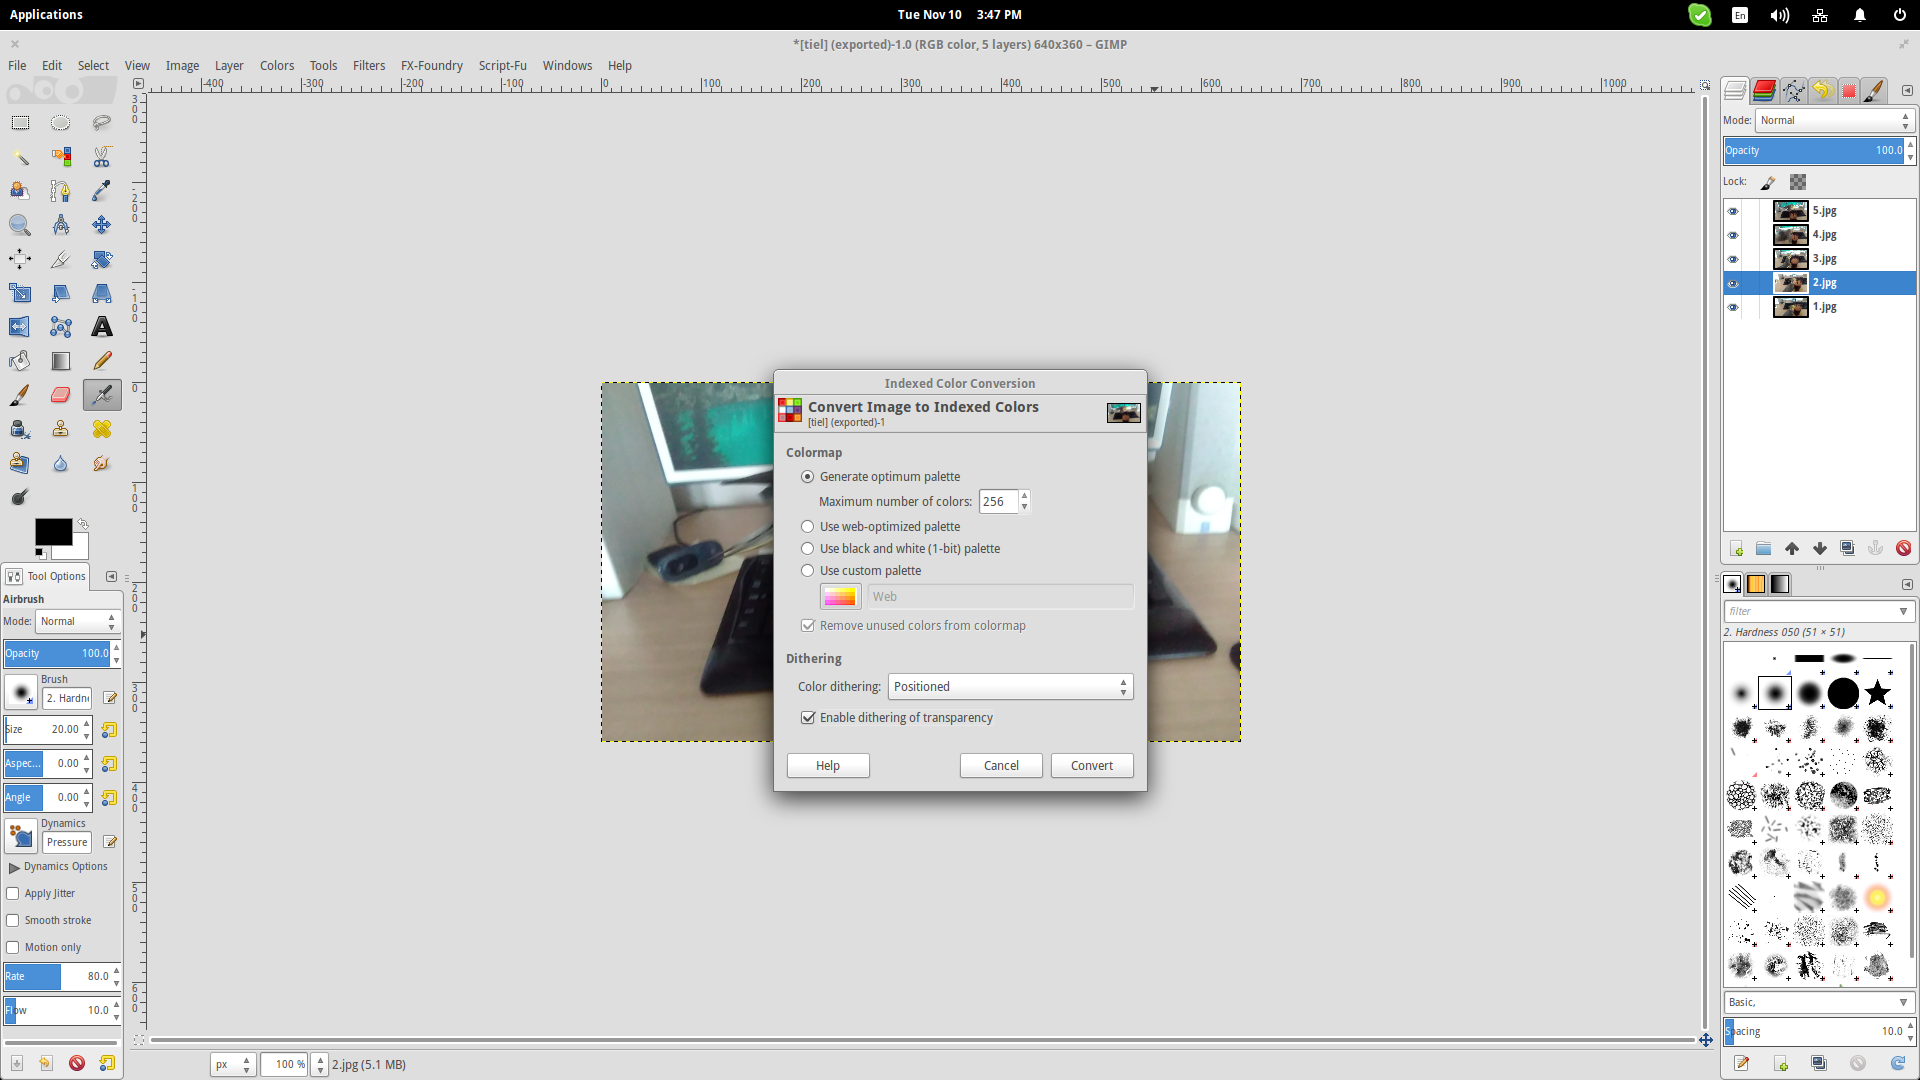
If you find the result dissatisfactory because of low-res color mapping, you can do the following to hopefully get a better result. Go on the top panel and choose “Image → Mode → Indexed” and then choose “Generate optimum palette” with the maximum number of colors set at 256. Then select a “Positioned” color dithering, and finally check the “Enable dithering of transparency” box.
After this, you may retry exporting the frames as a GIF image and you will most likely get a better result.
Using PhotoFilmStrip
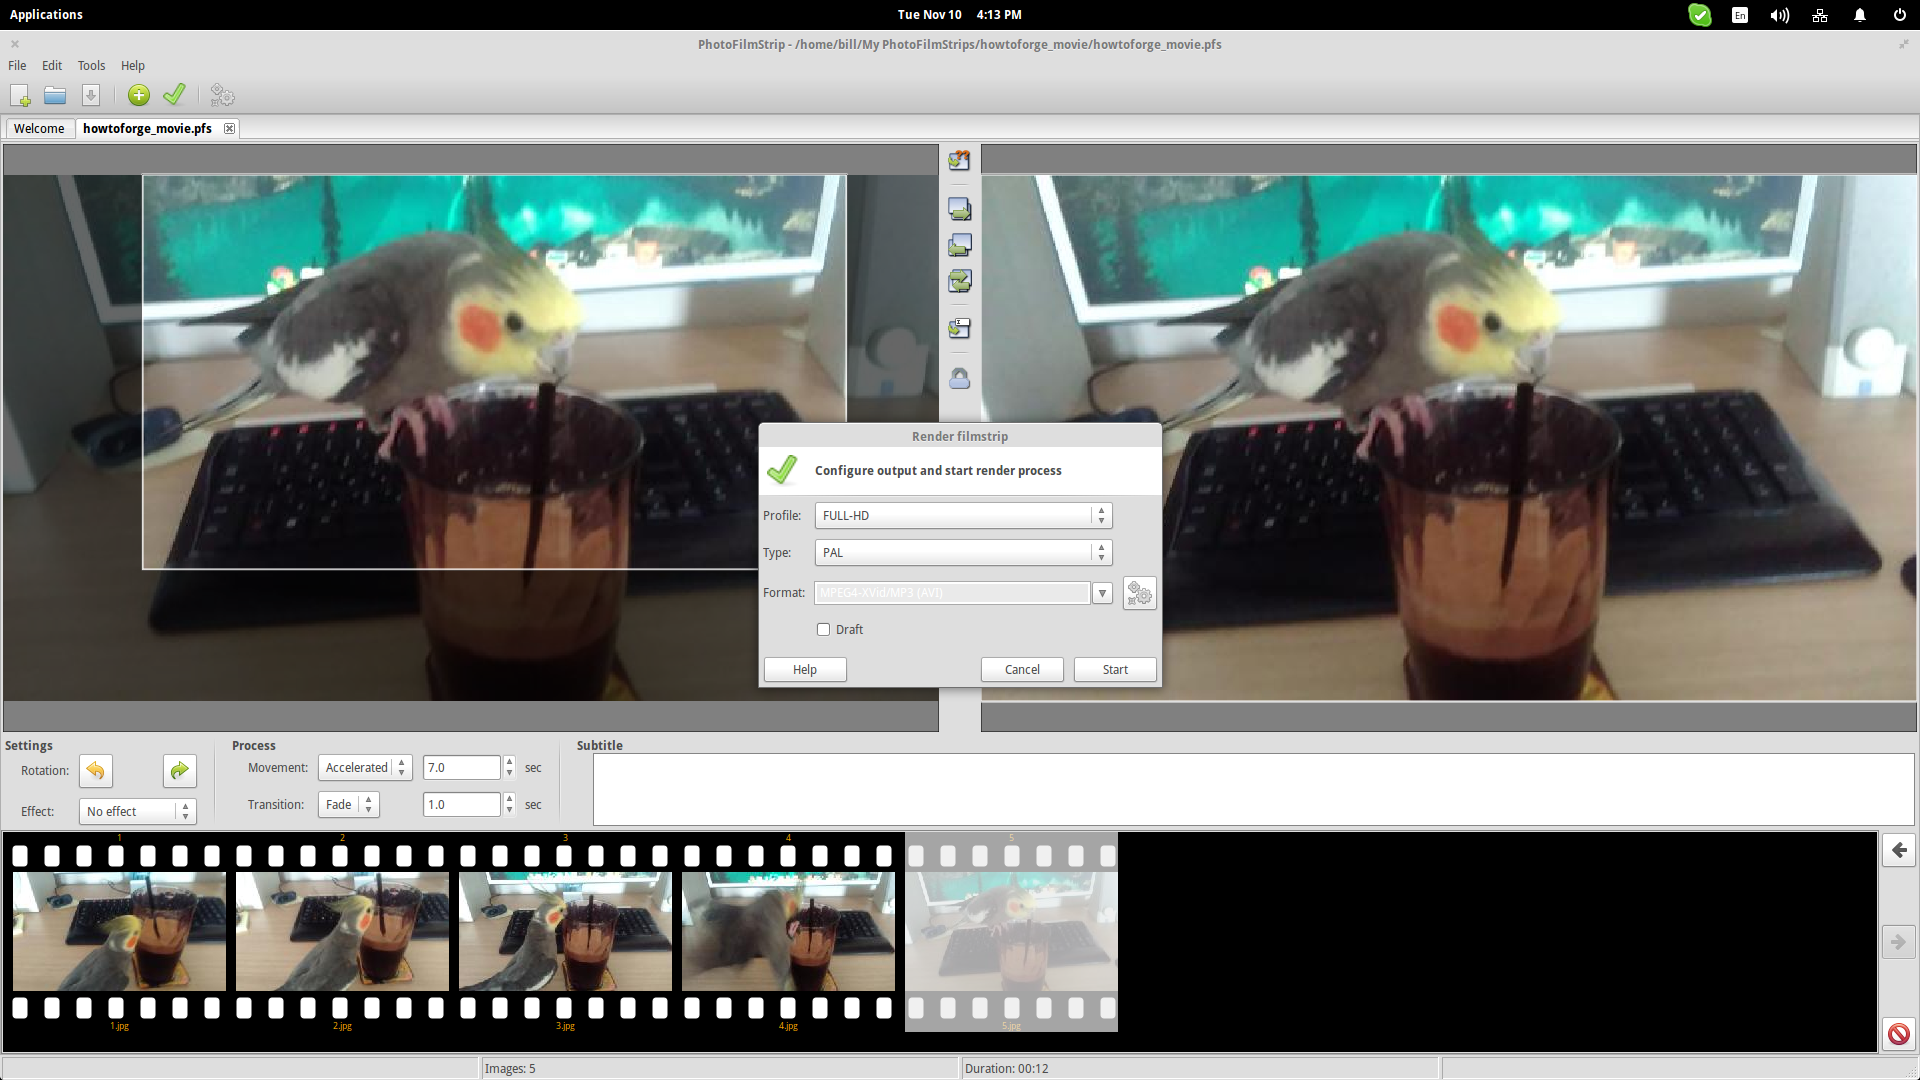
If a GIF was not exactly what you were going for, you can use the software tool called PhotoFilmStrip to generate a movie in AVI, FMPEG, or FLV. Start the program and click on the “New Project” button and a new window will prompt you to enter the parameters of the video you want to create.

As you can see from the screenshot, users can not only define the duration of the film, but also add an audio file to play on the background. Subtitles can also be added later on.
Insert the images on the new project workspace by clicking the green “Add” button on the top panel. After that, you may rearrange the strips on the bottom by drag and dropping them. On the center of the GUI, users will find options that concern the transition effects, and a subtitle editor.
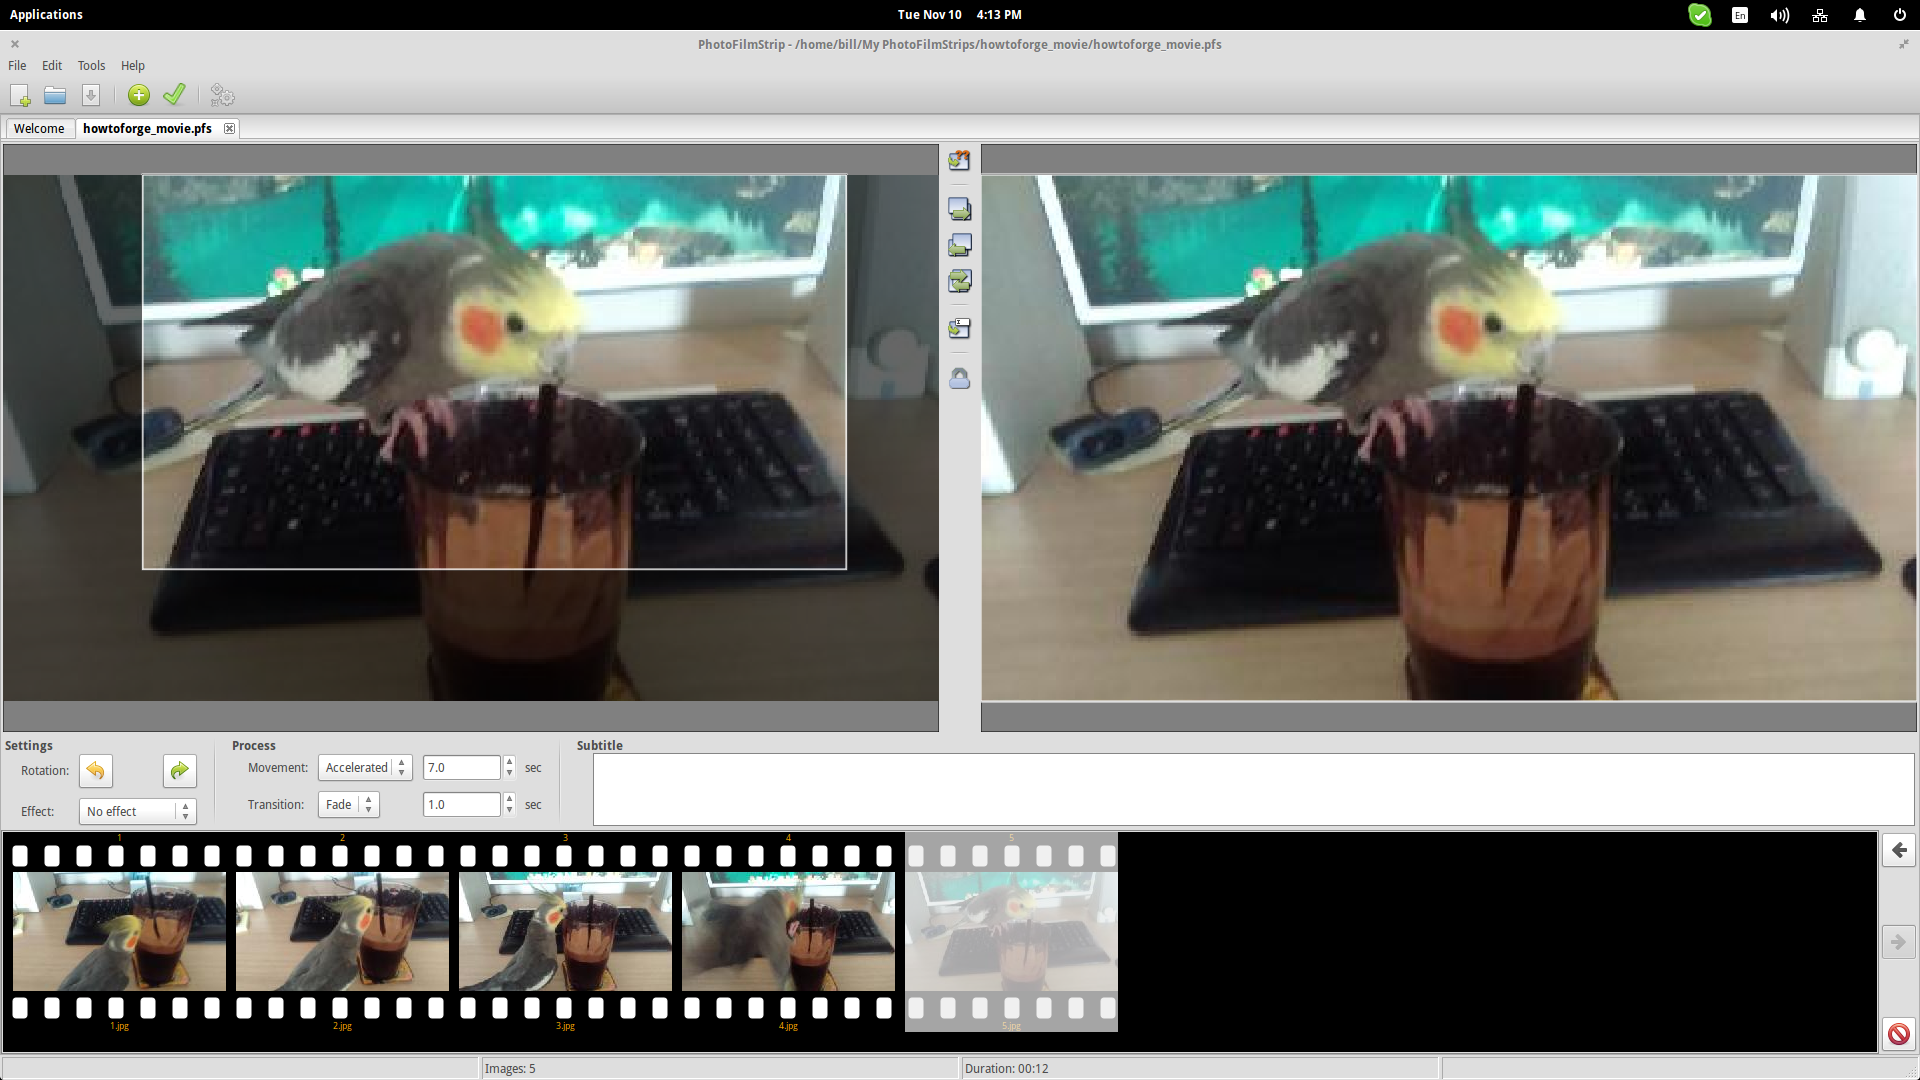
On the center column, you can find the motion frame options for the camera. You can set start/end frames and get a transition effect accordingly. The highlighted frame on the left image of the screenshot shows the active area and it is based on the 16:9 ratio that I chose in the beginning. You can change the size of it by dragging its boundaries, but the ratio will remain locked. When you are done with the settings, you can press the “green tick” button next to the “add image” one, and then choose the output file format and hit “Start”.