How to Install Mailpile with Nginx on Ubuntu 15.10
Mailpile is an open source mail client that focuses on encryption and users privacy. Mailpile makes the PGP setup easy, it allows you to create PGP keys directly in the email application and send PGP encrypted messages. Mailpile has been created by Bjarni R. Einarsson on 2013. The software can be installed on Mac OSX, Windows, and Linux as web based client.
In this tutorial, I will guide you trough the Mailpile installation on Ubuntu 15.10. We will install Mailpile as a web-based client with Nginx as a reverse proxy.
Prerequisites
- Ubuntu 15.10 - 64bit.
- Root Privileges.
Step 1 - Install Mailpile Dependencies
Mailpile is written in the python programming language and we need a bunch of python modules for the installation. I will install Mailpile in a python virtual environment with virtualenv and use python 2.7 for the installation. For encryption, I will install GnuPG version 1.4.x.
To get started, update your repository database and install the packages from Ubuntu repository:
sudo apt-get update
sudo apt-get install gnupg openssl python-virtualenv python-pip python-lxml git
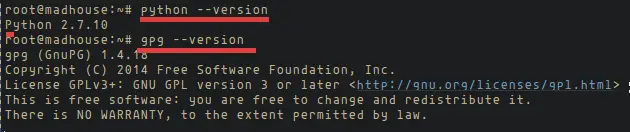
Now check the python version and GnuPG version:
python --version
gpg --version
Mailpile requires the PIL (Python Imaging Library), therefore, we install libjpeg, zlib1g, and python-dev:
sudo apt-get install libjpeg62 libjpeg62-dev zlib1g-dev python-dev
When the installation is finished we're ready for the next step of the Mailpile installation.
Step 2 - Install and Configure Mailpile
In this step, I will install Mailpile into the "/opt/" directory and then create a new python virtual environment for the installation. Before we begin with the installation, clone the Mailpile source code from the github repository to the opt directory.
cd /opt/
git clone --recursive https://github.com/mailpile/Mailpile.git
Now go to the Mailpile directory and create the virtual environment with python2.7 as the python version:
cd /opt/Mailpile/
virtualenv -p /usr/bin/python2.7 --system-site-packages mailpile-env
-p = Use a specific python version, we use python 2.7.
--system-site packages = Give the virtual environment access to the global site-packages.
mailpile-env = Directory for new virtual environment.
Then activate the virtual environment, make sure that you are in the "/opt/Mailpile/" directory, and finally activate it.
cd /opt/Mailpile/
source mailpile-env/bin/activate
You can check the commandline if the virtual environment is active:
(mailpile-env)root@madhouse:/opt/Mailpile#
The virutal environment name should be in front of your username and hostname on the shell.
Next, install the mailpile requirements with the pip command in the mailpile-env environment:
pip install -r requirements.txt
Let's trest Mailpile with the command "./mp" in the virtual environemt:
./mp
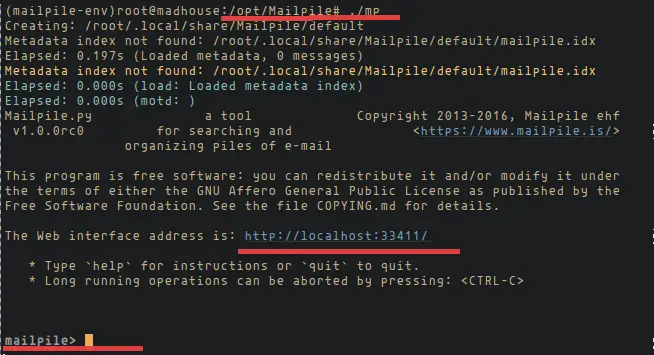
In the screenshot we can see that Mailpile is running on localhost with port 33411.
So let's try to access it with the curl command from the server shell:
curl -I localhost:33411
It is working correctly when you get the following result:
HTTP/1.1 302 Found
Location: /setup/welcome/
Actually, in this step, we could tell Mailpile to run on our public IP so everyone can access it. But in this tutorial, we will use Nginx as reverse proxy for Mailpile on port 33411.
Step 3 - Install Nginx
Install Nginx with this apt command:
sudo apt-get install nginx
Now verify that Nginx is running on port 80:
netstat -plntu | grep 80
Step 4 - Create Self-Signed SSL Certificate
Let's go to the Nginx directory and create new SSL directory there:
cd /etc/nginx/
mkdir -p /etc/nginx/ssl/
cd ssl/
Then generate the SSL certificate file:
openssl req -x509 -nodes -days 365 -newkey rsa:2048 -keyout /etc/nginx/ssl/mailpile.key -out /etc/nginx/ssl/mailpile.crt
And change the permission of the private key to 600:
chmod 600 mailpile.key
Step 5 - Configure Mailpile Virtualhost
In this step, I will create new virtual host configuration for Mailpile. This virtual host is just proxy-ing incoming requests on port 80 to Mailpile on port 33411. Nginx is a secure and powerfull reverse proxy.
Go to the Nginx "sites-available" directory and create a new file called "mailpile":
cd /etc/nginx/site-available/
touch mailpile
Edit the mailpile file with the vim editor:
vim mailpile
Paste the virtualhost configuration below:
server {

    # Mailpile Domain
    server_name mail.mailpile.me;
    client_max_body_size 20m;

    # Nginx port 80 and 334
    listen 80;
    listen 443 default ssl;

    # SSL Certificate File
    ssl_certificate      /etc/nginx/ssl/mailpile.crt;
    ssl_certificate_key  /etc/nginx/ssl/mailpile.key;

    # Redirect HTTP to HTTPS
    if ($scheme = http) {
      return 301 https://$server_name$request_uri;
    }

    # Nginx Poroxy pass for mailpile
    location / {
        proxy_set_header X-Real-IP $remote_addr;
        proxy_set_header X-Forwarded-For $proxy_add_x_forwarded_for;
        proxy_set_header Host $http_host;
        proxy_set_header X-NginX-Proxy true;

        proxy_pass http://localhost:33411;
        proxy_read_timeout  90;
        proxy_redirect http://localhost:33411 https://mail.mailpile.me;
    }
}
Now activate the mailpile virtualhost and restart Nginx:
ln -s /etc/nginx/site-available/mailpile /etc/nginx/site-enabled/
systemctl restart nginx
Note: Make sure you do not kill the mailpile process in your virtual environment.
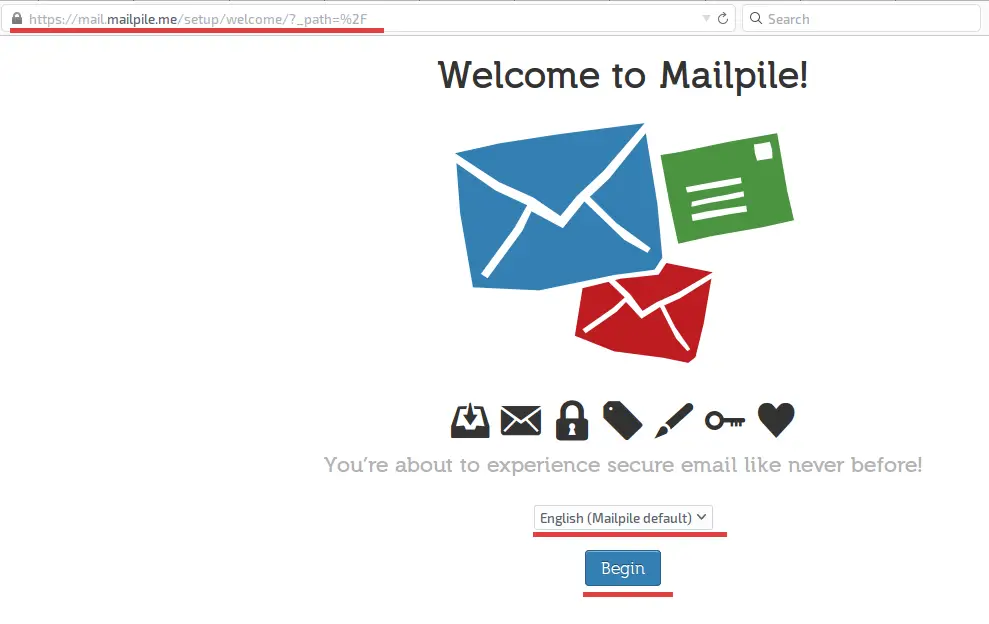
Next, visit the Mailpile domain (in my case mail.mailpile.me) and you will be redirected to https connection.
Select the default language, in my case "English" and click "Begin".
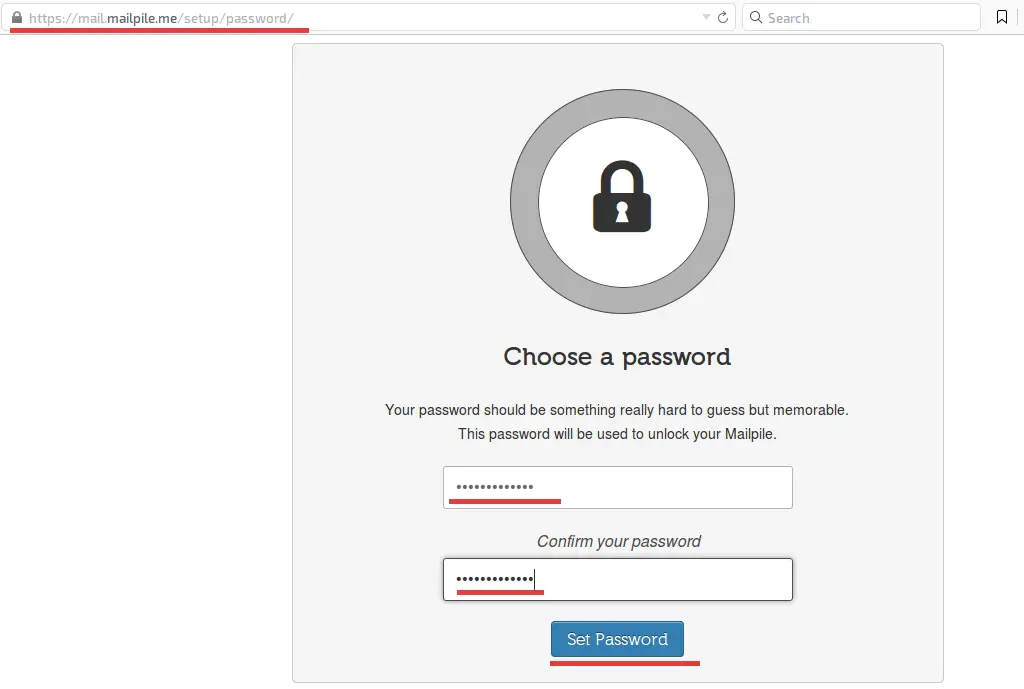
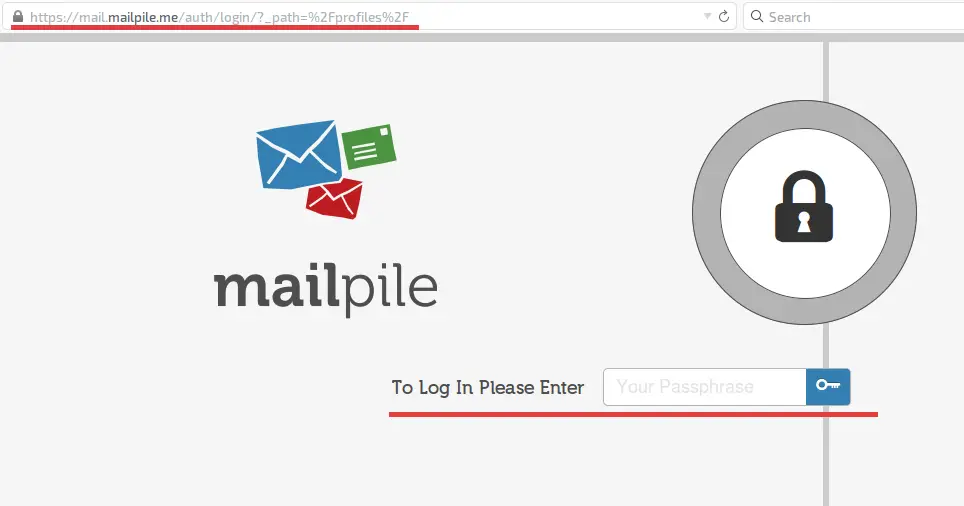
Now type in your password to login into the application, make sure you have a strong password.
And start using Mailpile.
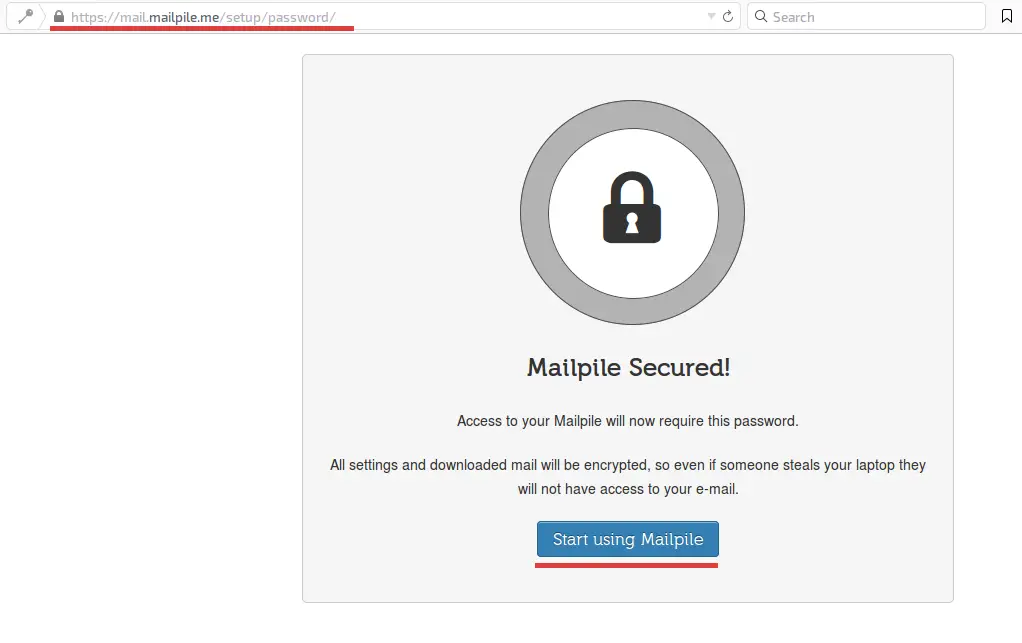
The Mailpile setup is finished, enter your password and press "Enter".
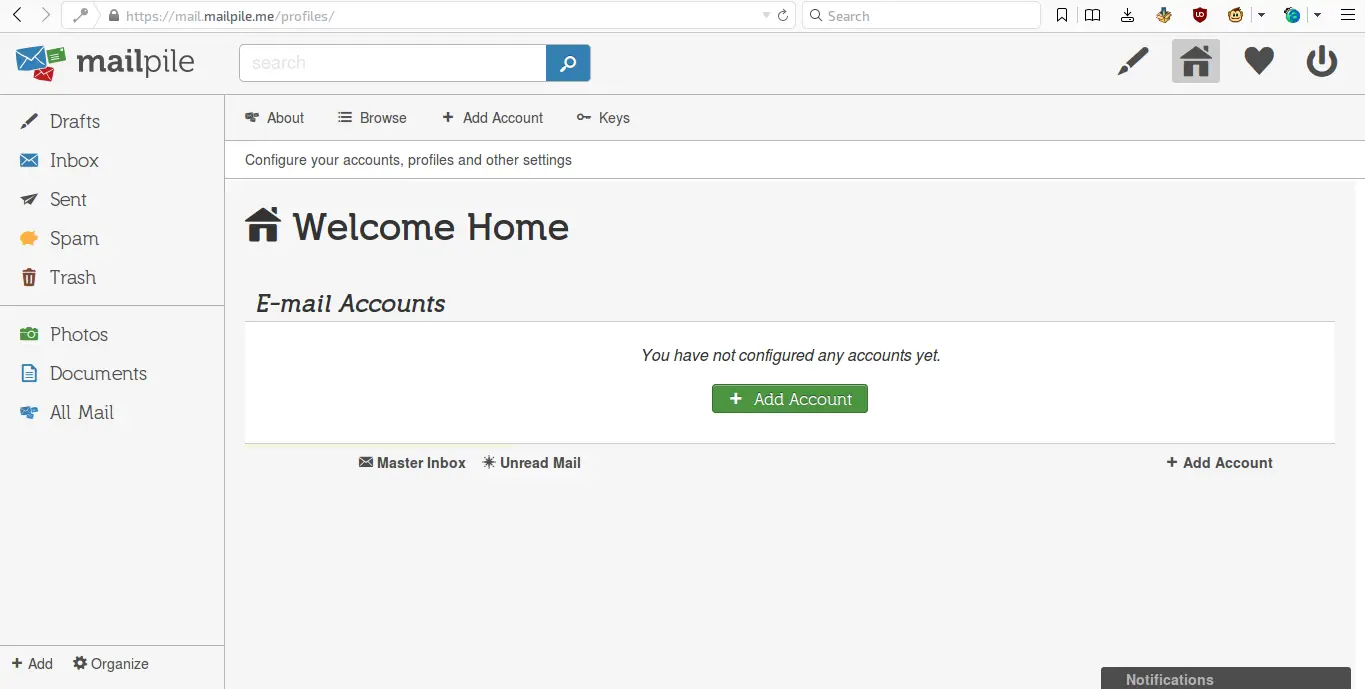
You can see the mail page right after login:
Conclusion
Mailpile is a free OpenSource email client that focuses on encryption and user privacy. Mailpile has multi platform support, it can be installed on Mac, Windows, or Linux. Mailpile can be installed on your own server as a private mail client. Mailpile is based on python, it's easy to install and configure, just make sure you run python 2.7 with gnupg 1.4.x. We can use Mailpile as a standalone system, but for better performance we use Nginx as a reverse proxy.

