How to transform your Ubuntu installation into a rolling release
On this page
Why do this?
Ubuntu users out there have two ways to go with their systems. Either they choose to follow the “standard” release that gets upgraded every six months, or choose the latest LTS (Long Term Support) which guarantees security updates and support for a five-year period. The problem with the first is that you'll have to perform major upgrades to your system twice a year, while the issue with the latter is that you won't get any major updates on parts of the system that you may care about using what's latest.
Fortunately though, there's a third choice that although it isn't an “official” way to go, it is quite easy to do for even the most inexperienced users. This way is to transform your existing Ubuntu installation into a rolling release, and forget about upgrading to a newer distribution version forever, while getting the latest versions of the software packages that you choose without limitations.
Are there any risks?
Yes, there are. In order to make your Ubuntu work like a rolling release, you will have to enable development software channels that are generally used by developers, translators, and bug reporting volunteers. This means that most of the software that you will be using will be under testing the whole time, causing trouble here and there depending on the configuration and hardware settings. However, development versions of Ubuntu are still tested for their ability to run in general, so they are usually working surprisingly well for what they are.
How to do it
For the purpose of this tutorial, I will use the latest stable version of Ubuntu desktop that is 15.10 codenamed as “Wily Werewolf”.
Preliminary
- Backup everything you can't afford to loose into an external drive.
- Remove all existing PPAs with the “ppa-purge” command.
- Uninstall any proprietary graphics card drivers.
- Reboot your Ubuntu system.
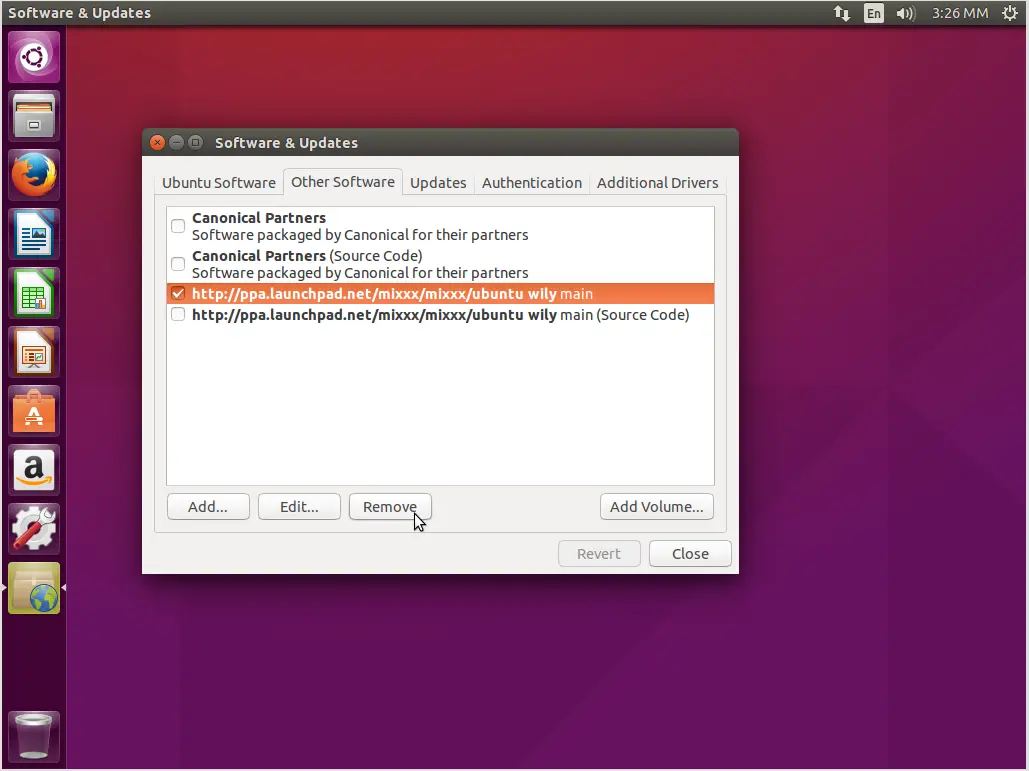
Note that you can also remove any PPAs from your system through the “Software & Updates” tool by selecting it and clicking on the “Remove” button.
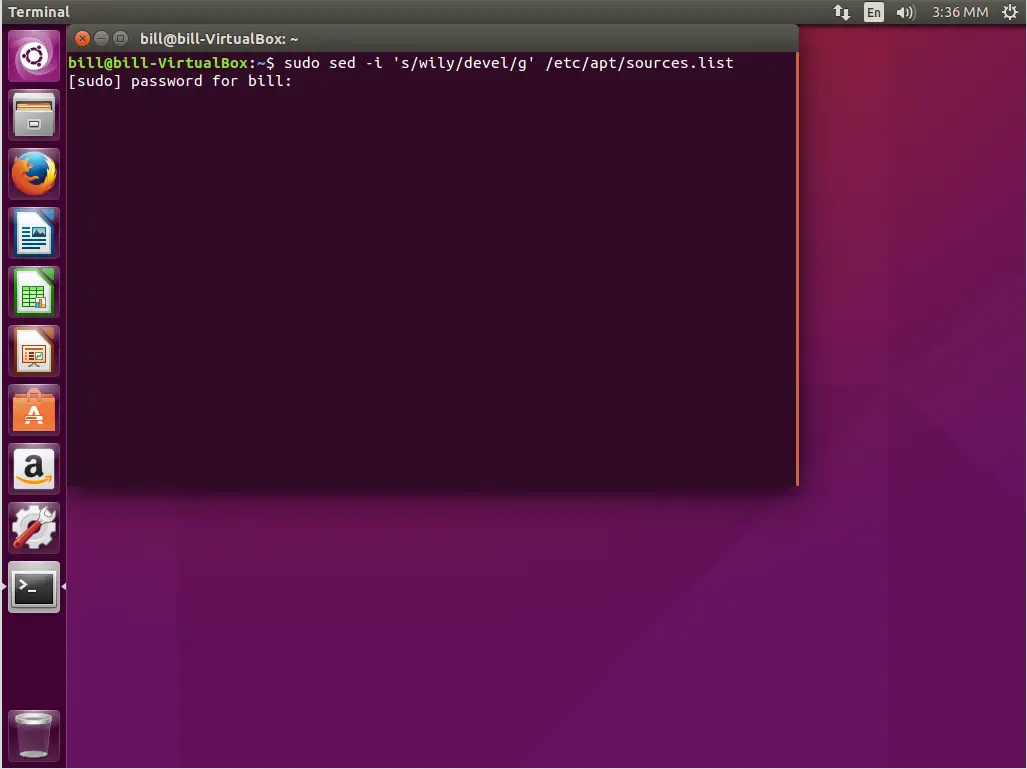
After restarting your system, open a terminal and insert the following command:
sudo sed -i 's/wily/devel/g' /etc/apt/sources.list
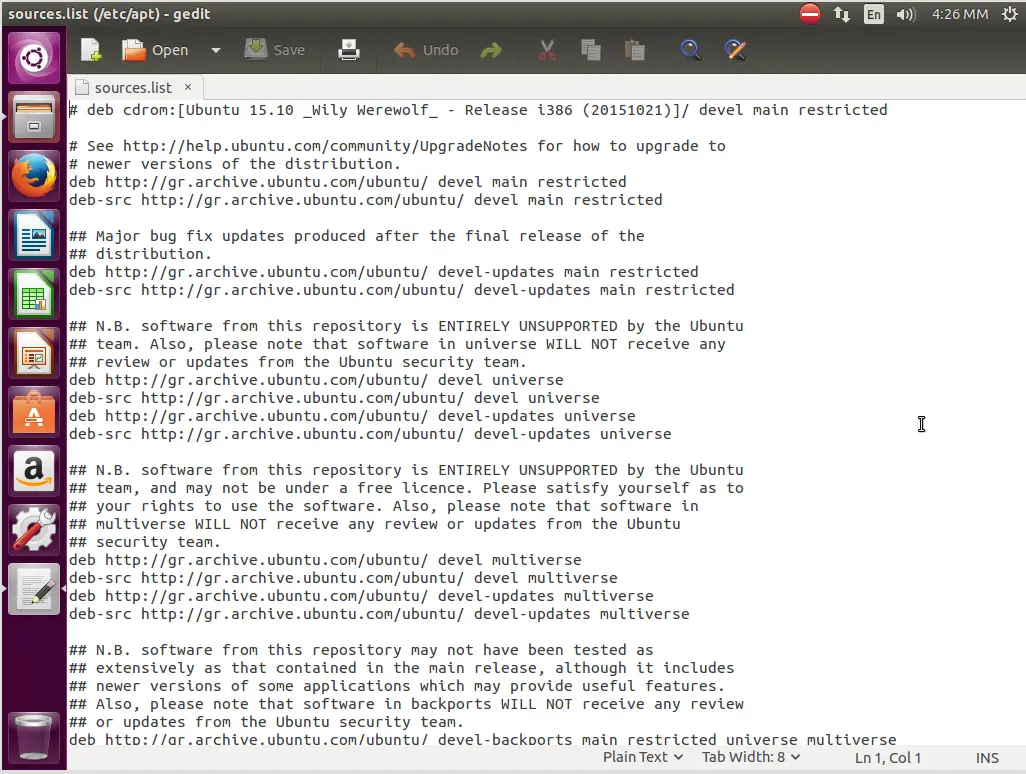
This is the command that will change your system from a “standard” 15.10 to an Ubuntu development distro. See how all sources changed to development channels after I run this command.
Now open a terminal and type the command
sudo apt-get update
followed by
sudo apt-get dist-upgrade
Then press “y” and hit Enter and your stable distribution will receive updates to its default package selection.

After this is done, you may add the PPAs that you desire and perform the last two commands again and you will have the latest versions of the apps you want. There is no need to change those PPAs anytime, as we do when we upgrade to the next Ubuntu version.
Things to note
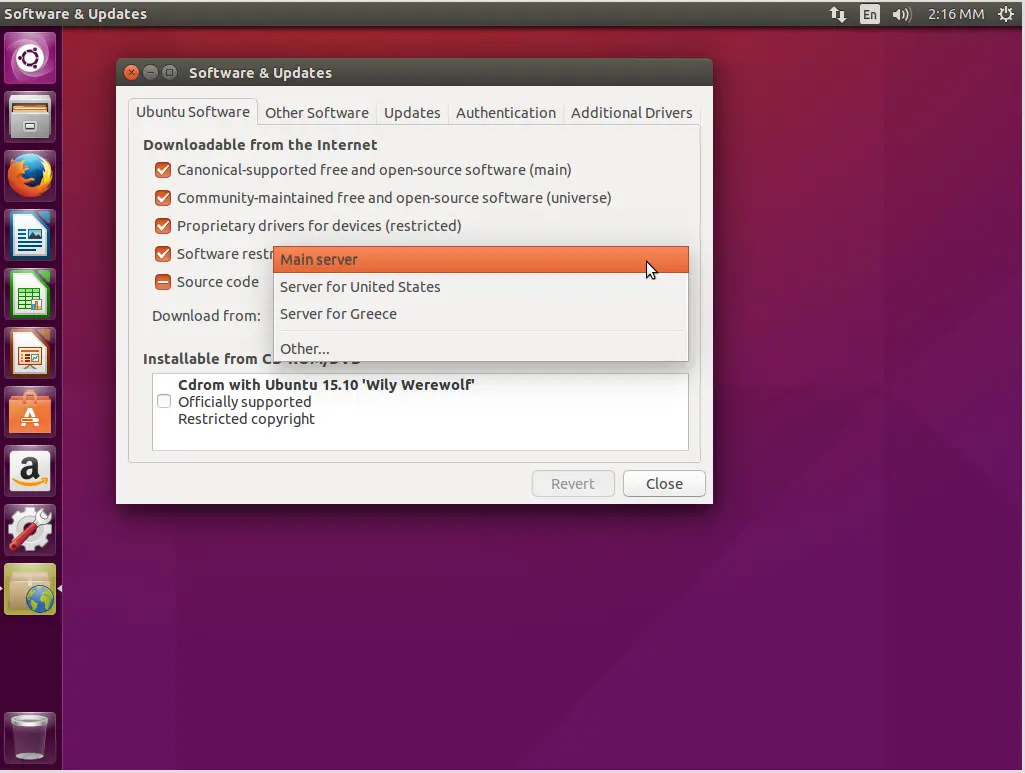
1.) By default, Ubuntu points to servers located in your country for load distribution reasons. This will cause additional problems in our case, so if you're transforming your standard Ubuntu into a rolling one, make sure to change the download server to the main one from the Software & Updates tool.
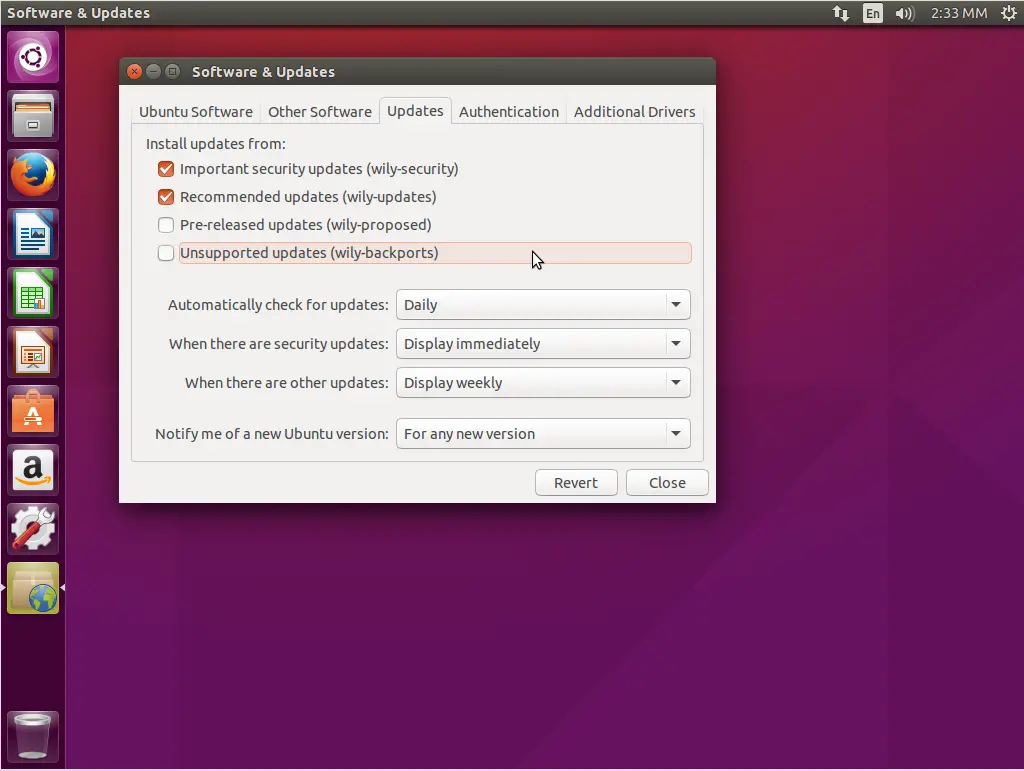
2.) During the 6-month development period, the software channels named “Pre-Release” and “Unsupported” remain closed. This can generate several error messages when trying to update your system, so you can disable them from the Software & Updates tool, if they weren't already auto-disabled.
3.) Sometimes, you will encounter stubborn problems that won't let you update your system with the regular methods. The commands that can help you overcome these errors are the:
sudo apt-get -f install
and
sudo apt-get -f dist-upgrade
That's it! Have fun with your rolling Ubuntu system, and good luck keeping it in a good working condition.

