Installing Ruby on Rails on Ubuntu 14.04 - 15.10
Ruby on Rails, popularly called ROR, is a Ruby framework for web programming. Ruby is a general purpose language like C, Java. Ruby has been invented by Yukihiro “Matz” Matsumoto about a decade ago and has gained recognition with its Rails software library framework which provides a web development framework for the Ruby programming language.
Listed below are easy to follow steps to install ROR successfully on the Ubuntu versions 14.04 LTS to 15.10 using Ruby Version Manager (RVM). RVM offers an easy way to install and manage multiple Ruby versions.
The steps below are all executed as root user. Please login to the shell of your server, then become root on your server with the command:
sudo su
before you continue.
Installation of RVM
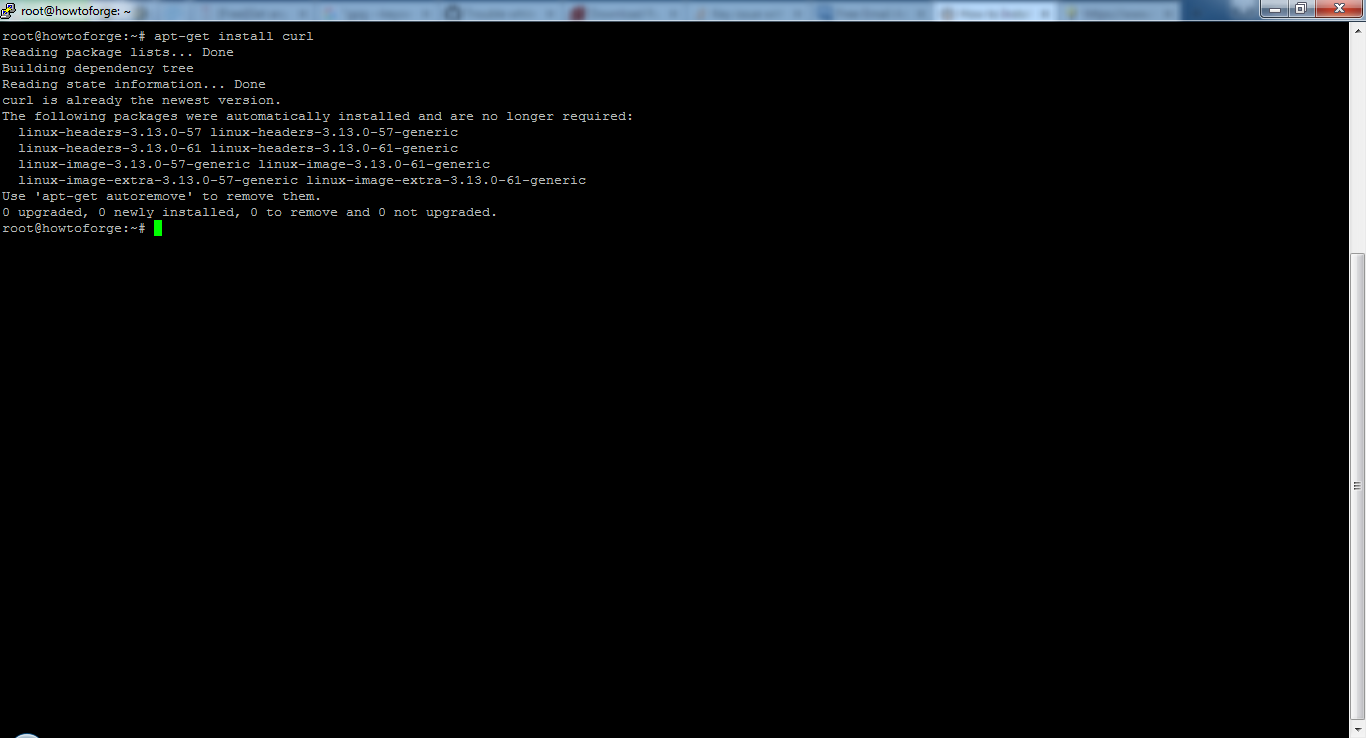
The ROR installation begins with installing RVM on the server. It is important to install the latest version of RVM on the system, this requires an installation of the CURL command. The following command does the job.
apt-get install curl
Curl installation:
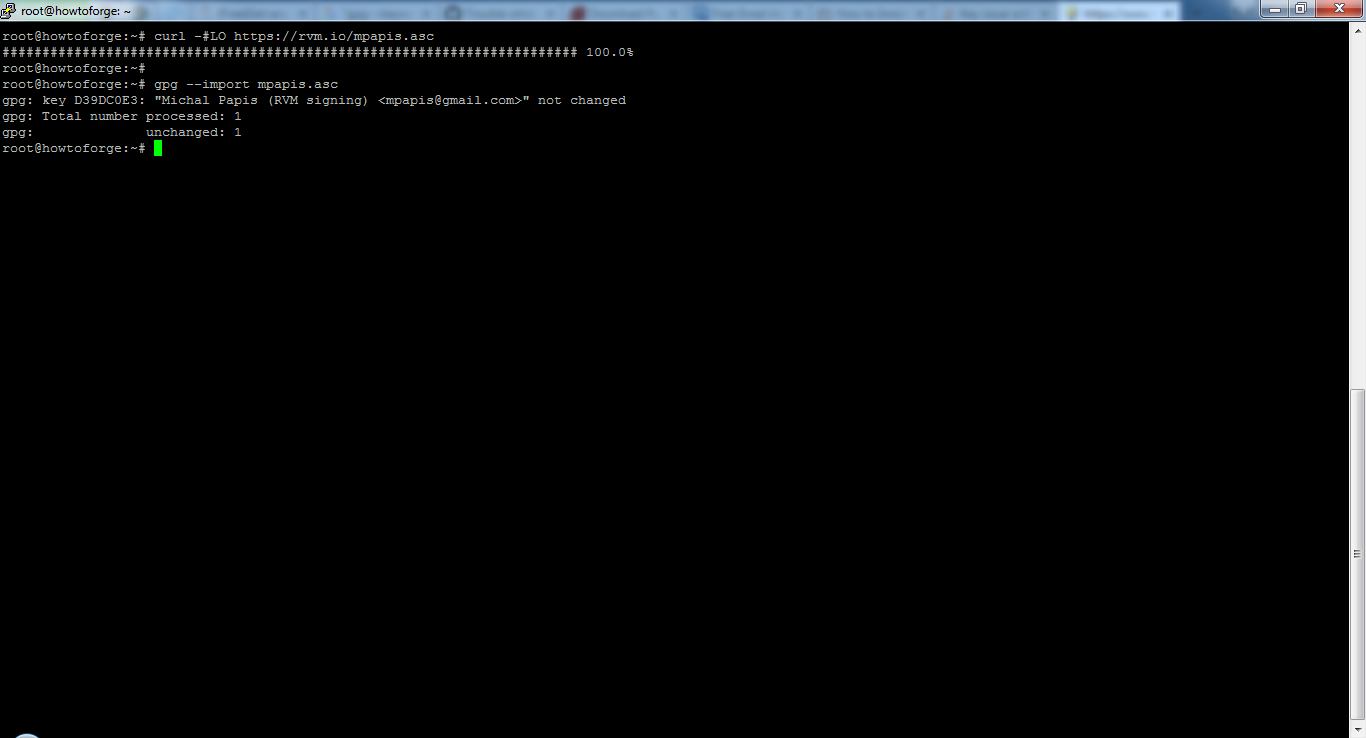
To proceed with the RVM installation, import the rvm.io public key in the server system.
curl -#LO https://rvm.io/mpapis.asc
gpg --import mpapis.asc
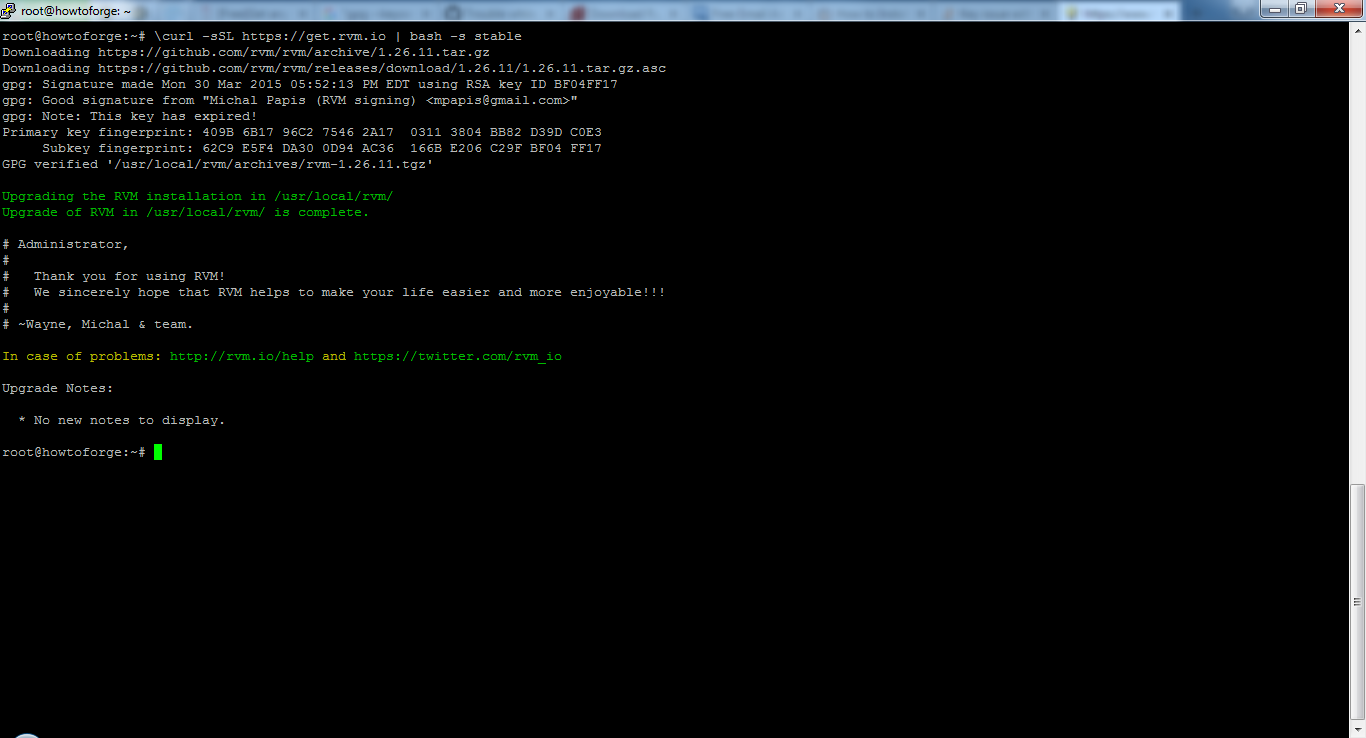
Then download the RVM installer with curl and execute it (by piping the curl output to bash):
curl -sSL https://get.rvm.io | bash -s stable
Download the key and start the RVm installer:
The next step is to build the RVM environment and to save the settings of this environment into current shell. This is done with the following command:
source /etc/profile.d/rvm.sh
Ruby Dependencies must be installed
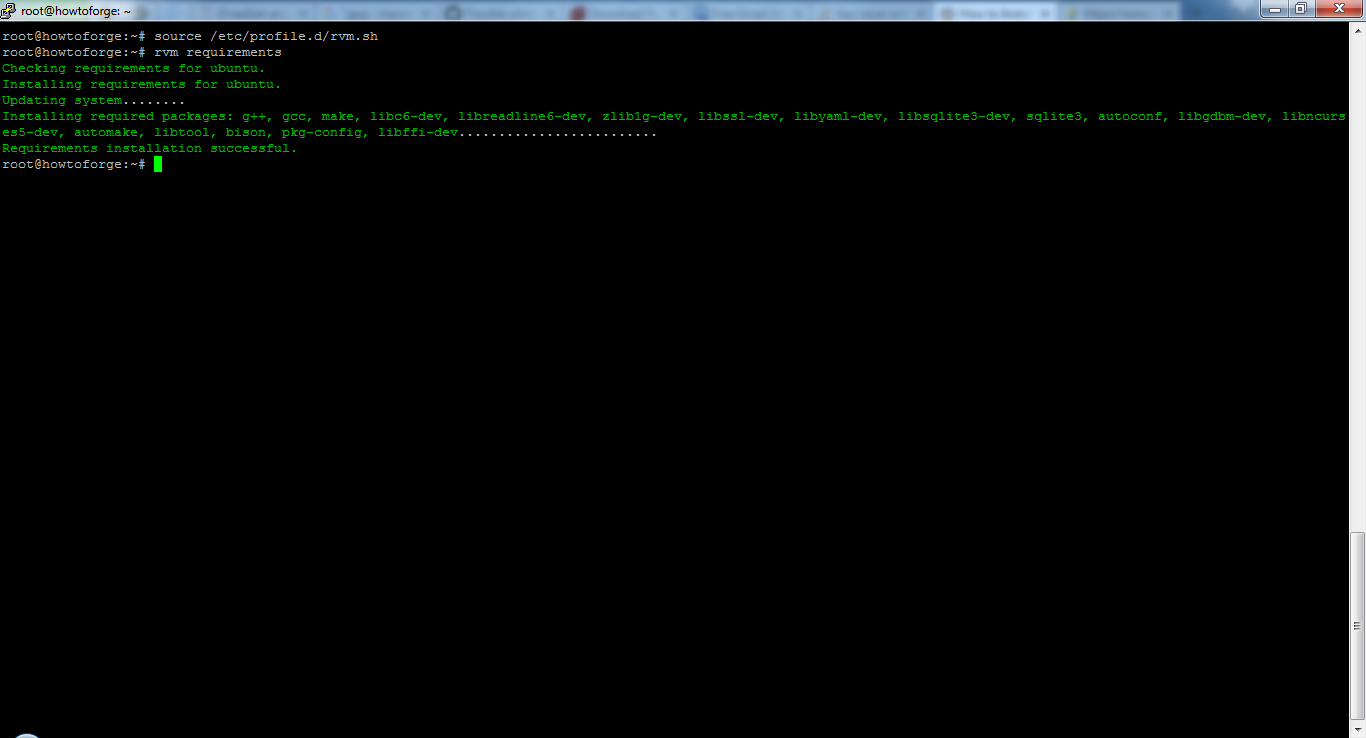
Install the Ruby dependencies with the RVM command below:
rvm requirements
Sample output:
Check for available Ruby versions
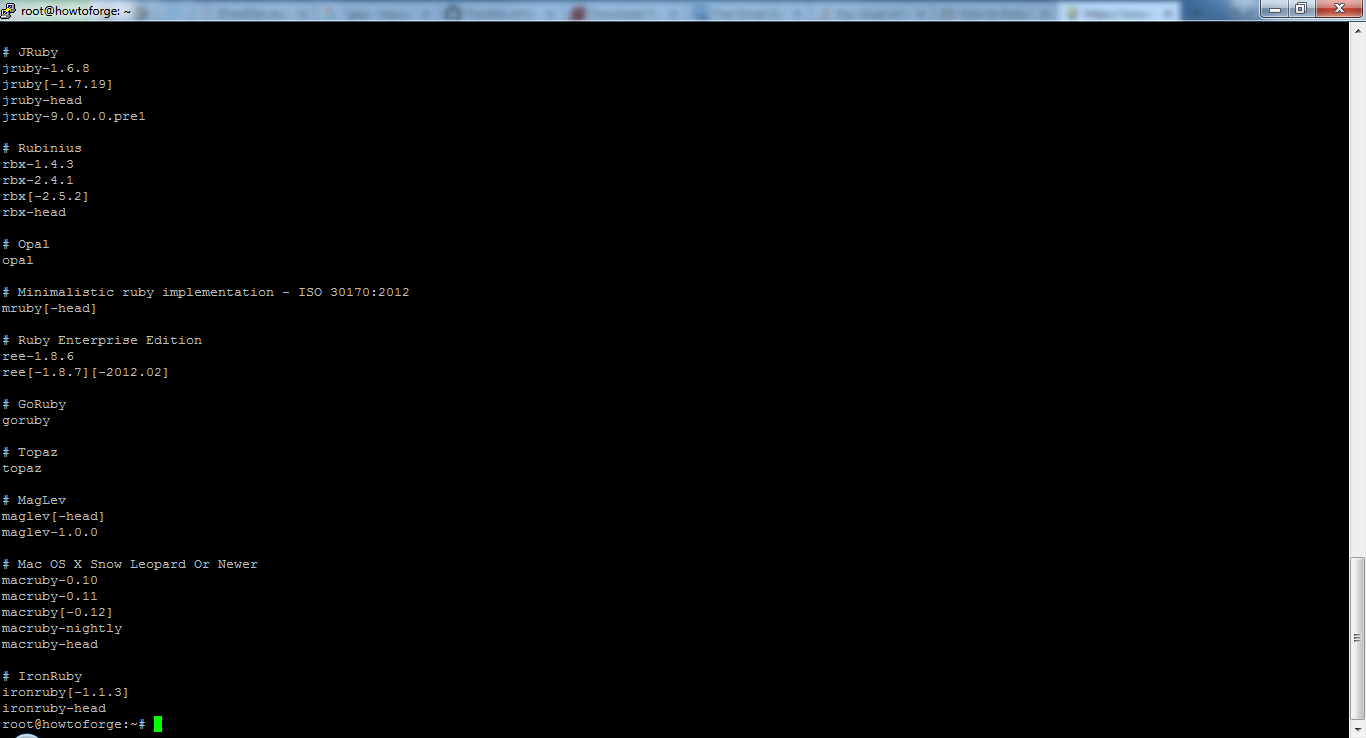
The following command lists the available ruby versions:
rvm list known
Sample output:
# MRI Rubies
[ruby-]1.8.6[-p420]
[ruby-]1.8.7[-head] # security released on head
[ruby-]1.9.1[-p431]
[ruby-]1.9.2[-p330]
[ruby-]1.9.3[-p551]
[ruby-]2.0.0[-p643]
[ruby-]2.1.4
[ruby-]2.1[.5]
[ruby-]2.2[.1]
[ruby-]2.2-head
ruby-head

# for forks use: rvm install ruby-head-<name> --url https://github.com/github/ruby.git --branch 2.1

# JRuby
jruby-1.6.8
jruby[-1.7.19]
jruby-head
jruby-9.0.0.0.pre1

# Rubinius
rbx-1.4.3
rbx-2.4.1
rbx[-2.5.2]
rbx-head

# Opal
opal

# Minimalistic ruby implementation - ISO 30170:2012
mruby[-head]

# Ruby Enterprise Edition
ree-1.8.6
ree[-1.8.7][-2012.02]

# GoRuby
goruby

# Topaz
topaz

# MagLev
maglev[-head]
maglev-1.0.0

# Mac OS X Snow Leopard Or Newer
macruby-0.10
macruby-0.11
macruby[-0.12]
macruby-nightly
macruby-head

# IronRuby
ironruby[-1.1.3]
ironruby-head
Install Ruby Version
Using RVM makes the independent management of ruby versions an easy process. The command listed below installs the Ruby version 2.3.0.
rvm install 2.3.0
A sample of the output lines which appear on screen are listed below:
Searching for binary rubies, this might take some time.

Found remote file https://rubies.travis-ci.org/ubuntu/14.04/x86_64/ruby-2.3.0.tar.bz2
Checking requirements for ubuntu.
Requirements installation successful.
ruby-2.3.0 - #configure
ruby-2.3.0 - #download
 % Total % Received % Xferd Average Speed Time Time Time Current
 Dload Upload Total Spent Left Speed
 0 0 0 0 0 0 0 0 --:--:-- 0:00:01 --:--:-- 0
100 25.1M 100 25.1M 0 0 10.1M 0 0:00:02 0:00:02 --:--:-- 60.2M
No checksum for downloaded archive, recording checksum in user configuration.
ruby-2.3.0 - #validate archive
ruby-2.3.0 - #extract
ruby-2.3.0 - #validate binary
ruby-2.3.0 - #setup
ruby-2.3.0 - #gemset created /usr/local/rvm/gems/ruby-2.3.0@global
ruby-2.3.0 - #importing gemset /usr/local/rvm/gemsets/global.gems...................................
ruby-2.3.0 - #generating global wrappers........
ruby-2.3.0 - #gemset created /usr/local/rvm/gems/ruby-2.3.0
ruby-2.3.0 - #importing gemsetfile /usr/local/rvm/gemsets/default.gems evaluated to empty gem list
ruby-2.3.0 - #generating default wrappers........
Default Ruby Version must be Set up
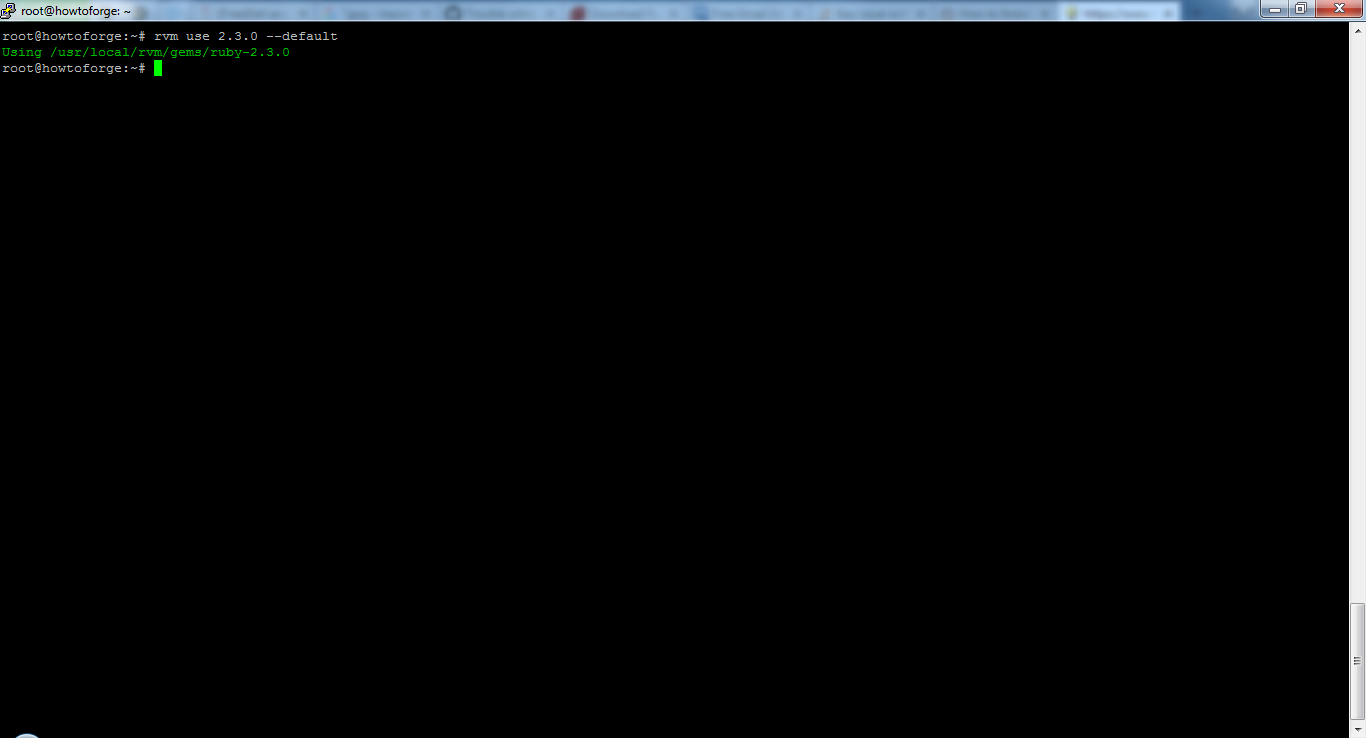
In order for the applications to use Ruby, the default ruby version needs to be set. The following command sets Ruby 2.3.0 as default version.
rvm use 2.3.0 --default
Sample output:
Confirm ruby version installed
One can easily check the version installed in current shell by the following command.
ruby --version
Sample output:

Installing Rails
Rails can be easily installed with the Ruby gem installer.
gem install rails
Execute the following command to check the rails version and to see if rails has been installed successfully.
rails -v
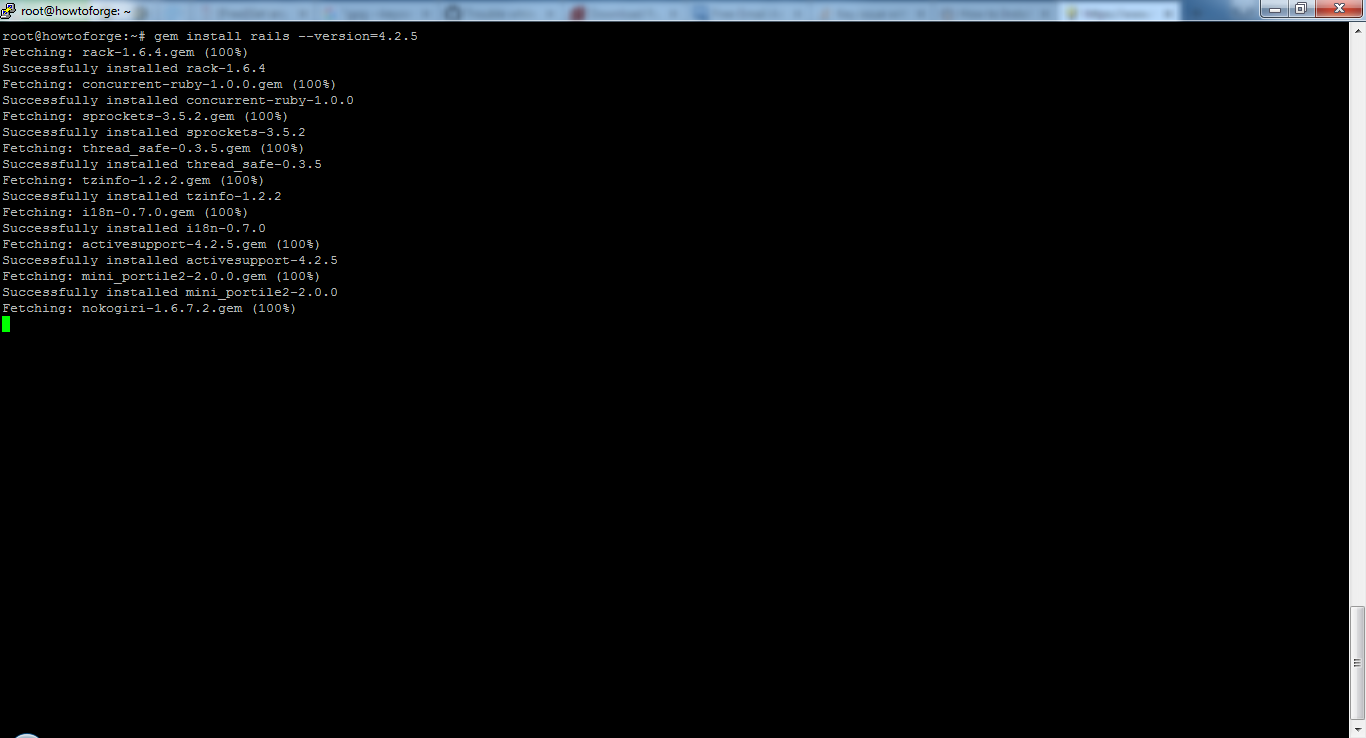
You can also install a certain version of Rails, using the following command shown with an example version 4.2.5.
gem install rails --version=4.2.5
Sample output: