Linux: How to share files on a local network with woof
We've all been in this situation were we want to exchange files with other users connected to the same network as we are, and while there are tons of ways to do this, almost none of them is easy, quick, or simple enough. Thankfully, though, Linux users can utilize a small tool called “woof” that simplifies the process and makes the exchanging of files a walk in the park. What I am about to present in this short tutorial is suitable for home networks where convenience is the primary concern, and security isn't an issue.
First, download and install the package called “woof” which should be available through your distribution's default repositories. Open a terminal window and run these commands to install it.
Debian
apt-get install woof
Ubuntu
sudo apt-get install woof
If not, you may also download it from Launchpad. After having done this, open a terminal and navigate to the location of the file you want to share with another user who is connected to the same network as you are. For this guide, I will suppose that I want to send a .png image through the port 8080. To do this, I enter the command woof followed by the -p parameter which designates the port number, and then the file name, as shown in the following screenshot.
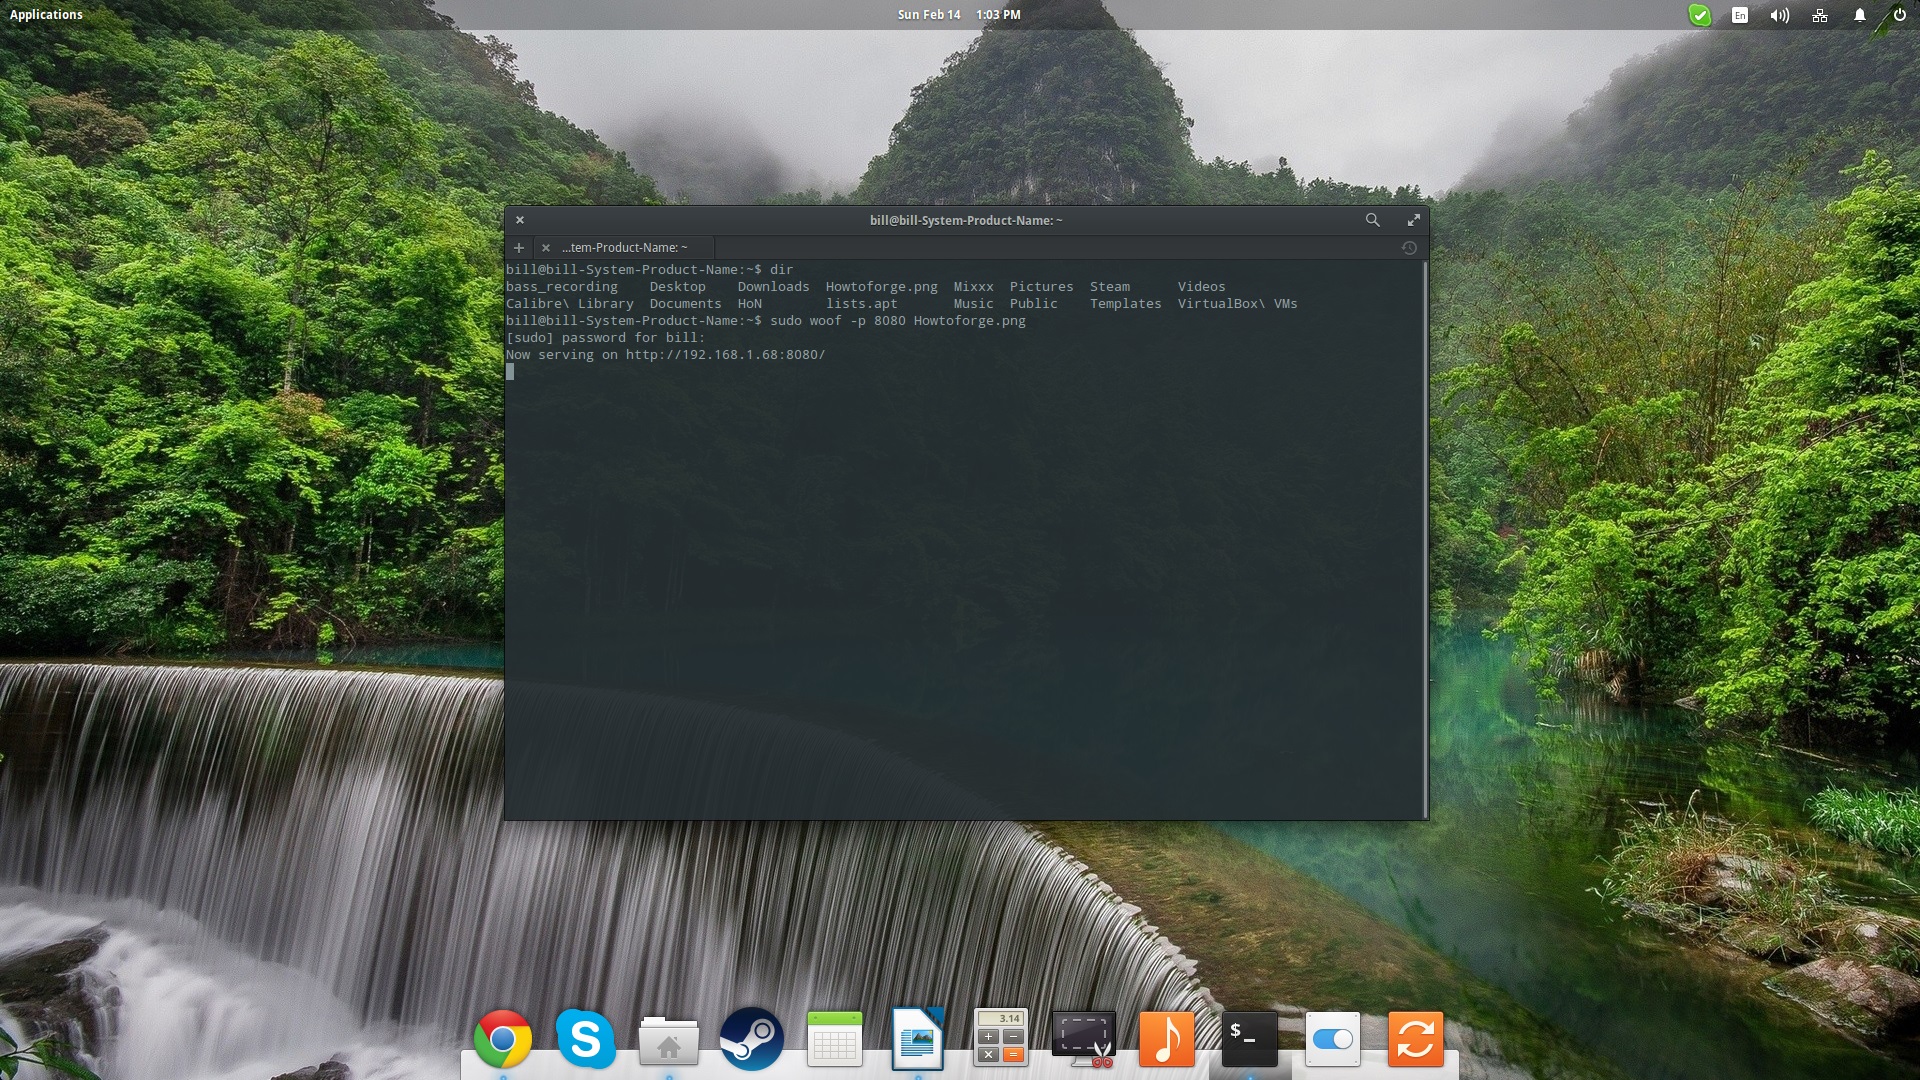
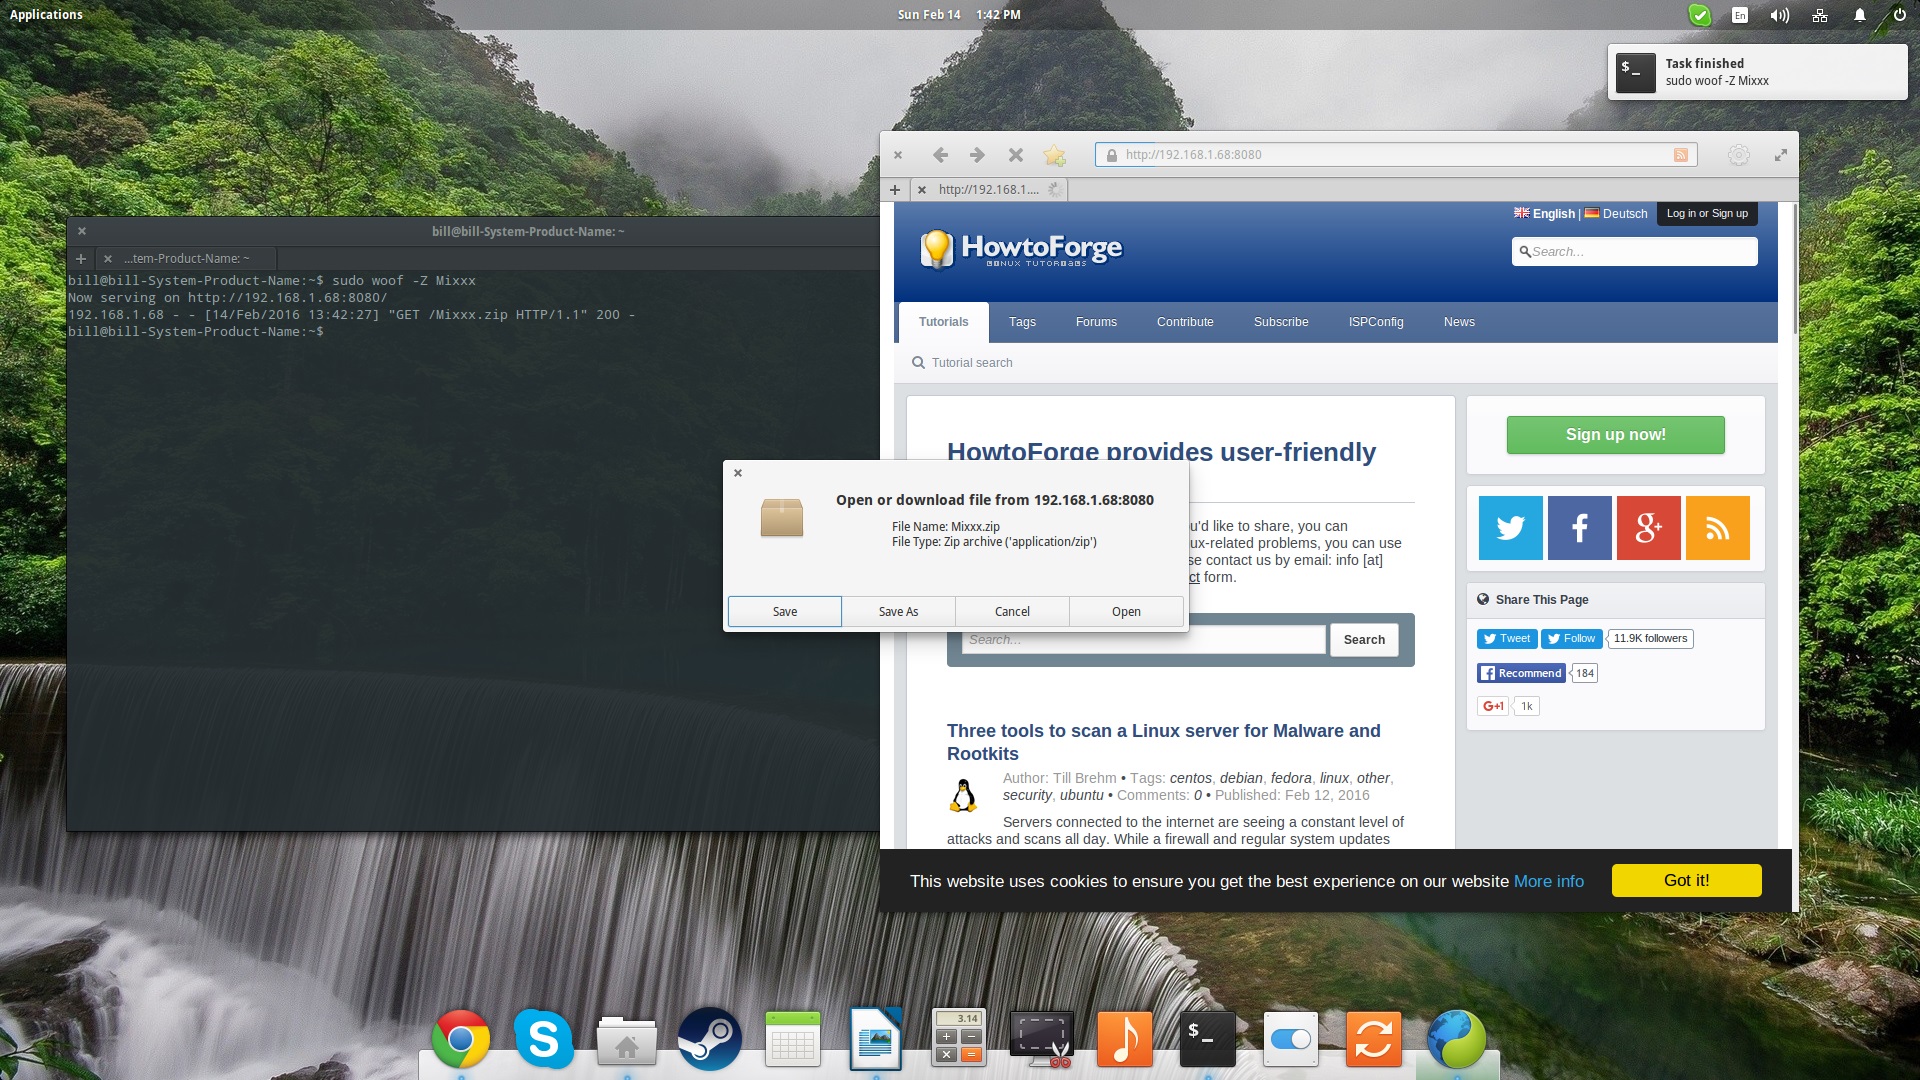
After entering this command, woof will get activated and the chosen file will be served in the designated address which in my case is http://192.168.1.68:8080/ . This means that if I open this address from a browser, I will be given the opportunity to download this file. Here, I have set a different IP address using the -i parameter. Once the file is shared with the user, the webserver task is terminated and the time of termination is printed on the terminal.

If you need to send the file to more than one user on the same network, you can add the count on woof using the -c parameter and the number of shares after it. An example would be:
woof -c 3 pictoshare.jpeg
and your web server would remain up and running until three users download the shared file. Please note that woof will count connections from the same user as unique, so if one user downloads the file three times, it will terminate woof before the other two users get the chance to get it.
By default, woof doesn't compress the shared file, but if you enter a directory instead of a file name, woof will compress the folder with the tar.gz format. For example, if you want to share your Downloads folder, enter “woof Downloads” and woof will serve this as Downloads.tar.gz. If you want to use a zip compression, you may specify it by inserting the -Z parameter, and if you don't want woof to compress it at all, you should add the -u parameter.
Finally, if you need to receive a file from another user who is connected on the same network as you are, you need to send woof to them first. This can be done by setting up woof to distribute itself using the command:
woof -s
During my testing, I found that setting my modem router firewall at the lowest level of security helped a lot, and I could even download things from my Android phone. Any device that features a web browser should work fine with this tool as the sharing is happening via HTTP. In order to check whether the ports that you've opened for woof remain open or have closed, there's the command:
nmap -sT -O localhost
which will print all open ports on the terminal.

