How to Install a Mumble Voice Chat Server on Ubuntu 14.04
Mumble is a voice chat application which is designed for the gamer's so that they can to talk to each other by connecting their mumble clients to the same server. This Voice over IP application is similar to Ventrilo and TeamSpeak. The simple administration interface, high-quality codecs and low latency makes it quite popular. In this article, I will tell you how you can install and configure Murmur on to your systems. Murmur is a server component of Mumble.
Murmur allows the user to run their own public or private voice chat server.
Become root User on your server
The following steps have to be run as root user. To become root user, login as "normal" ubuntu user on the shell and then run:
sudo su
to become the root user.
Installing Ubuntu Updates
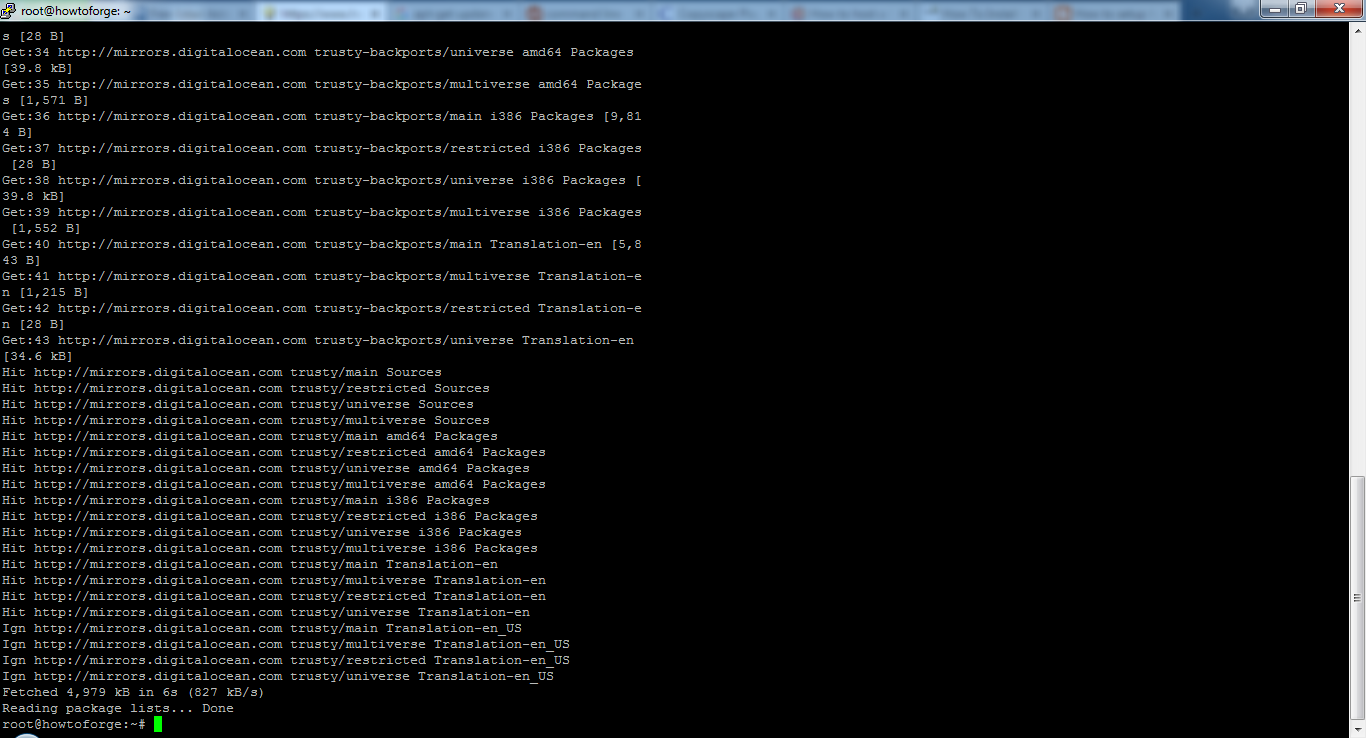
You should check that your server has the latest updates installed before you continue to install murmur. Execute the command below to dowload updated package lists from Ubuntu repo.
apt-get update
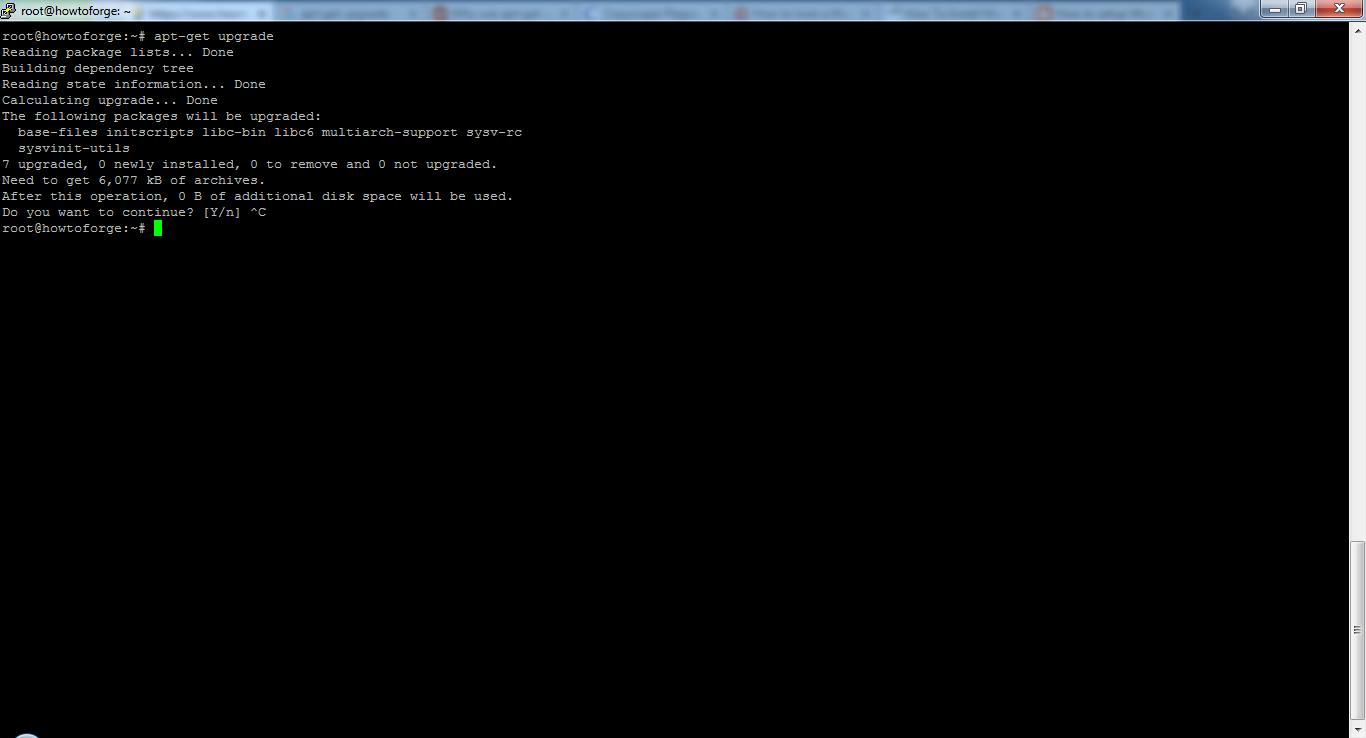
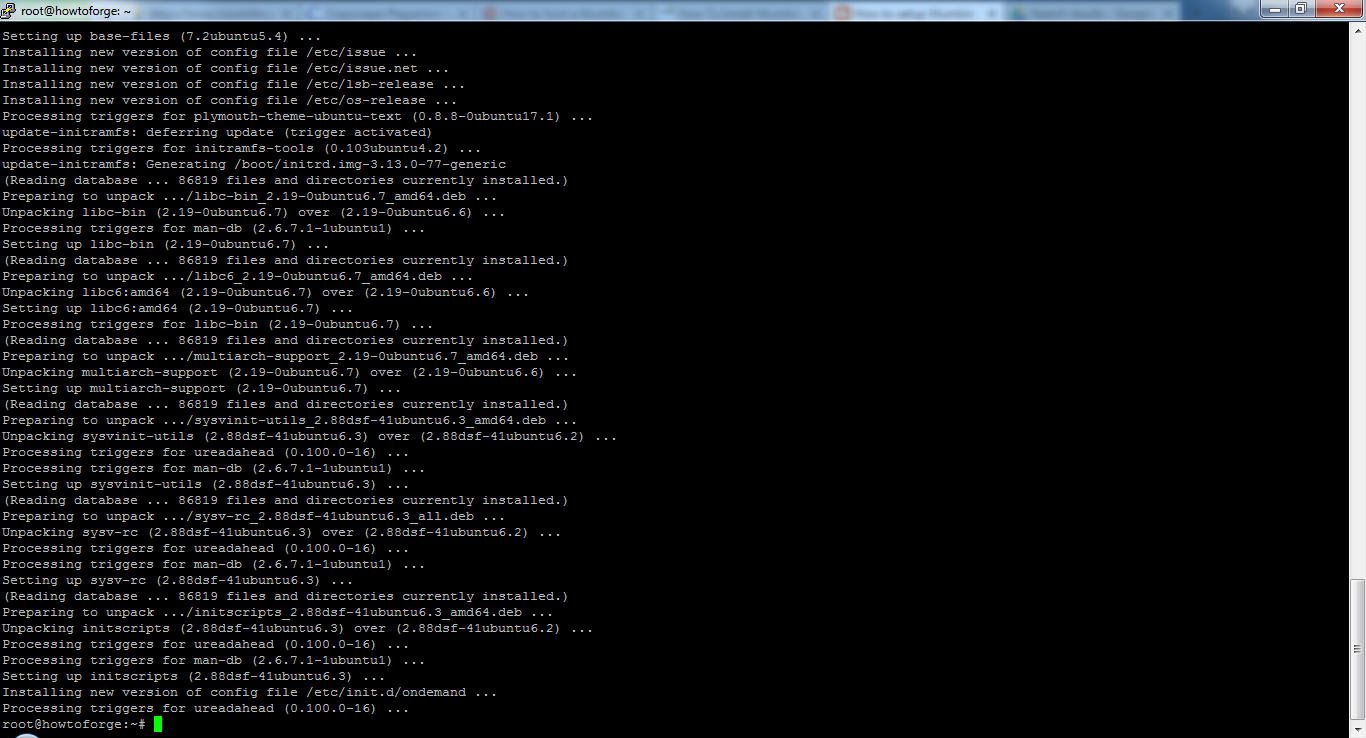
And then install the updates with this command:
apt-get upgrade
Reading package lists... Done
Building dependency tree
Reading state information... Done
Calculating upgrade... Done
The following packages will be upgraded:
 base-files initscripts libc-bin libc6 multiarch-support sysv-rc
 sysvinit-utils
7 upgraded, 0 newly installed, 0 to remove and 0 not upgraded.
Need to get 6,077 kB of archives.
After this operation, 0 B of additional disk space will be used.
Do you want to continue? [Y/n]
Press Y to continue.
Install Murmur
Mumble is available in the official Ubuntu repository by the name of the Mumble-Server.
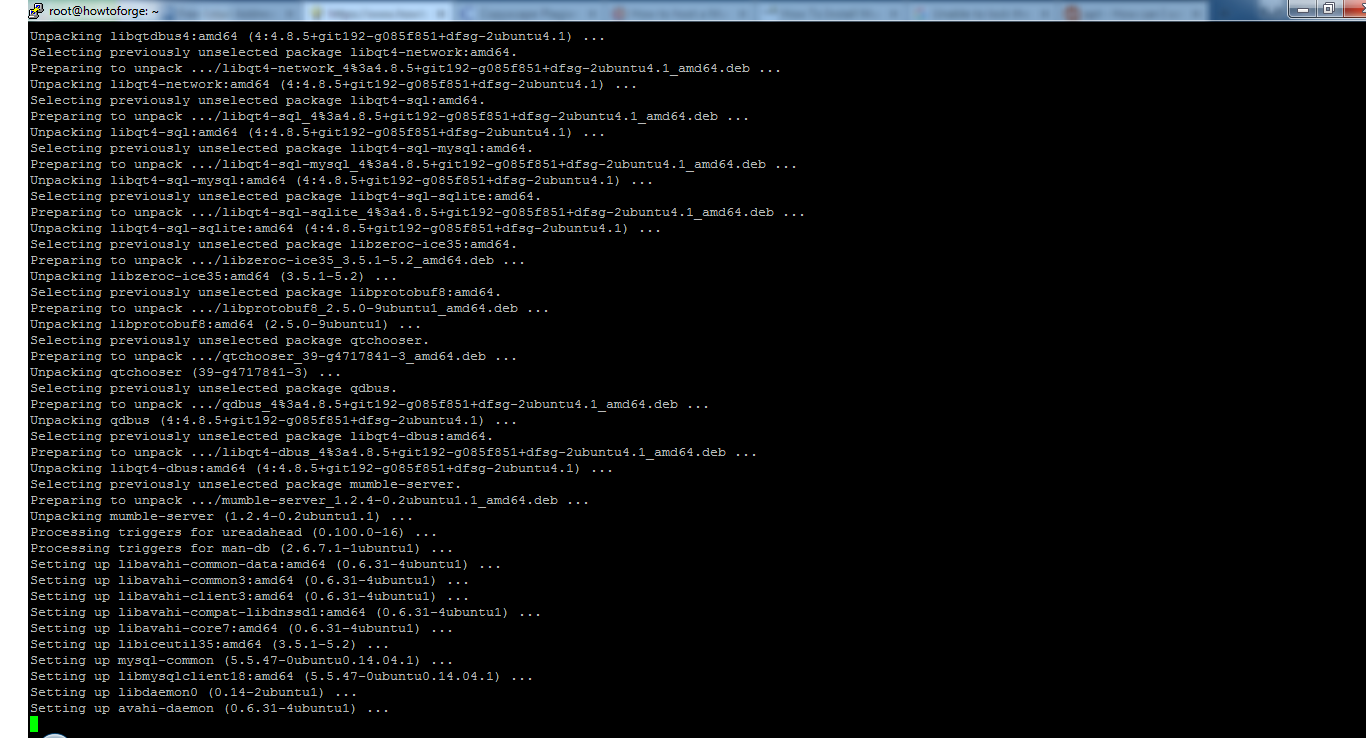
Execute the command to install the package:
apt-get install mumble-server
Reading package lists... Done
Building dependency tree
Reading state information... Done
The following extra packages will be installed:
 avahi-daemon libavahi-client3 libavahi-common-data libavahi-common3
 libavahi-compat-libdnssd1 libavahi-core7 libdaemon0 libiceutil35
 libmysqlclient18 libnss-mdns libprotobuf8 libqt4-dbus libqt4-network
 libqt4-sql libqt4-sql-mysql libqt4-sql-sqlite libqt4-xml libqtcore4
 libqtdbus4 libzeroc-ice35 mysql-common qdbus qtchooser qtcore4-l10n
Suggested packages:
 avahi-autoipd libqt4-dev libicu48 libthai0 mumble-server-web mumble-django
 qt4-default qt5-default
The following NEW packages will be installed:
 avahi-daemon libavahi-client3 libavahi-common-data libavahi-common3
 libavahi-compat-libdnssd1 libavahi-core7 libdaemon0 libiceutil35
 libmysqlclient18 libnss-mdns libprotobuf8 libqt4-dbus libqt4-network
 libqt4-sql libqt4-sql-mysql libqt4-sql-sqlite libqt4-xml libqtcore4
 libqtdbus4 libzeroc-ice35 mumble-server mysql-common qdbus qtchooser
 qtcore4-l10n
0 upgraded, 25 newly installed, 0 to remove and 0 not upgraded.
Need to get 5,879 kB of archives.
After this operation, 27.9 MB of additional disk space will be used.
Do you want to continue? [Y/n]
You will then be asked to confirm that the packages shall be nstalled, press Y and then enter.
MurMur Configuration
After the completion of the installation, you should run the package reconfiguration command to create some basic server and user settings. Here, the arrow keys can be used to select an answer, then press enter to continue.
dpkg-reconfigure mumble-server
Start at Boot
 Mumble-server (murmurd) can start automatically when the server is booted. ?
 ? ?
 ? Autostart mumble-server on server boot?
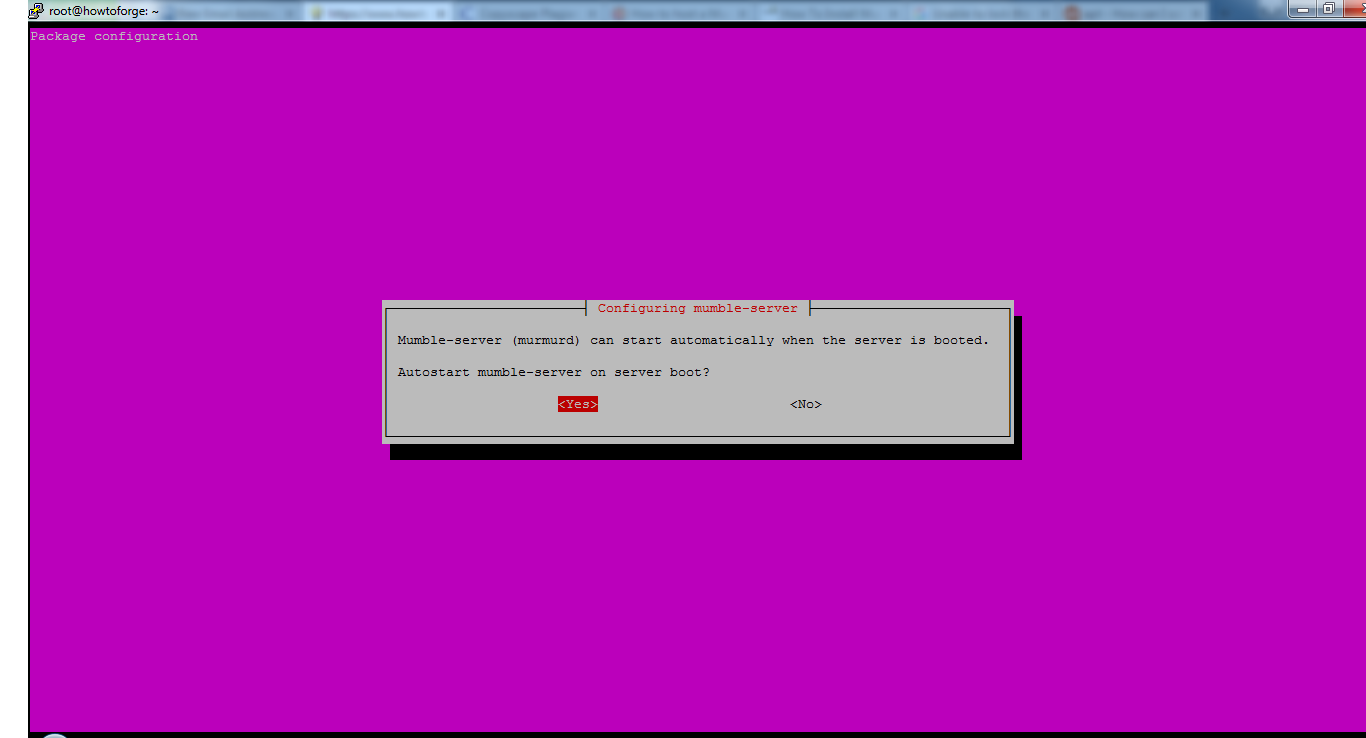
Accept the default value Yes because, when the server boots we want murmur to run as well.
Network Priority
Mumble-server (murmurd) can use higher process and network priority to ensure low latency audio forwarding even on highly loaded servers. ?
 ? ?
 ? Allow mumble-server to use higher priority?
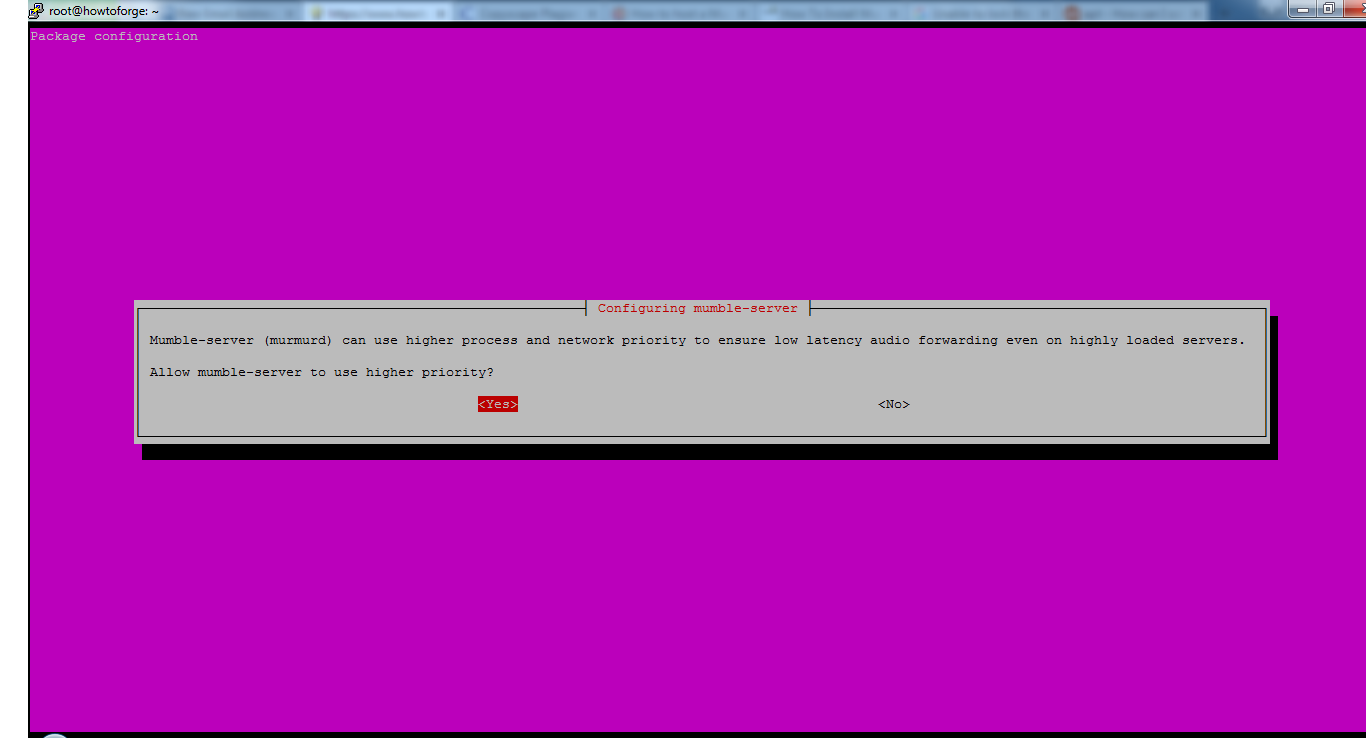
To ensure the lowest possible latency, select Yes.
Mumble SuperUser Password
Murmur has a special account called "SuperUser" which bypasses all privilege checks. ?
 ? ?
 ? If you set a password here, the password for the "SuperUser" account will be updated. ?
 ? ?
 ? If you leave this blank, the password will not be changed. ?
 ? ?
 ? Password to set on SuperUser account:
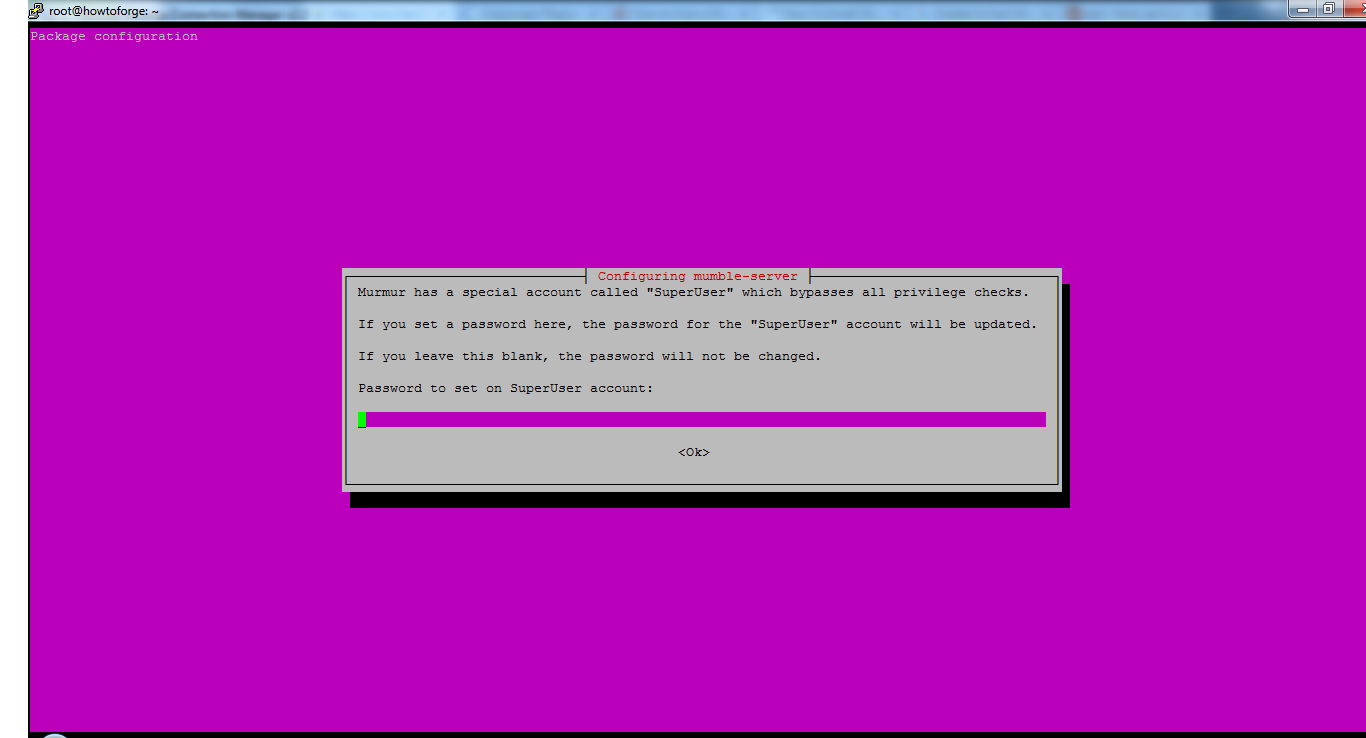
You’ll need to log in to Mumble with this user when you want to manage the server, this is the highest level administrative account for Mumble.
If you leave the password field blank, the password will remain at the default. I highly recommend you to change the password for this account and to choose a long and secure password.
Enter the desired password in the field, press tab and press enter to set the new password.
Right now, we are using the mumble server with one account that is SuperUser.
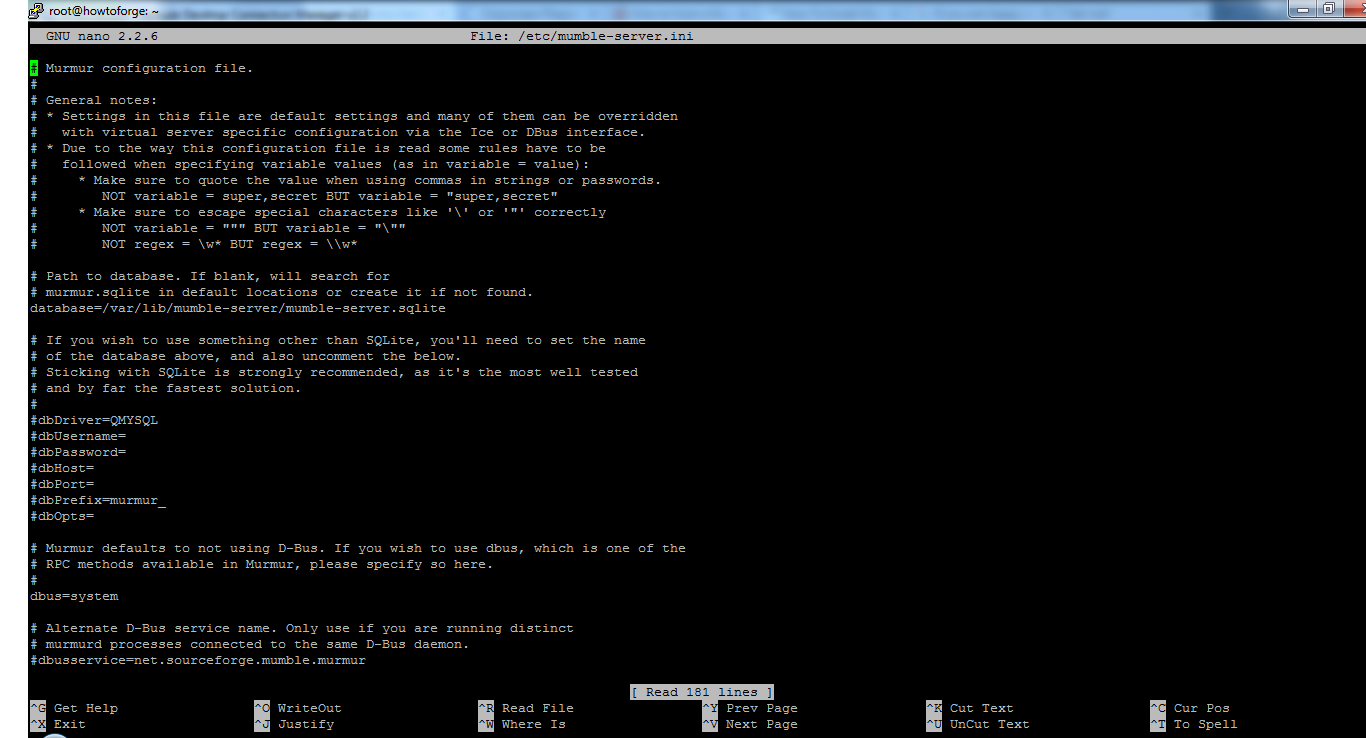
Advanced Configuration
Next, we will edit the config file and go through the most common stuff. You can find the server config file at this location: /etc/mumble-server.ini.
Open the config file in your favourite text editor:
nano /etc/mumble-server.ini
General notes:
# * Settings in this file are default settings and many of them can be overridden
# with virtual server specific configuration via the Ice or DBus interface.
# * Due to the way this configuration file is read some rules have to be
# followed when specifying variable values (as in variable = value):
# * Make sure to quote the value when using commas in strings or passwords.
# NOT variable = super,secret BUT variable = "super,secret"
# * Make sure to escape special characters like '\' or '"' correctly
# NOT variable = """ BUT variable = "\""
# NOT regex = \w* BUT regex = \\w*

# Path to database. If blank, will search for
# murmur.sqlite in default locations or create it if not found.
database=/var/lib/mumble-server/mumble-server.sqlite

# If you wish to use something other than SQLite, you'll need to set the name
# of the database above, and also uncomment the below.
# Sticking with SQLite is strongly recommended, as it's the most well tested
# and by far the fastest solution.
#
#dbDriver=QMYSQL
#dbUsername=
#dbPassword=
#dbHost=
#dbPort=
#dbPrefix=murmur_
#dbOpts=

# Murmur defaults to not using D-Bus. If you wish to use dbus, which is one of the
# RPC methods available in Murmur, please specify so here.
#
dbus=system

# Alternate D-Bus service name. Only use if you are running distinct
# murmurd processes connected to the same D-Bus daemon.
#dbusservice=net.sourceforge.mumble.murmur
Listed below are some of the commonly changed values for reference. You have to remove the # character in order to enable the settings. # is referred as un-commenting a line. Any line starting with # will not processed by the server.
- autobanTimeframe, autobanAttempts, autobanTime– these values prevents bruteforce login attempts. This will ban the IP for a specific amount of time until the conditions are met. The below setting is the setting for someone who tries to connect (unsuccessful) 3 times within 30 seconds will be banned for 60 seconds. Be careful with this setting, setting it too low can ban yourself. Set to high and it is largely ineffective.
#autobanAttempts = 3 #autobanTimeframe = 30 #autobanTime = 60
- welcometext– This setting displays a message to the users every time they login to the server. It informs the users about the rules, link to your websites etc. To use the HTML characters and tags, encapsulate the entry in the quotes.
# welcometext=Thank you for choosing howtoforge.com! We hope you enjoy your stay
- port– 64738 is the default mumble port, you can change this port any time you want but make sure that you inform the users about this new port, otherwise they will not able to connect to the server anymore. But avoid using standard port numbers for other services like 21, 22, 25, 80 or 443. You can use the "netstat -ntap" command to see which ports are in use on your server to find a free port.
# port=64738
- Host– mumble will bind you to any host name by default. If you wish to use the single host name, you can change it by entering that host name.
- bandwidth– This is the amount of bandwidth each user is allowed to consume. If you set higher value, then each consumer will consume more of your RAM. To host 50 users on 512 RAM, values between 60000-72000 are good.
#bandwidth=72000- users– The maximum number of simultaneous users that can connect to the server.
#users=150
- textmessagelength– this limits the number of character that a user can send per text message. This setting is not enabled by default.
- imagemessagelength– this limits the number of images a user can send. Not enabled by default.
- allowhtml– Set Allowhtml to true to allow HTML to be used in message
#allowhtml=true
- registerName, RegisterUrl– if you enable these settings, the name of your server will appear on the public list which is available in the Mumble client. If it is not enabled, users must know to the IP address and the host name in order to connect to the server.
To save the changed configuration settings, press Ctrl+X, press Y and then press Enter to save, otherwise the changes will set back to their previous values. You have to restart Murmur to enable the changed configuration; this will disconnect all the users from the server.
To restart Murmur, execute the command:
service mumble-server restart
Connecting to your Mumble Server
The following steps will help you to connect with your SuperUser to the Mumble server. Same steps can be followed by other users to connect later. Any other user does not require a password, they just need an IP address and port number to connect.
- Download the Mumble client on to your system
- Open the Mumble client on your computer
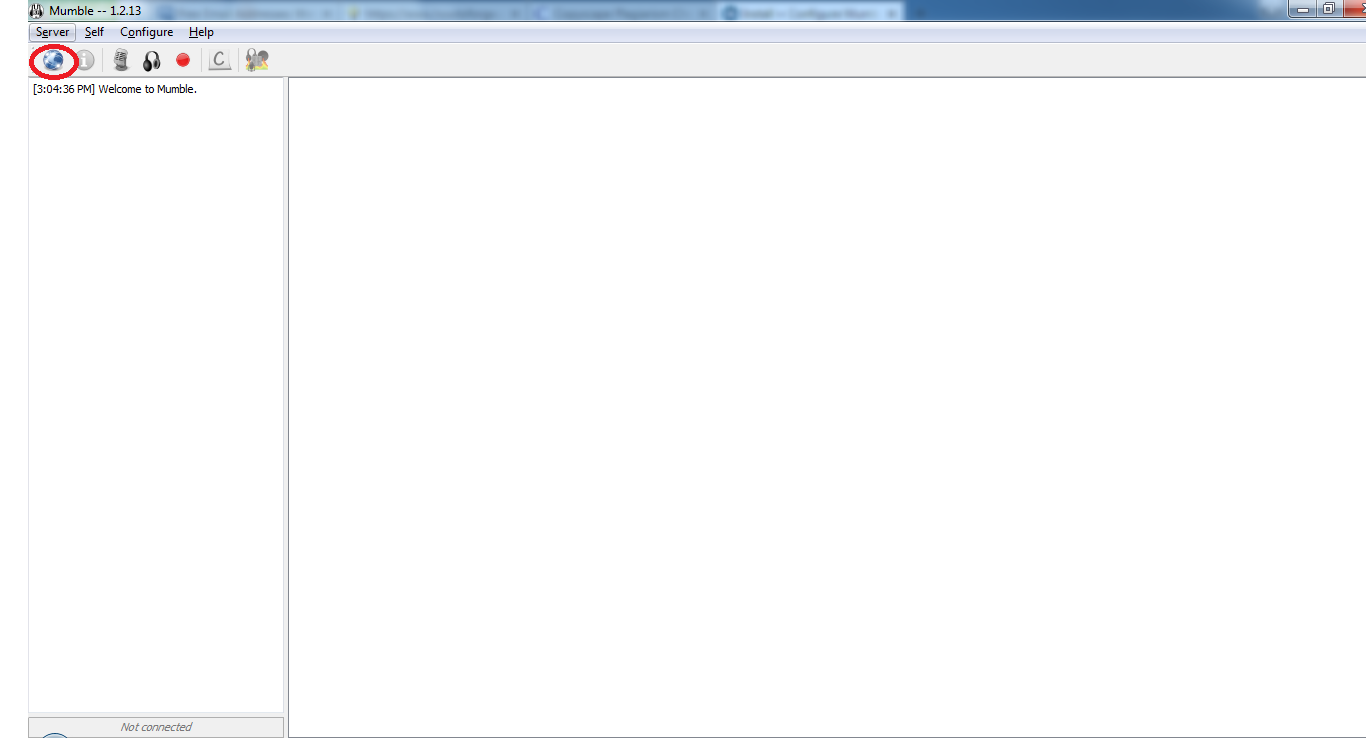
- Click on the Connect
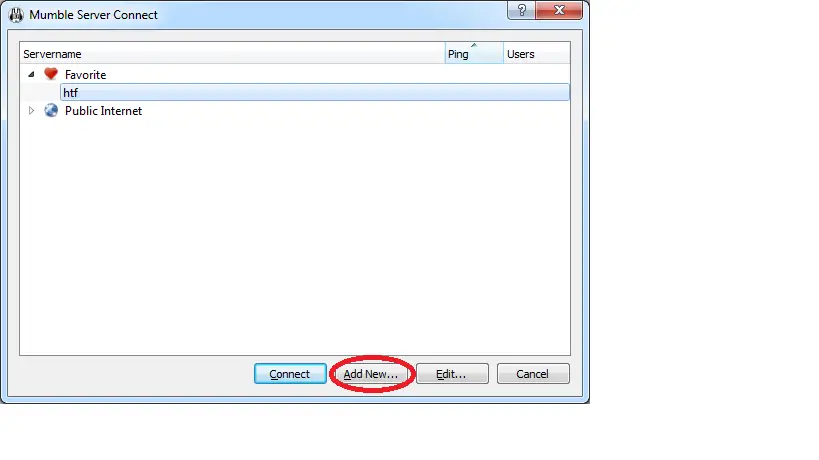
- Click on the Add New
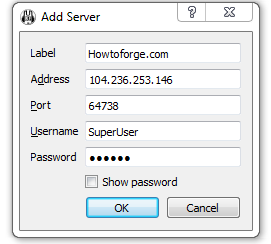
- Enter the required information for the mumble server. The address can be anything, either it can be a host name or a IP address of your server. The default port is 64736, if you have changed the new port, then the users have to enter the new port to connect. Click on OK to save the settings.
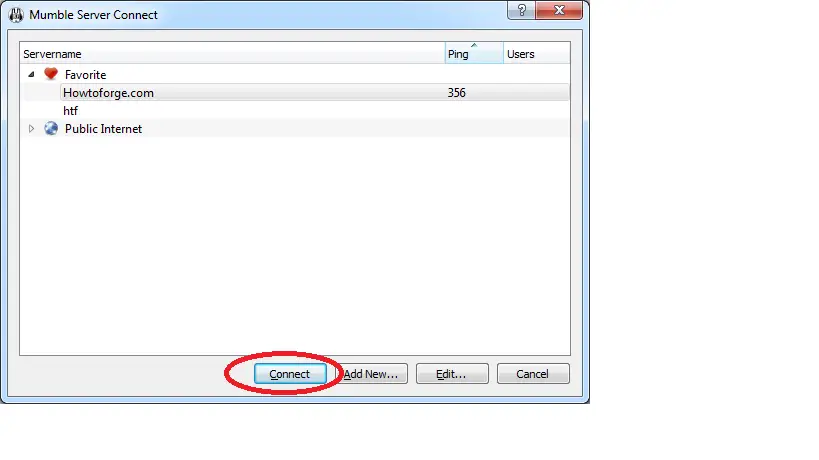
- To connect on to the server, just click on Connect. The server can be seen in your favorites.
- You must accept the signed certificate for the server.
- When you have connected successfully, you will receive a message Connected.
- Now, you chat to any user present on this server.
Your Mumble server is installed and ready to be used.

